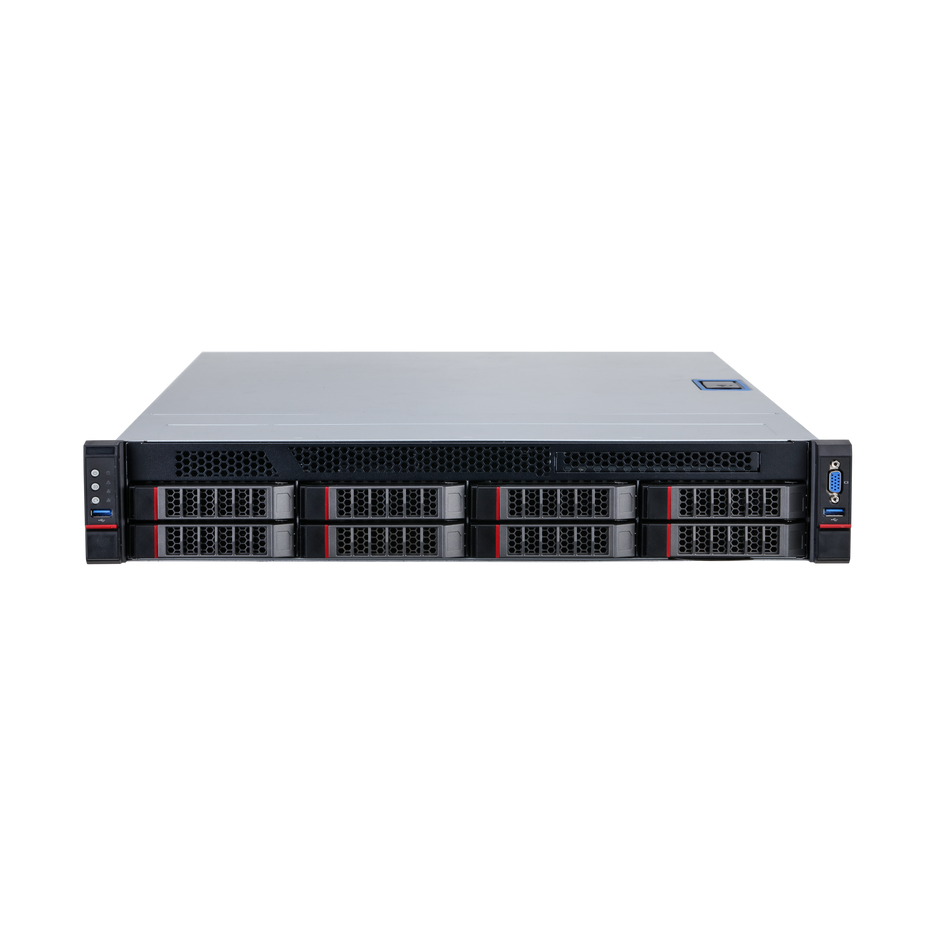
Network Attached Storage (NAS) is an essential component for modern surveillance systems, providing a centralized and scalable storage solution. Dahua cameras, known for their high-quality imaging, can be seamlessly integrated with NAS storage using the NFS protocol. In this article, we will walk you through the process of setting up a NAS storage system for your Dahua cameras, ensuring efficient and reliable recording management.
Understanding NFS and CIFS: Before diving into the setup process, it's crucial to understand the network protocols involved. NFS (Network File System) and CIFS (Common Internet File System) are both network protocols used for sharing files across a network. NFS is predominantly used in Linux/Unix operating systems, while CIFS is the standard for Windows systems. Dahua cameras support NAS storage based solely on the NFS protocol, which necessitates the presence of an NFS server.
Prerequisites: To begin the setup, you will need the following:
- A PC with Ubuntu 14.04 or any other Linux distribution installed and configured to run the NFS server.
- A Dahua IP camera that supports NAS storage and is set to the correct mode.
- Knowledge of the PC's IP address and the desired storage path on the NAS device.
Setting Up the NAS Server: Our testing demo example uses a PC running Ubuntu 14.04 with an NFS server already in place. Here's how you can set up your own NAS server:
- Install the NFS server on your Linux machine if it's not already installed. On Ubuntu, you can use the command:
sudo apt-get install nfs-kernel-server. - Configure the NFS exports by editing the
/etc/exportsfile to share the desired directory. For instance:/home/gaivmaple/nfs *(rw,sync,no_subtree_check). - Restart the NFS service to apply the changes:
sudo service nfs-kernel-server restart.
Configuring Dahua Camera for NAS Storage: Once your NAS server is set up, you need to configure your Dahua camera to use it for storage:
- Access the camera's configuration menu and navigate to the storage settings.
- Set the storage mode to NAS.
- Enter the PC server's address (e.g., 192.168.10.68) and the NFS storage path (e.g.,
/home/gaivmaple/nfs).
Note: The path format may vary depending on the camera's configuration interface. Ensure you use the correct syntax.

No Need to Worry About NAS Server Passwords: One of the advantages of using NFS with Dahua cameras is that you do not need to configure a password on the NAS server for the camera to record. The camera will automatically handle the authentication process and start recording to the specified NFS path.
Conclusion: Setting up NAS storage for Dahua cameras is a straightforward process that enhances the efficiency and scalability of your surveillance system. By following the steps outlined in this guide, you can ensure that your Dahua cameras are recording to a centralized and robust storage solution. Whether you choose to use a dedicated NAS device like the ESS or EVS5000, or create your own Linux server, the key is to have an NFS server ready to accommodate your camera's storage needs.


