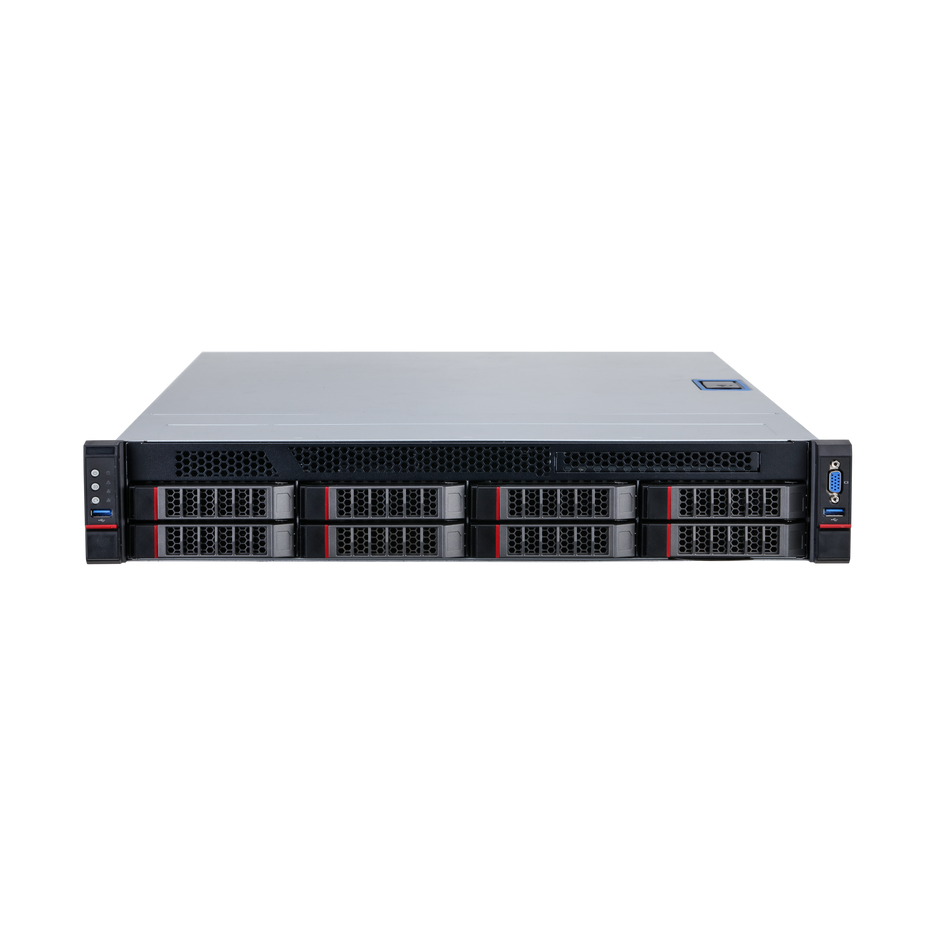
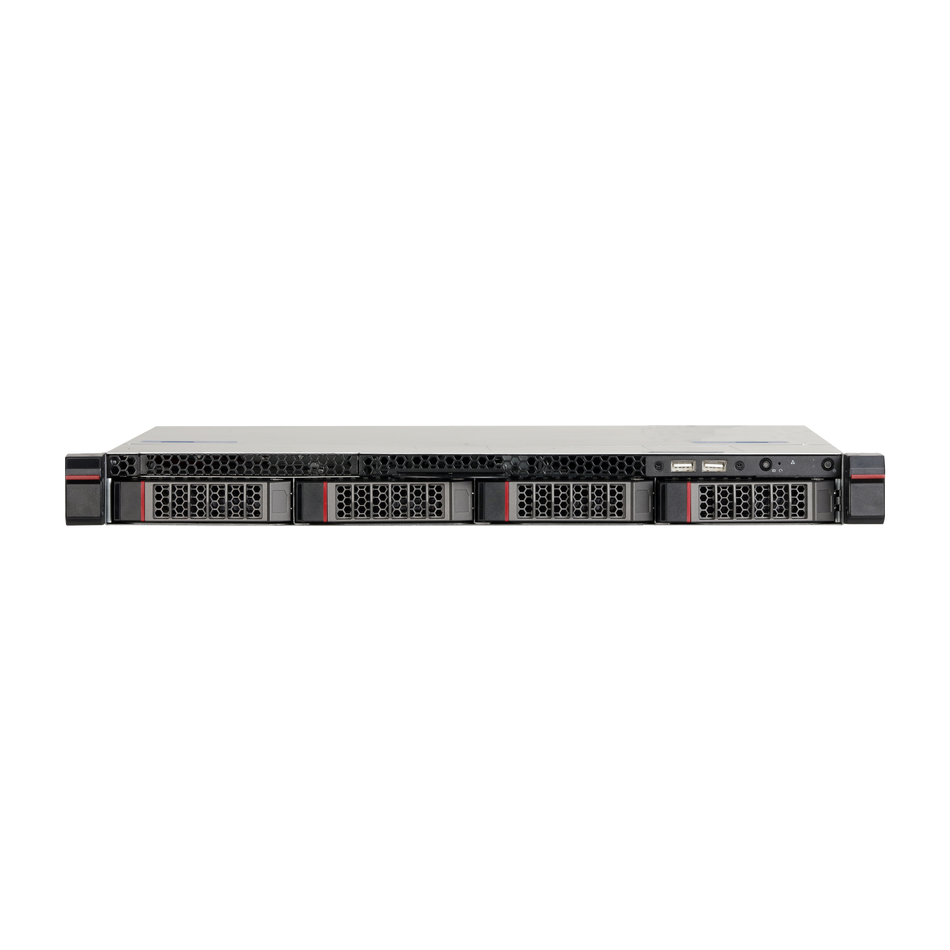
Intrusion detection is a critical feature in modern security systems, providing an extra layer of protection against unauthorized access. DAHUA NVRs, with their advanced AI capabilities, offer a robust Intrusion IVS (Intelligent Video Surveillance) feature that can be customized to fit various security needs. This blog post will walk you through the process of setting up Intrusion Detection on your DAHUA NVR, ensuring your property is monitored effectively.
Prerequisites:
- A DAHUA device that supports the Intrusion feature.
Step by Step Instructions:
Step 1: Access the AI Interface
- Begin by clicking on "AI" from the Main Menu to access the AI functionalities.

Step 2: Enter Smart Plan
- Click "Parameters" and then select "Smart Plan" to enter the smart feature settings.

Step 3: Select the Channel
- Use the drop-down box to select the channel for which you want to enable Intrusion Detection.

Step 4: Enable IVS
- Click the IVS icon to activate it. The icon will highlight when selected.
- Click "Apply" to save your changes.

Step 5: Configure IVS Parameters
- Click "Parameters" and then "IVS" to access the IVS settings.

Step 6: Add an IVS Rule
- With the channel selected, click "Add" in the lower right side of the screen to create a new IVS rule.

Step 7: Change Rule Type to Intrusion
- Use the dropdown box to change the Rule Type to "Intrusion."

Step 8: Draw the Intrusion Detection Area
- Click the Pencil icon to begin drawing the detection area for the Intrusion within the video frame.

- Left-click to start drawing and right-click to end the drawing.

Step 9: Configure Rule Settings
- Use the Intrusion menu to name the rule and set actions such as "Appear" or "Cross," as well as the detection direction.

Step 10: Set Target Filter
- Click the Target Filter icon to define the maximum and minimum size of objects that will trigger the Intrusion rule.


Step 11: Clear Current Rule (if necessary)
- Use the Trash icon to clear the current rule if you need to make changes.
Step 12: Save Intrusion Rule
- Once the settings are configured, click "OK" to save the Intrusion rule.

Step 13: Set Trigger Actions
- Click the Trigger icon to define actions that will occur when the Intrusion rule is engaged.

Step 14: Configure Trigger Settings
- Configure settings such as alarms and snapshots in the Trigger menu.

Step 15: Apply and Save Trigger Settings
- After setting up the trigger rules, click "Apply" and then "Back" to return to the previous menu.

Step 16: Apply Changes
- Click "Apply" in the lower right of the screen to save all changes and activate the Intrusion Detection.

Step 17: Verify the Setup
- The created Intrusion rule is now programmed. Verify that it is working correctly by testing the detection area.

The Intrusion Detection feature on DAHUA NVRs is a powerful tool that enhances the security of your property. By following these steps, you can ensure that any unauthorized entry is promptly detected and addressed. For those looking to purchase a DAHUA NVR, consider visiting CCTV-MALL.COM, a trusted authorized dealer offering a wide range of DAHUA products. With DAHUA's AI capabilities, you can trust that your security system is in capable hands.


