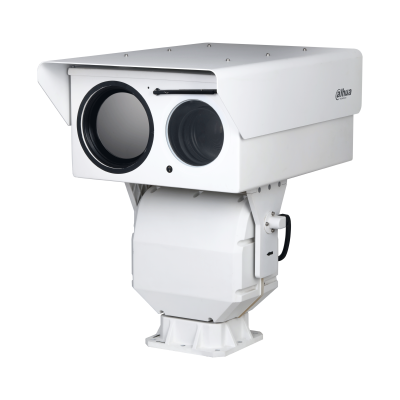
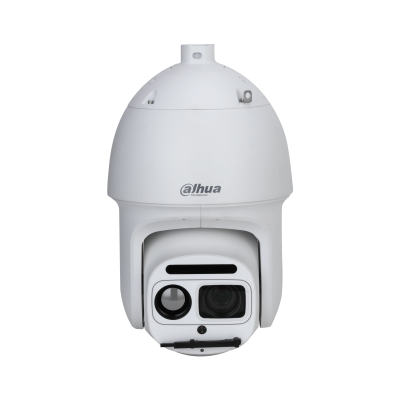
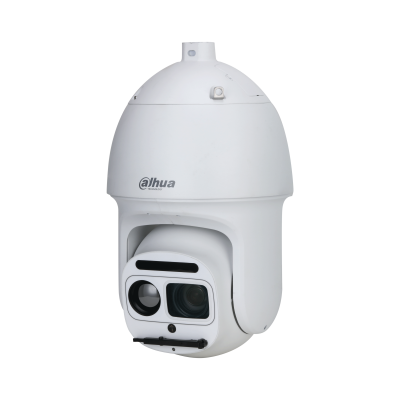
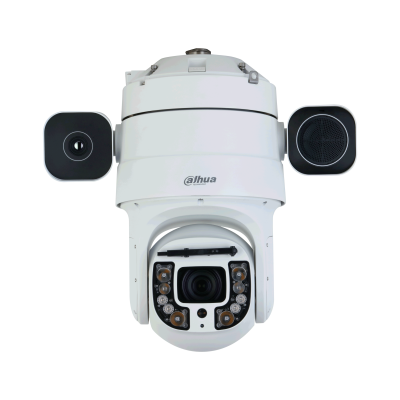
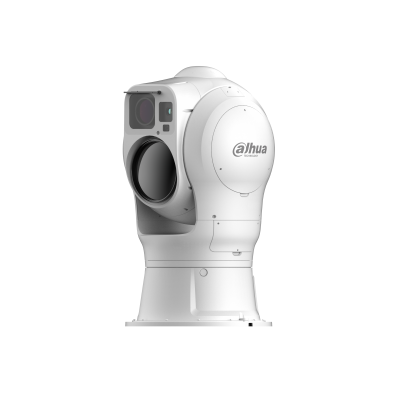
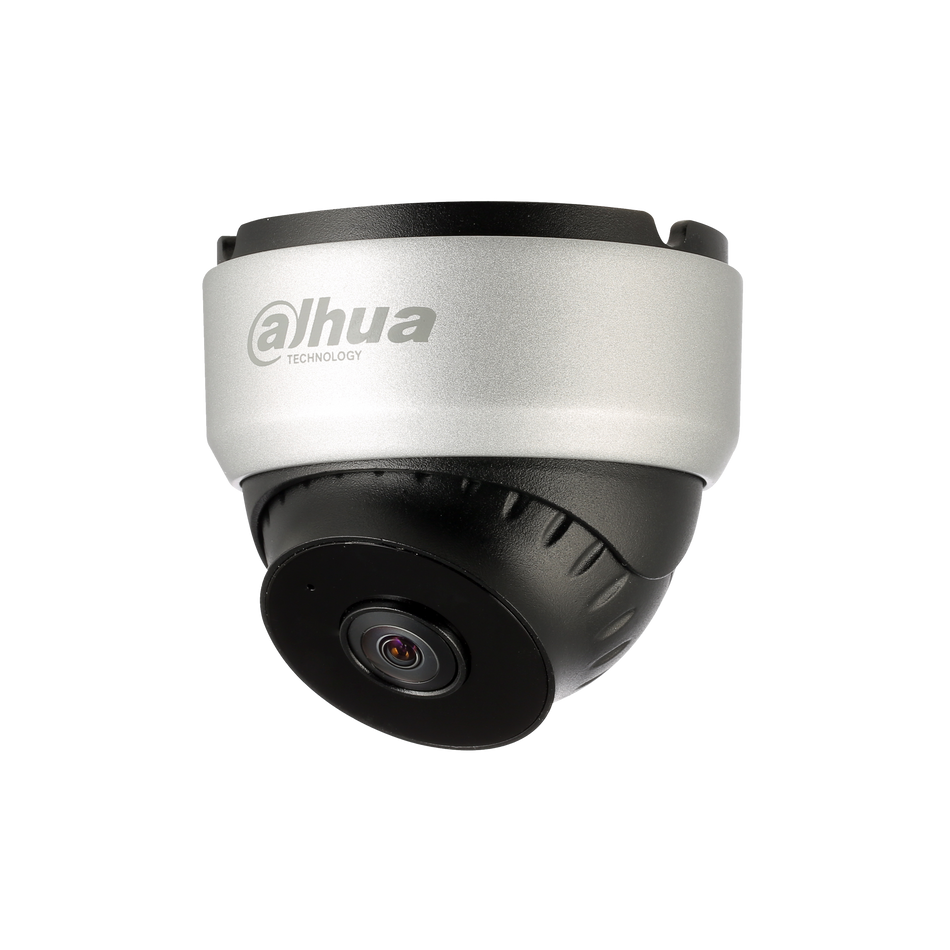
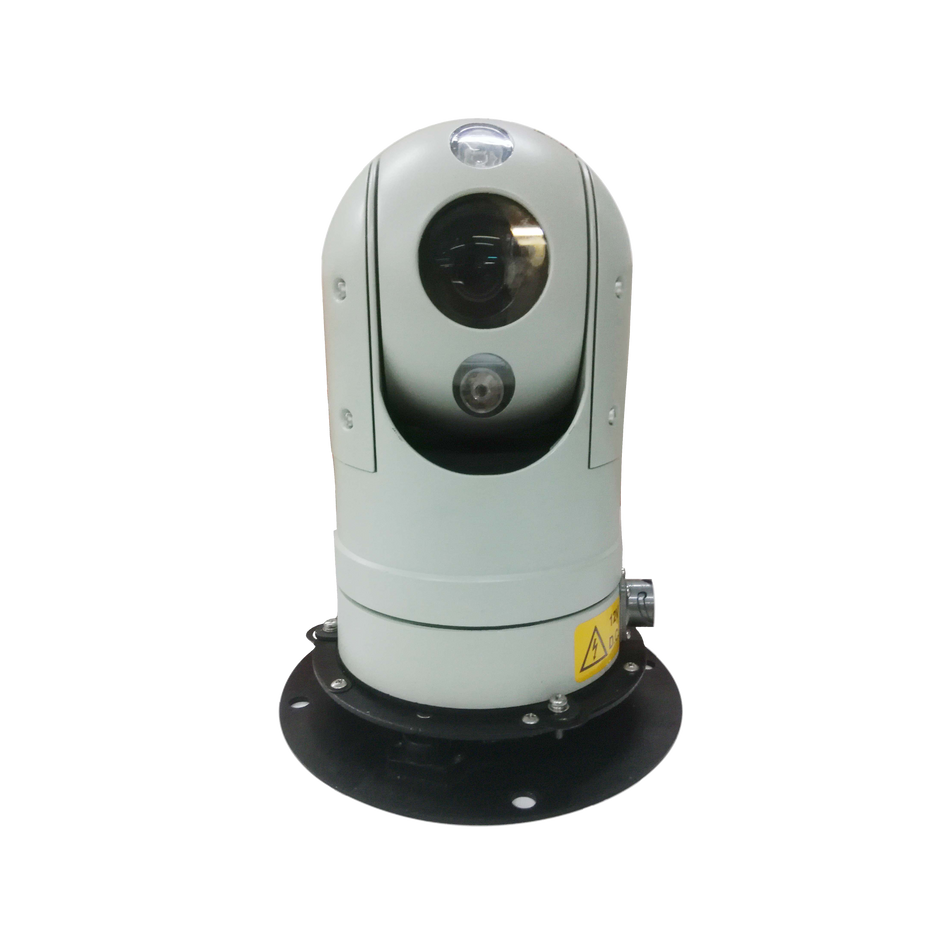
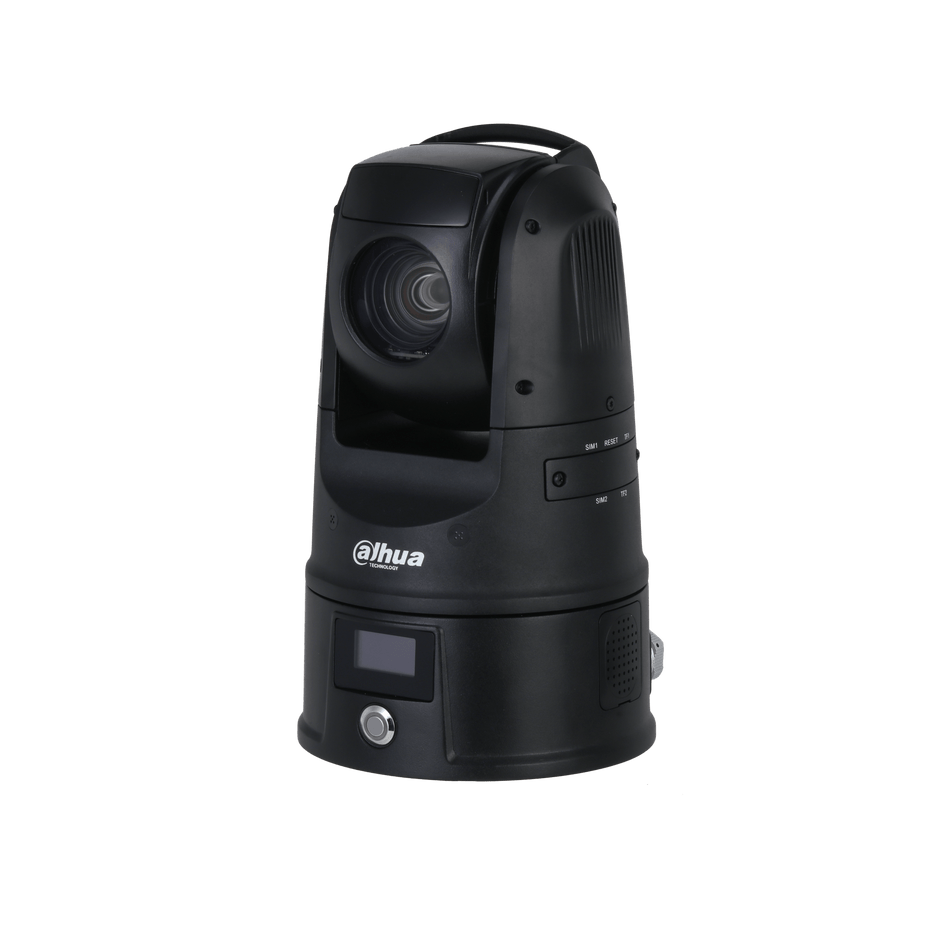
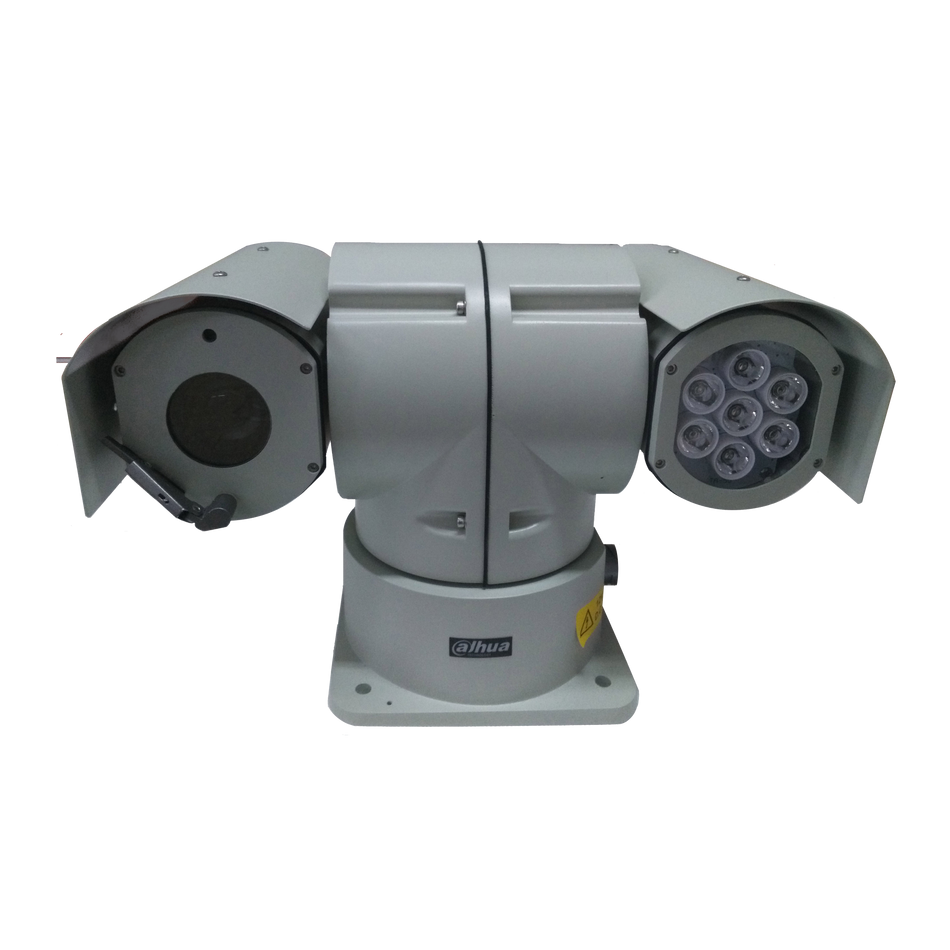
DAHUA Fisheye Cameras offer a 360° panoramic view, making them an excellent choice for wide-area surveillance. These cameras provide a complete view of the surroundings without the need for multiple cameras, which simplifies installations and reduces costs. This guide will walk you through the installation process and menu setup for your DAHUA Fisheye Camera, ensuring you get the most out of your surveillance system.
Fisheye Menus Overview: The menu of a DAHUA Fisheye Camera is designed to provide flexibility and control over the camera's operation and image display. Here's a breakdown of the key menu parameters and their functions:
Zoom:
- Adjust the focal length of the lens using the “+” and “-” buttons.
Focus:
- Adjust the sharpness of the lens. The step length can be adjusted for fine control.
Auto-focus:
- Automatically adjusts image definition. Note that manual lens operations are restricted during auto-focus.
Reset:
- Resets the lens to the zero position to eliminate errors from multiple adjustments.
Refresh:
- Synchronizes the lens and zoom focus after hardware zoom focusing.
Fisheye Menu Part 1 - Installation and Initial Setup:
-
Mounting the Camera:
- Choose between ceiling mount, wall mount, or ground mount based on your surveillance needs.
-
Lens Adjustment:
- Use the zoom and focus features to adjust the camera's field of view and clarity.
-
Auto-focus:
- Utilize the auto-focus function for initial setup to ensure image definition is optimal.
-
Reset:
- If the image is unclear or after making several adjustments, use the reset feature to start fresh.
-
Refresh:
- After making hardware adjustments, refresh to synchronize the camera's settings.
Fisheye Menu Part 2 - Display Modes:
-
Ceiling Mount:
- Offers display modes like 1P+1, 2P, 1+2, 1+3, 1+4, 1P+6, and 1+8 for various panoramic views.
-
Wall Mount:
- Provides 1P, 1P+3, 1P+4, and 1P+8 display modes for a 180° expanded view.
-
Ground Mount:
- Similar to the ceiling mount, with modes like 1P+1, 2P, 1+3, 1+4, 1P+6, and 1+8.
Display Modes Explained:
-
Original Image:
- Shows the image without any de-warping.
-
1P+1, 1+2, 1+3, 1+4, 1P+6, 1+8:
- Combines the original image with independent sub-images, supporting zoom and movement.
-
2P (Dual Panorama):
- Shows two related 180° panoramas that form a 360° view, with linked movement.
-
1P (Wall Mount):
- Displays a 180° panorama with support for vertical angle adjustment.
Installation Steps:
-
Prepare the Camera:
- Ensure the camera is charged and all accessories are ready.
-
Choose the Mounting Location:
- Select a central location for a ceiling mount or a suitable wall/ground location.
-
Mount the Camera:
- Secure the camera to the ceiling, wall, or ground using the provided mounting kit.
-
Connect to Power:
- Connect the camera to a power source and ensure it powers on.
-
Access the Menu:
- Use the SmartPSS or another compatible software to access the camera's menu.
-
Configure Settings:
- Follow the Fisheye Menu Part 1 and Part 2 instructions to adjust the camera settings.
-
Adjust the Lens:
- Use the zoom and focus parameters to fine-tune the camera's field of view.
-
Select Display Mode:
- Choose the appropriate display mode based on your installation type and preferences.
-
Test and Optimize:
- Review the camera's output and make any necessary adjustments for optimal performance.
Conclusion: Setting up your DAHUA Fisheye Camera is a straightforward process that, when done correctly, provides a comprehensive view of your surveillance area. By following this guide, you can ensure your camera is installed and configured to deliver clear and useful imagery. Remember to periodically check and adjust your camera settings to maintain the best possible image quality.


