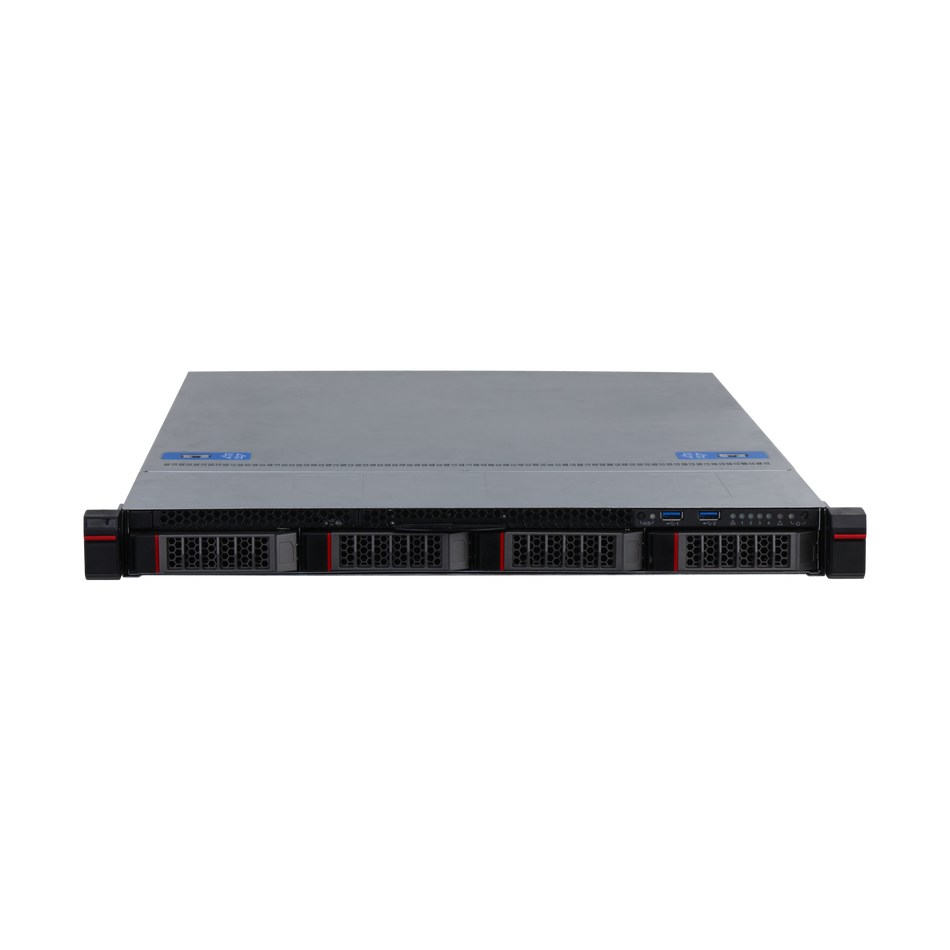
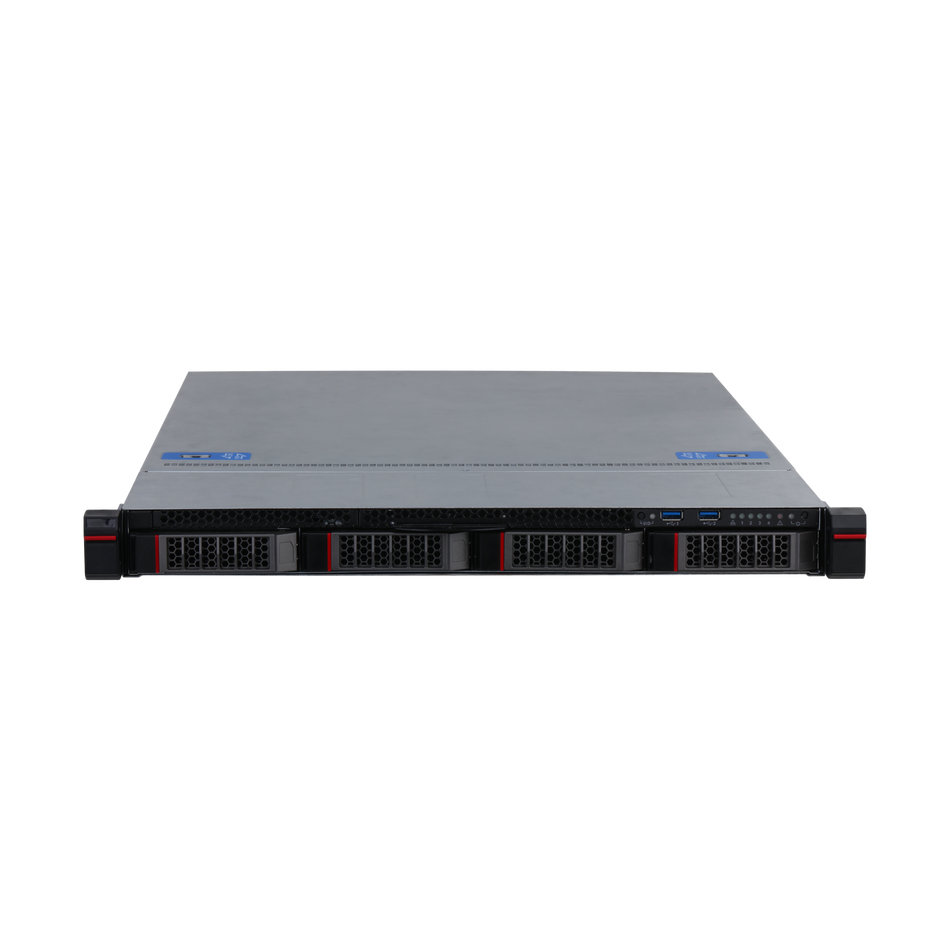
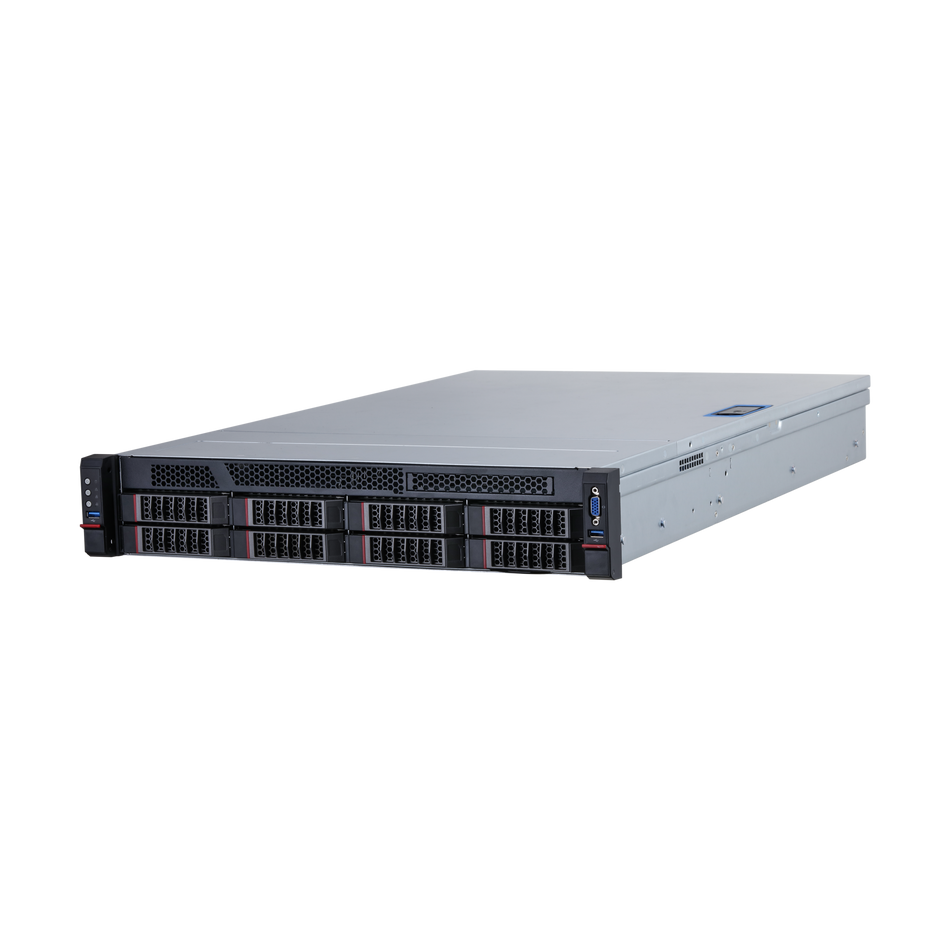
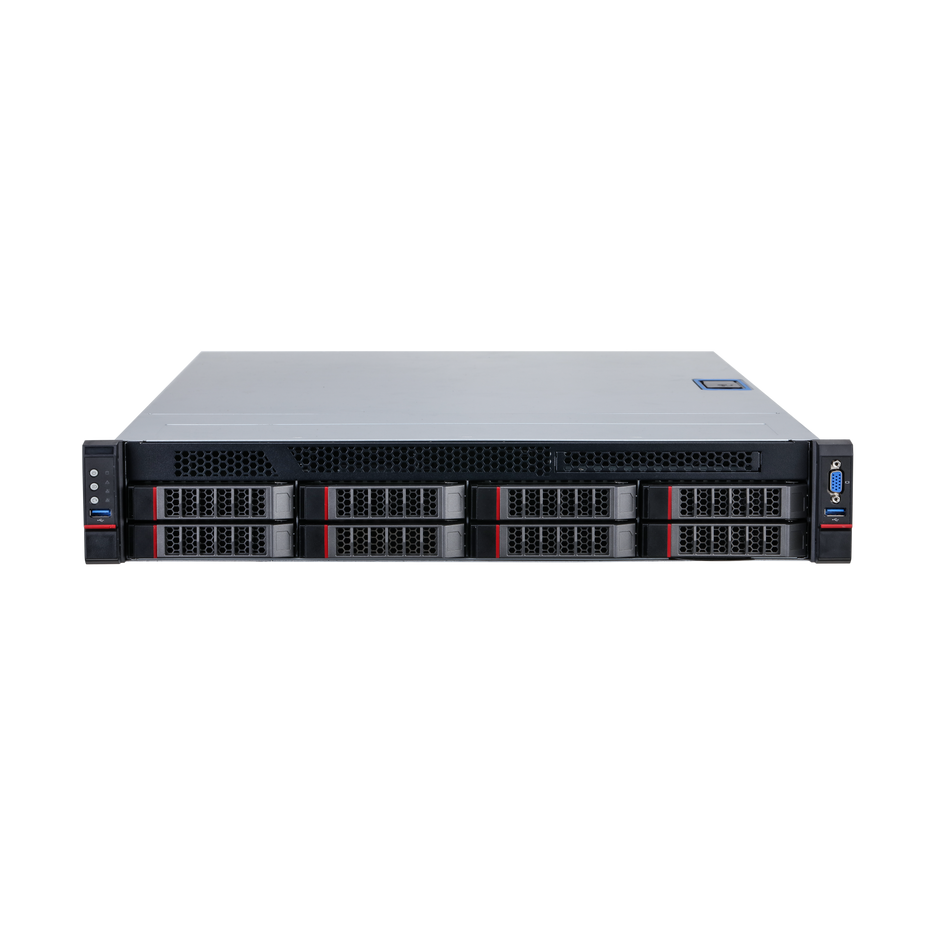
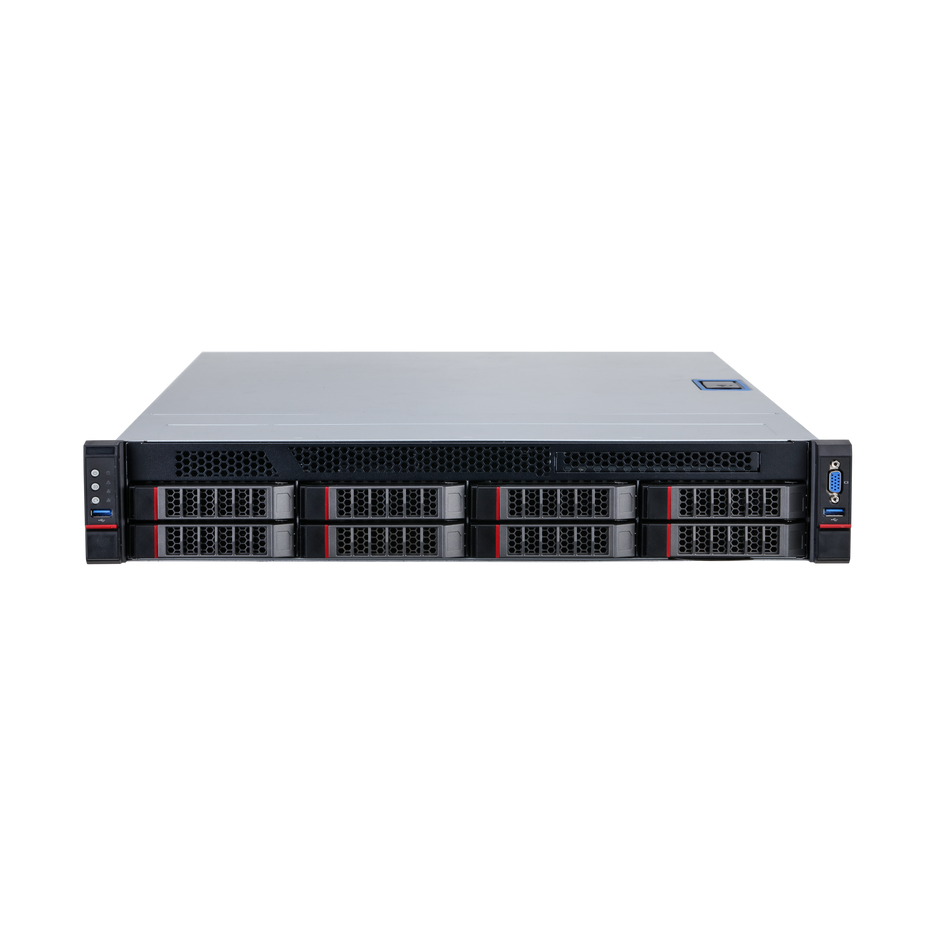
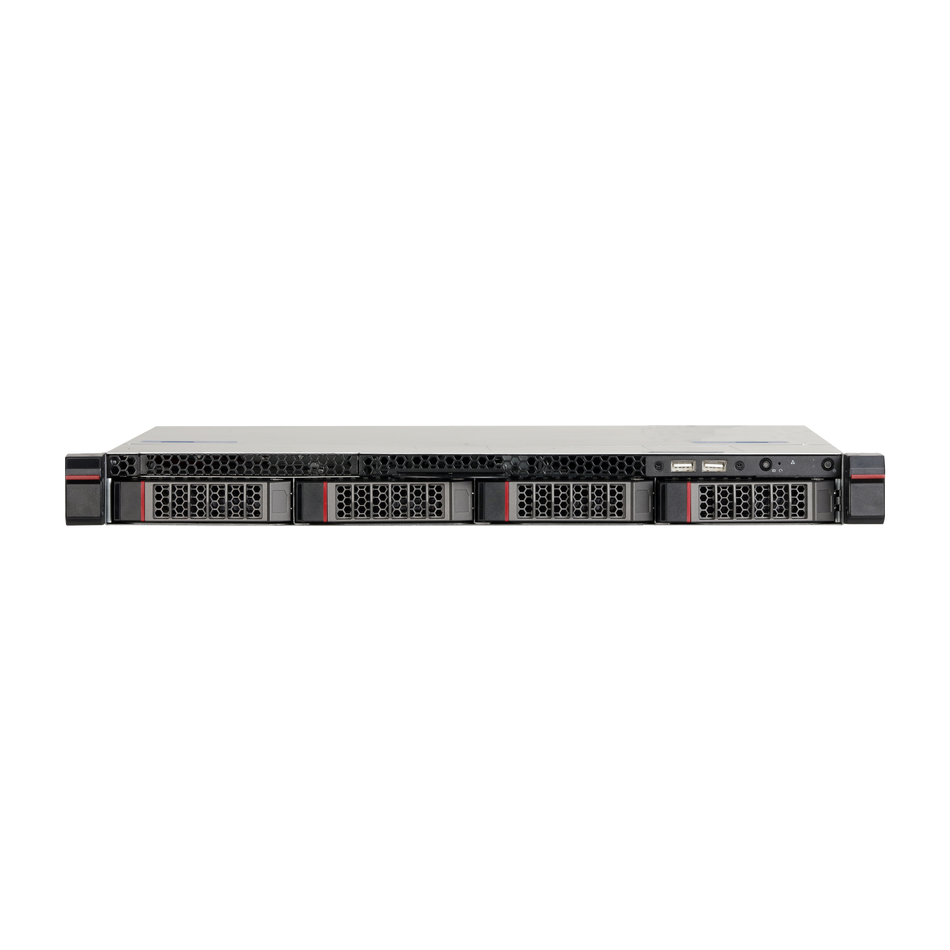
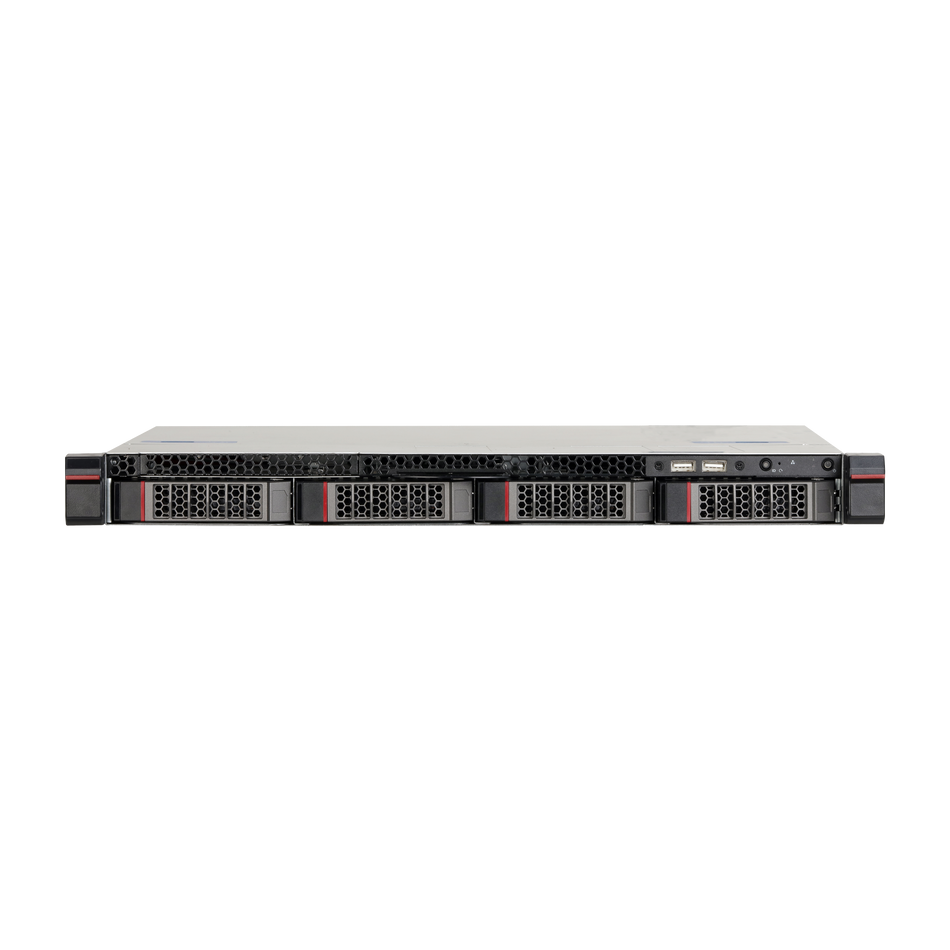
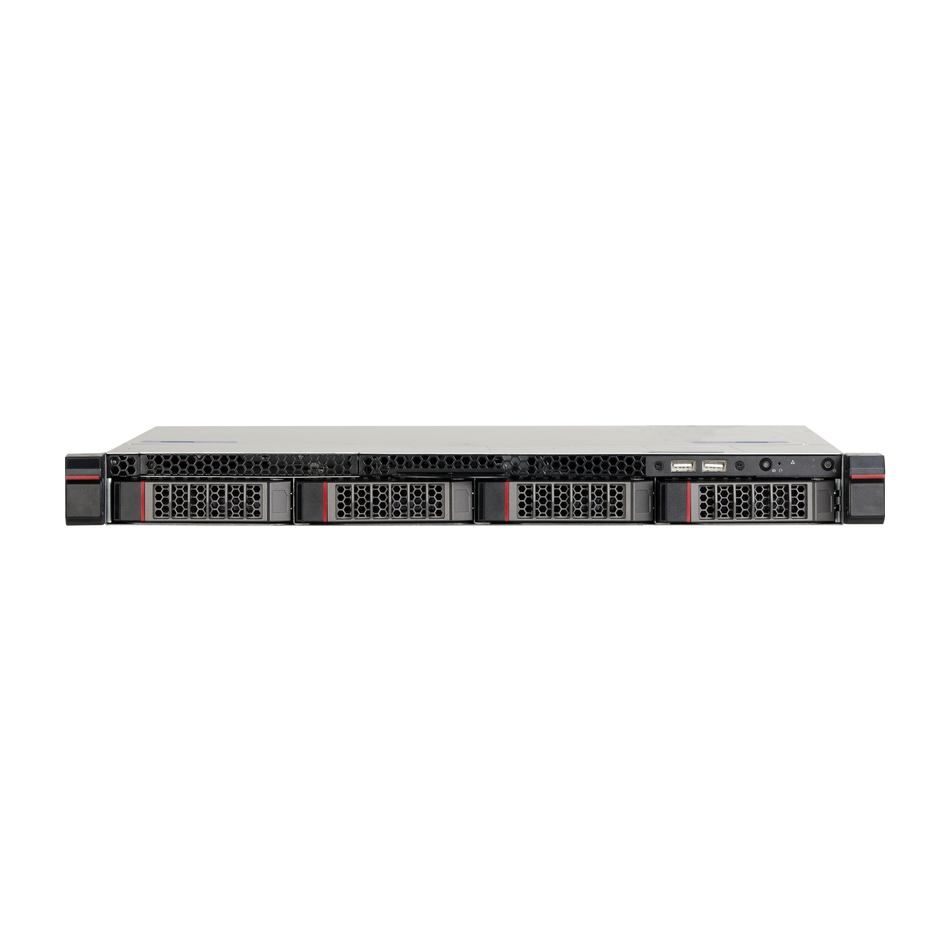
In the realm of security and surveillance, Dahua NVRs (Network Video Recorders) stand out for their robust performance and advanced features. As the heart of an IP-based CCTV system, Dahua NVRs offer centralized control, making it easy to view, manage, and store video from Dahua IP cameras. This article will delve into what a Dahua NVR is, its uses, and provide a step-by-step guide on setting it up with or without a PoE switch.

What is the Dahua NVR and What is it Used for?
The Dahua NVR is a state-of-the-art video recording device designed for use with IP cameras. It serves as the central unit in a video surveillance system, managing and recording data received from the cameras. Here's how the Dahua NVR enhances your surveillance system:
-
Camera Management and Configuration: The Dahua NVR provides a platform to manage and configure your cameras, offering a unified interface to view all camera events.
-
Intelligent Motion Detection: Equipped with intelligent motion detection, the NVR can trigger alerts and send notifications via email when motion is detected, allowing for proactive security measures.
-
Remote Viewing: By connecting to your internet network, the NVR enables remote viewing of camera feeds from anywhere, ensuring you stay connected to your surveillance system.
-
Power over Ethernet (PoE) Capability: The NVR leverages PoE technology to power IP cameras, simplifying installation by reducing the need for separate power cables.
Dahua NVR Setup:
Setting up your Dahua NVR is a straightforward process. Whether you're using a PoE switch or not, the following steps will guide you through the setup:
-
Unbox and Inspect: Start by unboxing your Dahua NVR and inspecting the contents. Ensure you have all necessary components, including the NVR, power supply, and Ethernet cables.
-
Connect the NVR to Power: Connect the power adapter to the NVR and plug it into a power outlet.
-
Connect Cameras to the NVR: If using a PoE switch, connect it to the NVR first, then connect your cameras to the switch. If your NVR has PoE ports, connect the cameras directly to the NVR.
-
Link the NVR to the Network: Connect the NVR to your router using an Ethernet cable. This step is crucial for remote access and, if applicable, for the NVR to power your cameras via PoE.
-
Access the NVR Interface: Using a web browser or the Dahua client software, access the NVR's interface. You will need to enter the NVR's IP address, which can typically be found in the user manual or on a sticker on the device.
-
Configure Camera Settings: Once logged in, you can configure your cameras. This includes setting the time zone, network settings, and camera parameters such as resolution and frame rate.
-
Set Up Motion Detection: Utilize the Dahua NVR's intelligent motion detection feature to set up motion-triggered alerts.
-
Establish Remote Viewing: Configure remote viewing settings to access your camera feeds over the internet.
-
Save and Test: After configuration, save your settings and perform a test to ensure everything is working correctly.
-
Troubleshooting: If you encounter any issues, refer to the user manual or contact Dahua's technical support for assistance.
The Dahua NVR is a powerful addition to any surveillance system, offering a range of features that simplify the management and enhancement of security measures. By following the setup guide provided, you can ensure your Dahua NVR is properly configured to provide you with high-quality, reliable video surveillance. Remember, the key to an effective surveillance system lies in its proper setup and regular maintenance.
For further assistance, including firmware updates and detailed user guides, visit CCTV-MALL or contact their customer support. With the right setup, your Dahua NVR will serve as a reliable guardian for your property, offering peace of mind through advanced surveillance capabilities.


