When it comes to enhancing security with DAHUA Cameras, knowing how to mount and install your DOME and Bullet cameras correctly is essential. This guide will provide a clear and detailed process for installing both types of cameras, ensuring optimal performance and a professional finish.
Prerequisites for Camera Installation
Before beginning the installation, gather the necessary tools and equipment:
- Your DAHUA DOME (HDBW) or Bullet (HFW) camera with an installation kit.

- Spur Point (matching the size of the plastic plug provided).

- Spade Bit for wood or Masonry Bits for concrete, as needed.
- A Drill and a Hammer for inserting plugs.

Installing DAHUA HFW Cameras (Bullet Cameras)
Step 1: Select the Appropriate Drill Bit
Choose a drill bit one size larger than the largest plug on the camera's harness.
Step 2: Utilize the Stencil
Place the supplied stencil sticker on the mounting surface, aligning the holes using the camera's lock orientation.
Step 3: Drill Holes for the Camera
Using the stencil, drill holes with a bit matching the supplied plastic plugs.
Step 4: Create Cable Passage
Drill additional holes for cable passage using the larger bit from the installation kit.
Step 5: Insert Plastic Plugs
Gently tap the plastic plugs into the drilled holes using a hammer.
Step 6: Unlock the Camera
Use the provided security key to unlock the camera, allowing room for cable management.
Step 7: Connect and Route Cables
Connect your cables and insert them into the camera, starting with the largest (typically the Ethernet or BNC plug).
Step 8: Secure the Camera with Screws
Fasten the screws into the plastic plugs using a drill or screwdriver to firmly secure the camera.
Step 9: Position and Lock the Camera
Adjust the camera to the desired angle and lock it in place using the security key.
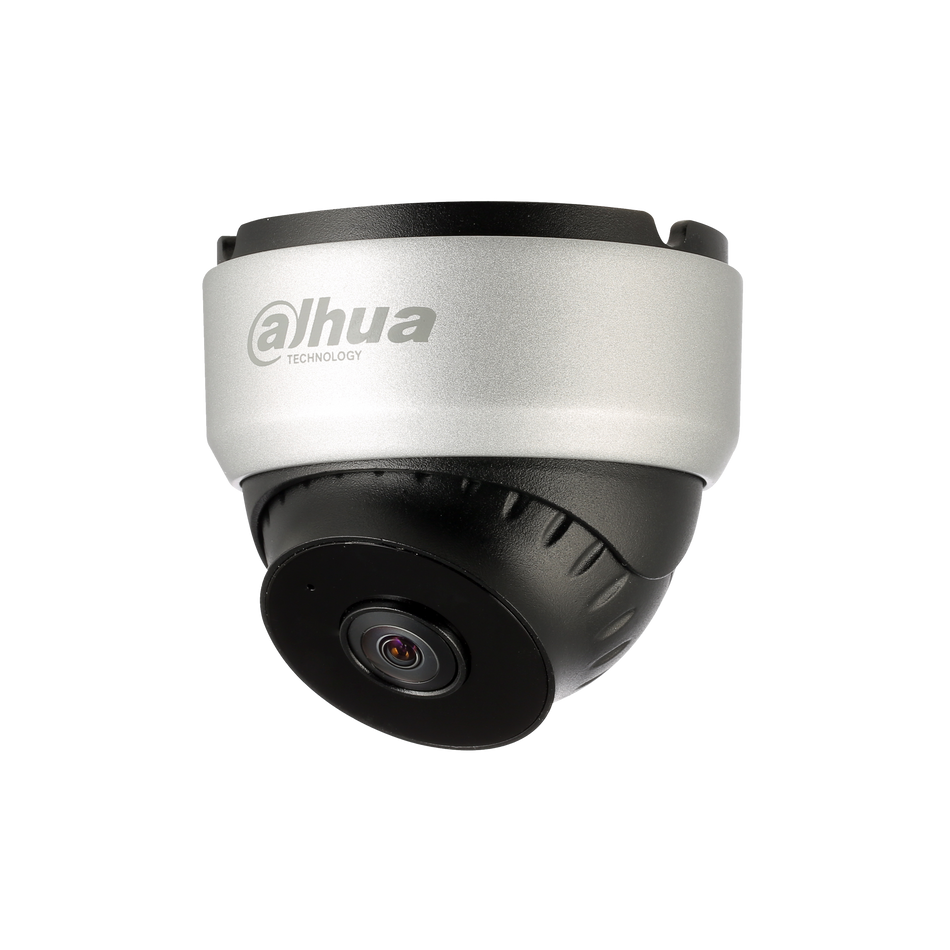
Installing DAHUA HDBW Cameras (DOME Cameras)

Step 1: Open the Dome Enclosure
Use the star-shaped wrench provided in the accessories bag to unscrew and open the dome enclosure.
Step 2: Apply the Installation Position Map
Take the installation position map from the bag and affix it to the ceiling or wall based on your surveillance needs.
Step 3: Mark and Drill Holes for Expansion Bolts
Identify the "cross" signs on the map and drill holes accordingly. Insert and secure the expansion bolts into these holes.
Step 4: Attach the Device Pedestal
Adjust the installation pedestal and align it with the marked holes. Secure it with the provided screws.
Step 5: Adjust the Lens Angle
Adjust the lens angle both vertically and horizontally to cover the desired area. Once the correct angle is achieved, tighten the locking screws.
Side Wiring and Cable Connection
For side wiring, lift the dome enclosure and secure the camera screws with an inner hex wrench. Ensure the cables are routed and the enclosure is reassembled.
Waterproof Sealing
Utilize the waterproof sealing plugs to manage cables that pass through the device pedestal. These plugs support cables with a diameter between 4.0mm to 6.0mm, allowing for user-friendly waterproof operations.
Conclusion
Properly mounting your DAHUA DOME and Bullet cameras is key to achieving a secure and effective surveillance system. By following these detailed steps, you can ensure that your cameras are installed correctly, providing you with comprehensive coverage and peace of mind. Always refer to the specific instructions provided with your camera model for any unique requirements or additional guidance.


