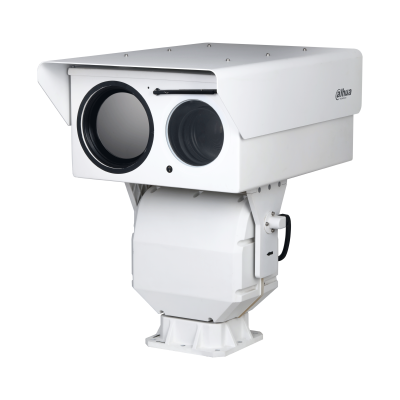
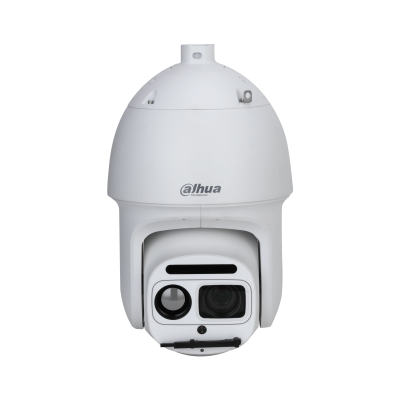
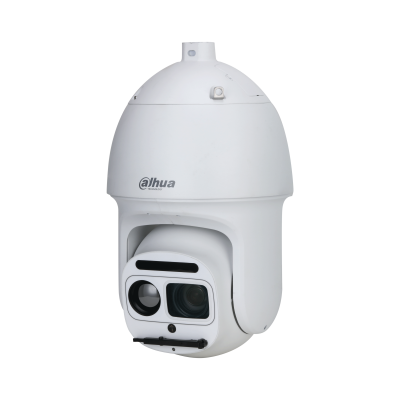
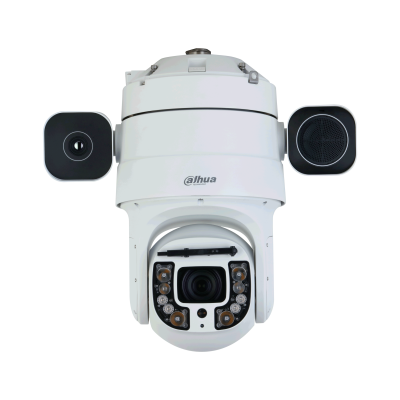
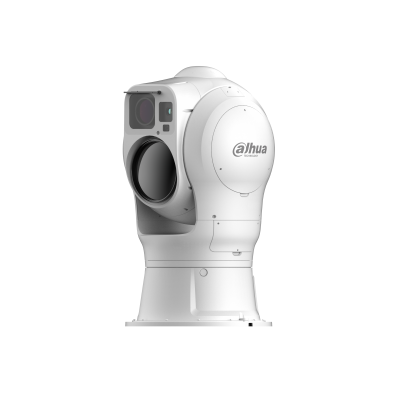
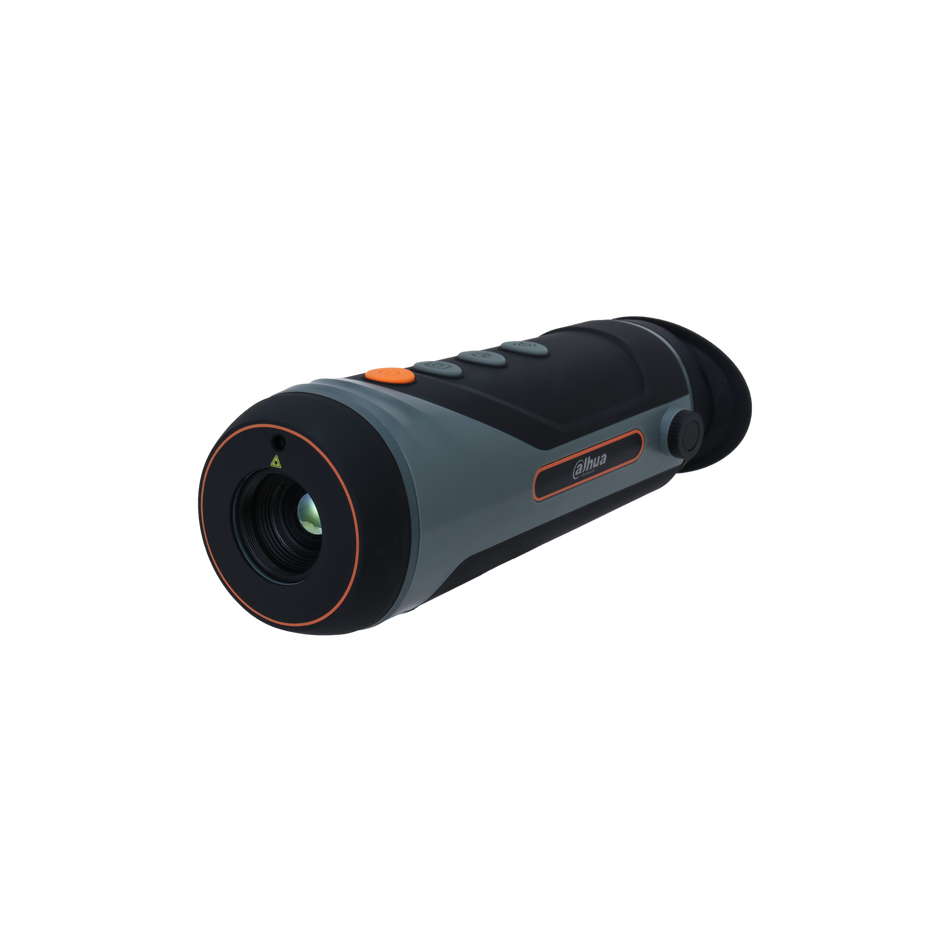
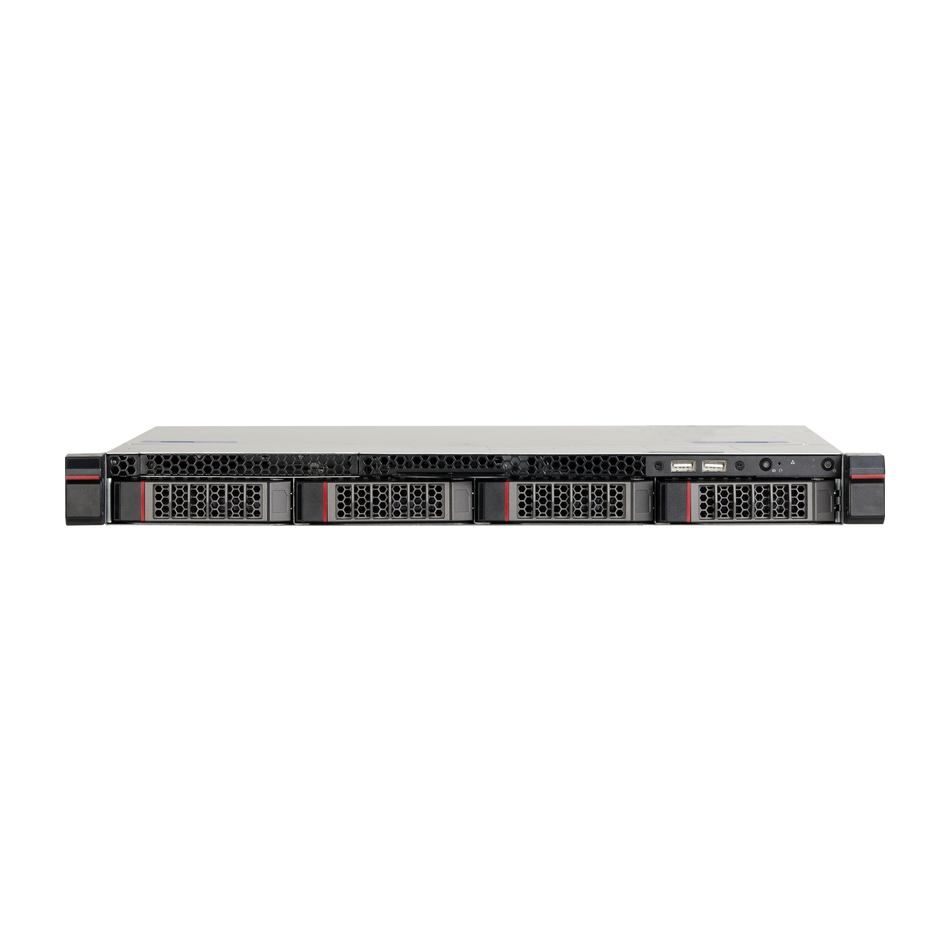
When setting up your new DAHUA IP Camera, it's crucial to follow some basic safeguards and warnings to ensure the longevity and proper functioning of the device. This comprehensive guide will walk you through the essential steps for a safe and efficient installation.
Electrical Safety First
Always adhere to your local electrical safety codes when installing and operating your DAHUA IP Camera. Proper grounding is a must to minimize the risk of electric shock. Remember, we cannot be held responsible for damages due to improper handling or installation.
Handling with Care During Transportation
Avoid exposing your camera to heavy stress, violent vibrations, or water splashes during transport, storage, and installation. Treat your device with the care it deserves to maintain its integrity.
Precise Installation Guidelines
- Keep the camera upright and handle it with the utmost care.
- Do not power on the DAHUA NVR until installation is complete.
- Avoid placing any objects on top of the NVR to prevent damage.
Seeking Expert Assistance
Ensure that all inspections and repairs are carried out by qualified service engineers. Unauthorized modifications or repairs are not covered under our liability.
Ideal Environmental Conditions
Install your NVR in a cool, dry place, away from direct sunlight and flammable or explosive materials. Adhere to the specified environments for transportation, storage, and use as outlined by the manufacturer.
Manufacturer-Recommended Accessories
Use only the accessories suggested by DAHUA. Upon opening the package, verify that all components are present. If anything is missing or broken, contact your local retailer immediately.
Lithium Battery Safety
Improper use of lithium batteries can lead to fire, explosion, or personal injury. When replacing the battery, ensure you use the exact model and follow the instructions carefully. Keep the battery away from extreme temperatures, direct sunlight, and humidity. Avoid vibrations and ensure proper ventilation.
Hardware Installation and Connection
Conform to your local electric safety rules during installation and operation.
Upon Receiving Your NVR
- Inspect for visible damage and check the accessories against the list provided.
- Remove the protective film after confirming the contents.
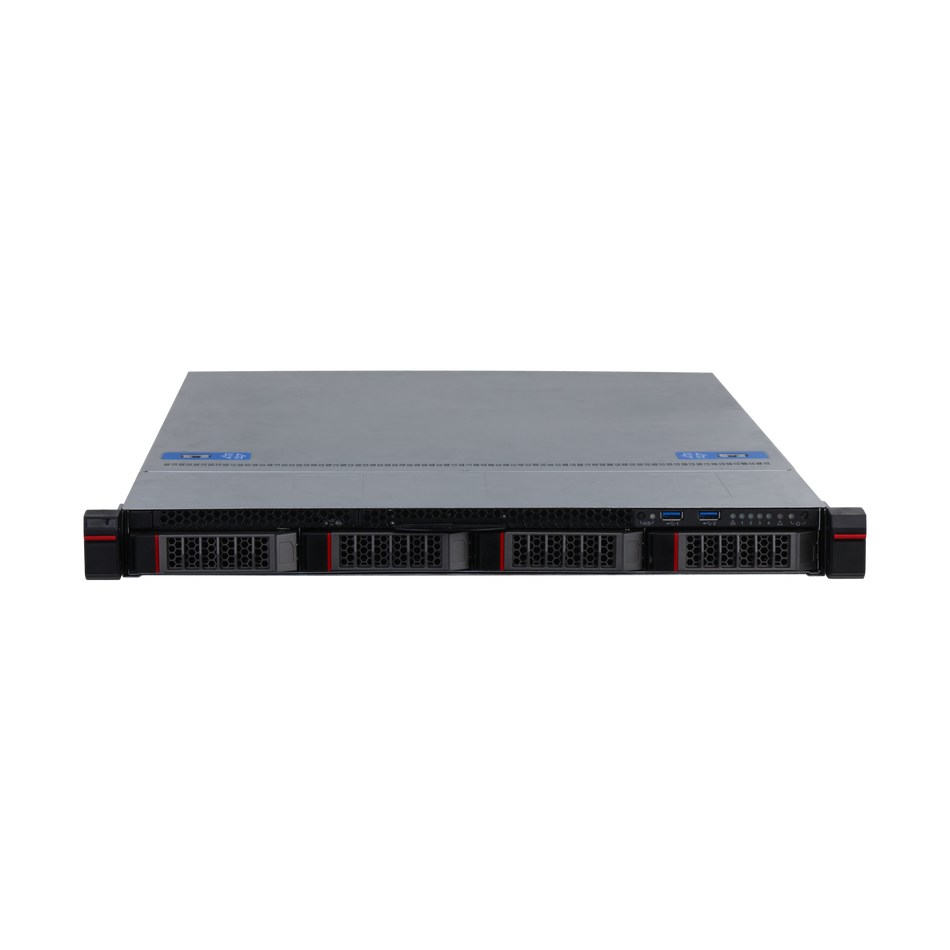
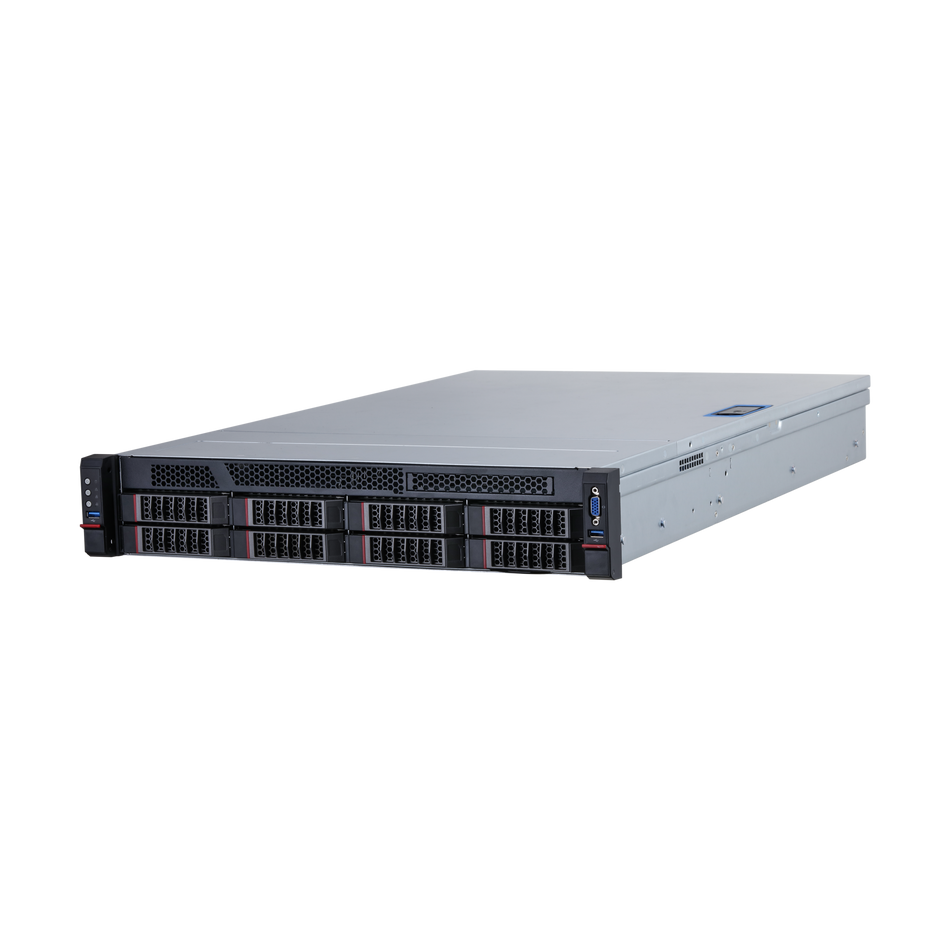
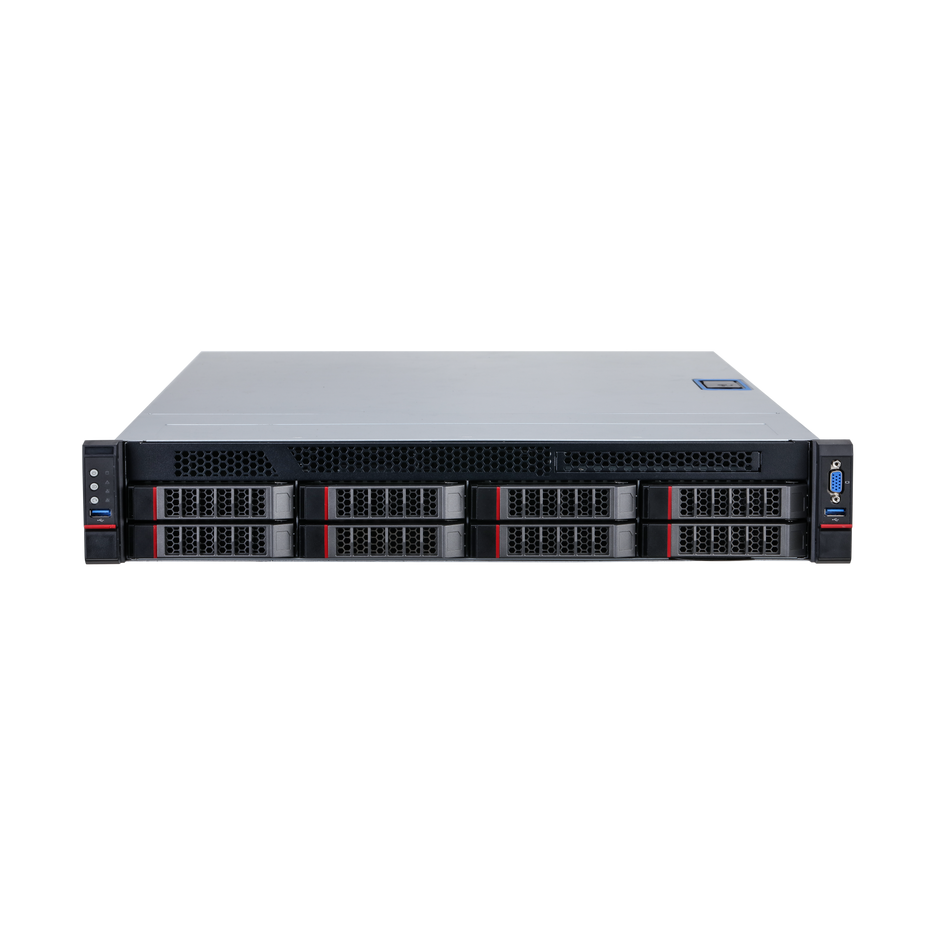
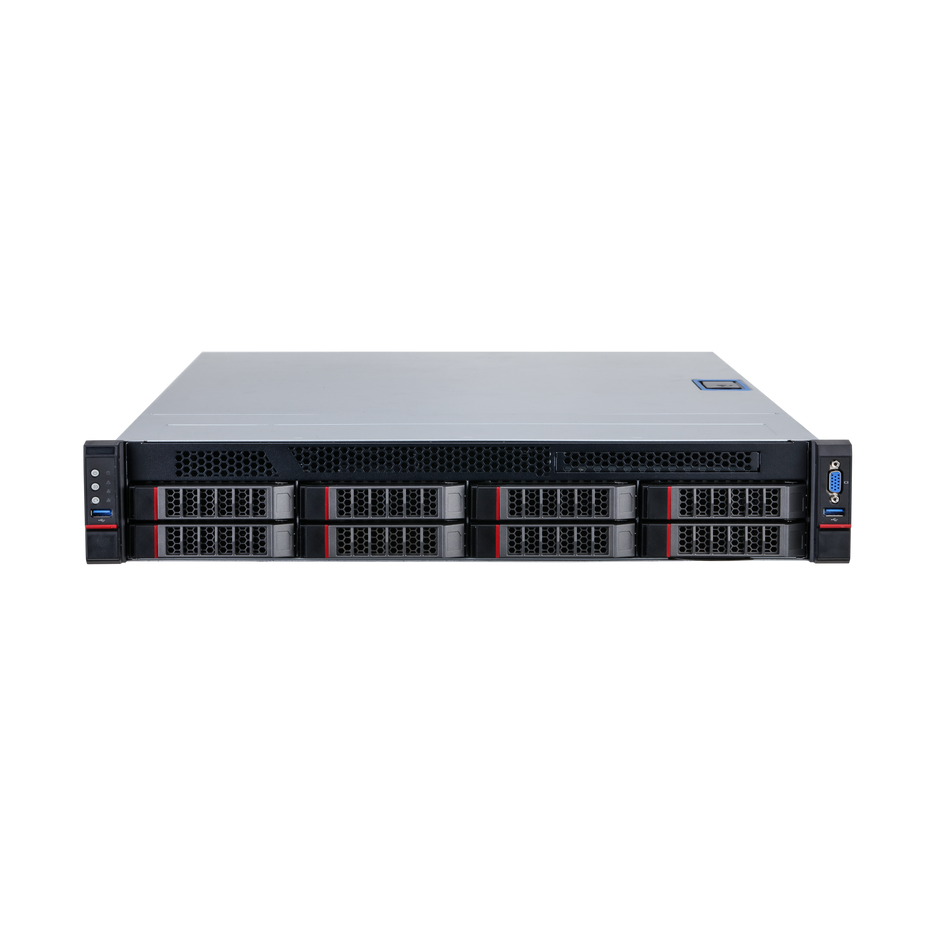
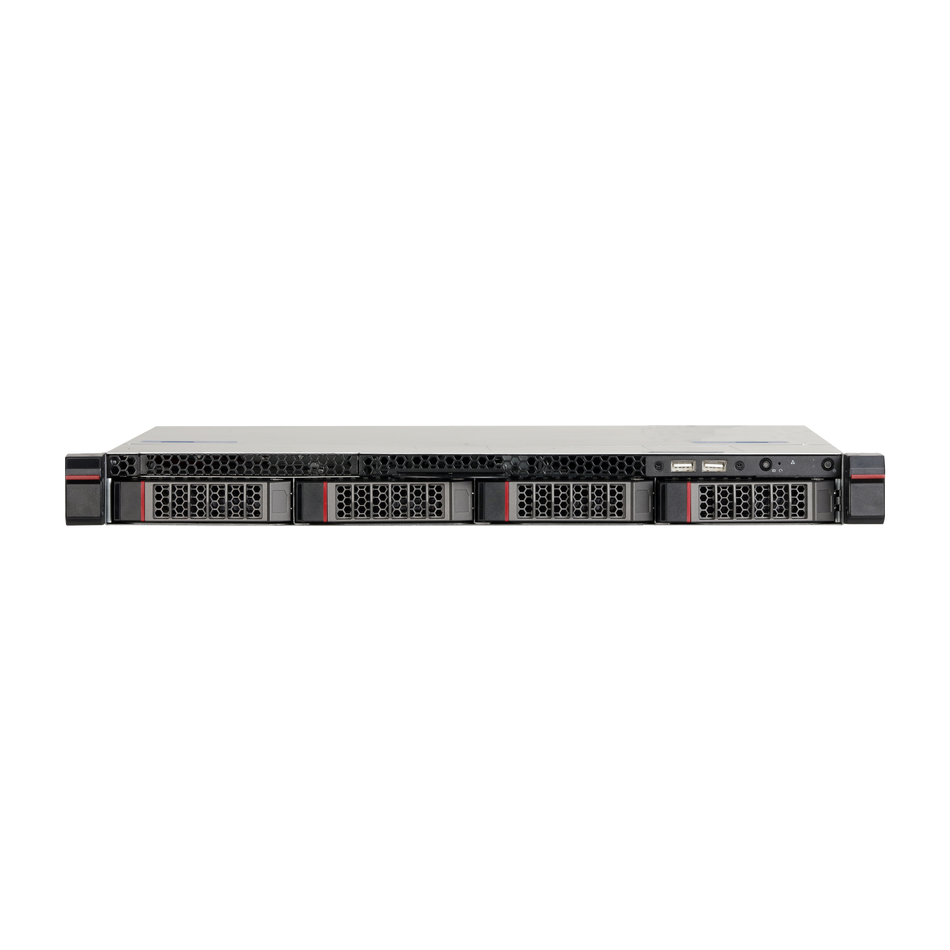
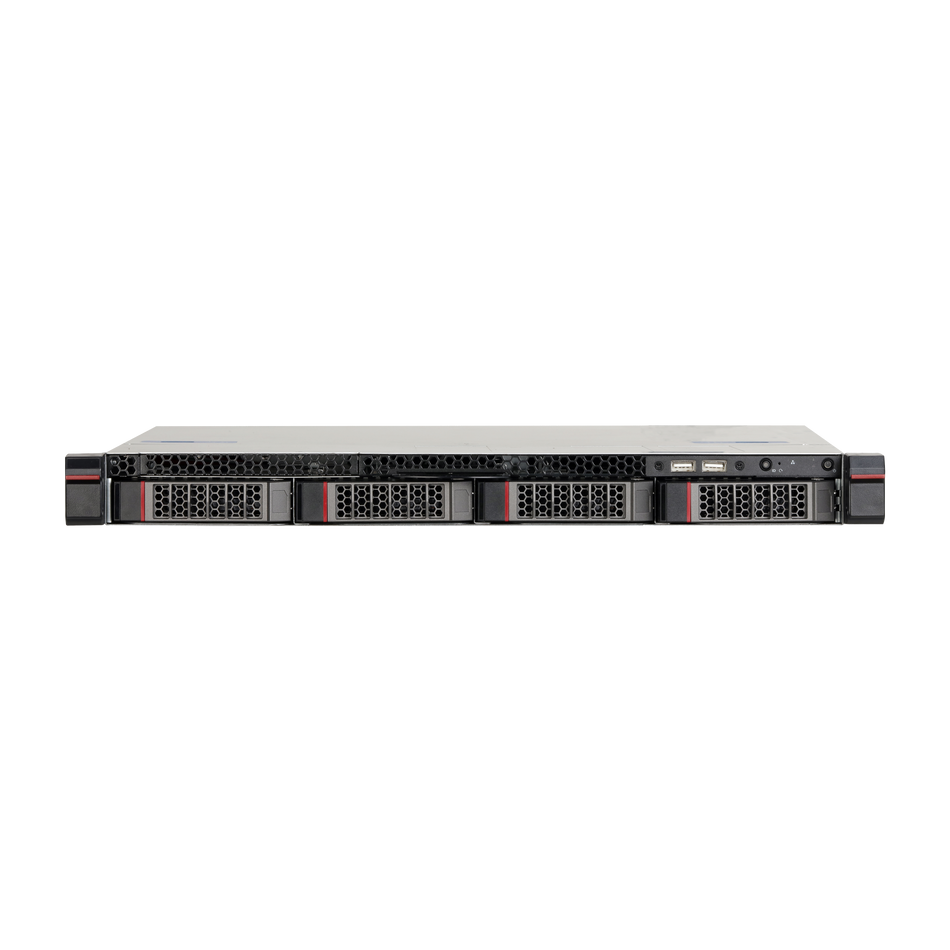
Front and Rear Panel Details
Refer to the User’s Manual for information on the front panel controls and rear panel ports. The model and serial numbers on the labels are essential for identification and售后服务.
Secure Connections Post-Chassis Removal
After removing the chassis, confirm that all cables, including data, power, COM, and motherboard cables, are securely connected.
HDD Installation and Connection
- Power off before replacing the HDD. Use a 7200rpm or higher HDD as recommended in the User’s Manual.
- Place the HDD in the bracket, align, and secure it with screws.
- Connect the data cable to both the HDD and the main board, and attach the power cable to the HDD.
Final Assembly
Replace the front cover, secure the rear panel screws, and ensure all connections are in place.
By following these guidelines, you can ensure a safe and efficient setup of your DAHUA IP Camera, providing you with reliable surveillance for your property.


