
Dahua IR Light & Smart Illumination (Web 5.0 Complete Guide)
Dahua IR (Infrared) Light and Smart Illumination are core features for 24/7 surveillance, specifically designed to deliver clear footage in low-light and no-light environments. IR Light provides invisible infrared radiation to illuminate dark scenes, while Smart Illumination (including Smart IR) dynamically adapts light intensity to avoid overexposure, ensure long-range clarity, and maintain consistent visibility. This comprehensive guide is optimized for the Dahua Web 5.0 interface, compatible with all IR-equipped Dahua camera models (bullet, dome, turret, PTZ, AI-enabled), and provides step-by-step instructions to enable, configure, and optimize IR Light and Smart Illumination. It also includes key feature definitions, prerequisites, ideal use cases, and troubleshooting tips to help you avoid common issues and maximize nighttime surveillance performance.
Key Definitions: IR Light & Smart Illumination
Before configuring these features, it’s critical to understand their functions and differences to tailor settings to your specific monitoring scenario. These features work together to solve nighttime lighting challenges, ensuring clear, detailed footage even in complete darkness:
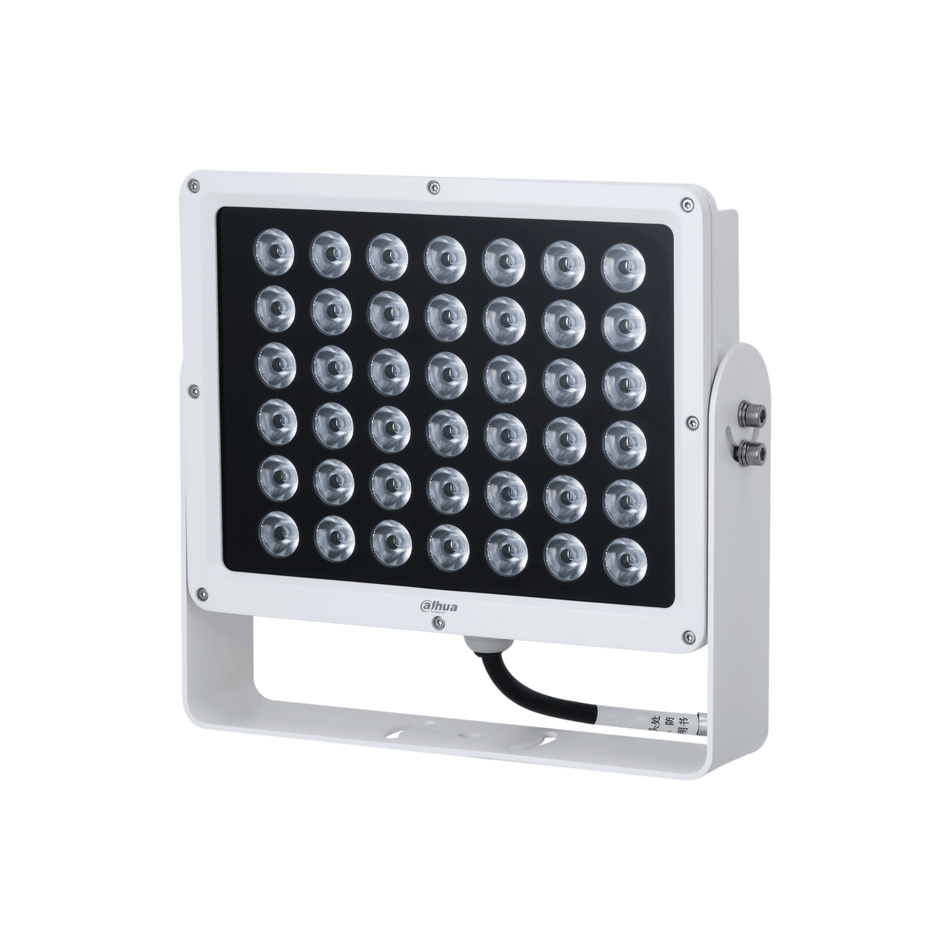
- IR Light: A built-in feature that emits invisible infrared light (undetectable by the human eye) to capture sharp black-and-white footage in no-light environments (0 Lux). It works with the camera’s IR sensor to reflect light off objects, enabling 24/7 monitoring regardless of ambient light. IR Light has adjustable intensity and range (typically 10m–100m, depending on the camera model), making it suitable for both indoor and outdoor use.
- Smart Illumination: An advanced enhancement to standard IR, featuring Smart IR and Magnification Priority modes. Smart IR automatically adjusts light intensity based on the distance of objects in the scene—reducing intensity for close-range objects (e.g., walls, faces) to prevent overexposure and increasing intensity for long-range targets (e.g., parking lots, yards) to maintain clarity. Magnification Priority mode dynamically adapts illumination based on real-time scene brightness changes, ensuring consistent visibility as lighting conditions shift (e.g., dusk to night).
-
ICR Filter (Infrared Cut Filter): A companion feature to IR Light that enables automatic day/night mode switching. During the day, it blocks IR light to preserve color accuracy in color mode; at night, it allows IR light to pass through, switching the camera to black-and-white mode and activating IR illumination. This ensures optimal image quality in both day and night scenarios.

Prerequisites Before Setup
To ensure successful configuration of IR Light and Smart Illumination, and avoid common errors, meet these prerequisites before starting:
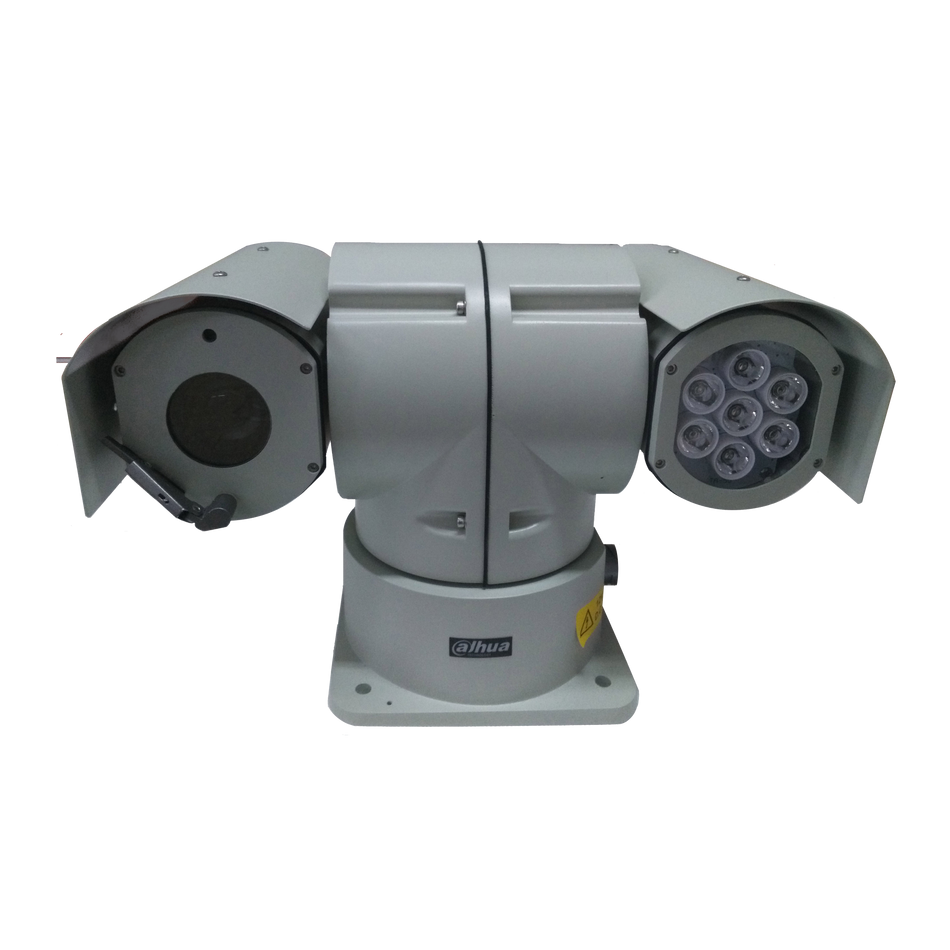
- IR-Equipped Dahua Camera: Verify your camera model supports IR Light (most outdoor and night-focused Dahua cameras do; entry-level indoor models may not). Check the camera’s product specifications or physical design (look for IR LEDs around the lens) to confirm.
- Web 5.0 Firmware: Ensure your camera is running the latest Web 5.0 firmware to access all IR and Smart Illumination settings. Update the firmware via the Web interface (Setting → System → Firmware Upgrade) if using an older version.
- Admin Account Access: Log in to the camera’s Web 5.0 interface using an administrator account (default username: “admin”). Standard user accounts lack permission to modify IR and illumination settings.
- Proper Camera Positioning: Avoid placing the camera near reflective surfaces (e.g., walls, glass, metal) to prevent IR reflection, which causes overexposure and blurry footage. Position the camera to face away from direct light sources (e.g., streetlights) that may interfere with IR performance.
- Stable Power Supply: IR Light requires consistent power to function properly. Ensure the camera is powered by stable 12V DC or PoE (Power over Ethernet) to avoid IR flickering, dimming, or failure.
- Calibrated Monitor: Use a calibrated monitor to preview IR and Smart Illumination adjustments in real time. Uncalibrated monitors may display inaccurate brightness, leading to incorrect setting adjustments.
Step-by-Step Configuration (Web 5.0 Interface)
IR Light and Smart Illumination settings are located in the same menu section of the Dahua Web 5.0 interface, making configuration straightforward. Follow these steps to enable and optimize these features for your monitoring environment:
Step 1: Access the IR & Smart Illumination Settings Menu
- Open a compatible web browser (Chrome, Edge, or Firefox—avoid Internet Explorer/Safari for Web 5.0 compatibility) and enter your camera’s internal IP address (e.g., http://192.168.1.108) in the address bar. Note: If you encounter a “URL spelling may be incorrect” error, double-check the IP address for typos, ensure the camera is connected to the same network as your computer, and verify the camera is powered on.
- Log in with your admin username and password (default username: “admin”; default password may be on the camera’s product label or require initial activation).
- Navigate to the IR and Smart Illumination settings page: Setting → Camera → Image → Day/Night. This menu houses all IR-related configurations, including ICR Filter, IR intensity, and Smart Illumination modes.
Step 2: Configure ICR Filter (Day/Night Mode)
The ICR Filter must be properly configured to ensure IR Light activates automatically at night. Follow these steps to set up day/night mode:
- In the Day/Night menu, locate the Day/Night Mode dropdown menu (default is typically “Auto”).
- Select Auto to enable automatic day/night switching. This allows the camera to detect ambient light levels and switch between color (day) and black-and-white (night) modes automatically, activating the ICR Filter and IR Light when light levels drop.
- Adjust the Day/Night Threshold (optional): This setting determines the light level at which the camera switches to night mode (IR on). Set it to 10–20 Lux for most outdoor scenarios (dusk) or 5–10 Lux for indoor low-light areas. Avoid setting it too low, as this may delay IR activation.
- Enable ICR Auto Switch (if available): This ensures the ICR Filter automatically blocks IR light during the day and allows it to pass at night. Leave this setting enabled for optimal color accuracy and IR performance.
- Click Apply to save changes. Test the setting by dimming the ambient light (or waiting until dusk) to confirm the camera switches to night mode and activates IR Light.

Step 3: Configure IR Light (Intensity & Range)
IR Light intensity controls the brightness of the infrared illumination, while range settings (if available) adjust how far the IR light reaches. Follow these steps to configure IR Light:
- In the Day/Night menu, scroll down to the IR Settings section.
- Locate the IR Enable toggle switch and select “On” to activate IR Light (default is typically “On” for night mode).
- Adjust the IR Intensity (typically a slider or level 1–10, depending on the camera model):
- Level 1–3: Low intensity, ideal for close-range monitoring (e.g., indoor hallways, small rooms, 10–20m range).
- Level 4–7: Medium intensity, optimal for most outdoor scenarios (e.g., yards, small parking lots, 20–50m range).
- Level 8–10: High intensity, for long-range monitoring (e.g., large parking lots, open fields, 50–100m range). Note: Higher intensity may consume more power and cause slight noise in footage—test to find the right balance. - Set the IR Range (if available): Some Dahua cameras allow you to adjust the IR range to match your monitoring area. Select a range that covers your target area (e.g., 30m, 50m) to avoid wasting power on unnecessary coverage.
- Enable IR Sync (if available): This synchronizes IR Light activation with night mode, ensuring IR turns on immediately when the camera switches to black-and-white mode. Leave this enabled for seamless operation.
- Click Apply and preview the live view in low-light conditions to verify IR performance. Ensure objects in the target range are clear and not overexposed.

Step 4: Configure Smart Illumination (Smart IR & Magnification Priority)
Smart Illumination enhances standard IR by dynamically adjusting intensity, preventing overexposure and improving long-range clarity. Follow these steps to configure Smart Illumination:
- In the IR Settings section (same Day/Night menu), locate the Smart Illumination toggle switch and select “On” (default is typically “Off”).
- Select the Smart Illumination Mode (dropdown menu, if available):
- Smart IR: Automatically adjusts IR intensity based on object distance. Reduces intensity for close-range objects (e.g., a person standing 5m from the camera) to avoid overexposure and increases intensity for long-range objects (e.g., a car 50m away) to maintain clarity. This is the most commonly used mode for most scenarios.
- Magnification Priority: Dynamically adjusts IR intensity based on real-time scene brightness and camera zoom level. When zooming in on a distant object, it increases IR intensity to maintain clarity; when zooming out, it reduces intensity to avoid overexposure. Ideal for PTZ cameras or scenarios requiring frequent zoom adjustments. - Adjust the Smart IR Sensitivity (if available): This setting controls how quickly Smart IR adjusts intensity based on object distance. Set it to “Medium” for most scenarios—higher sensitivity for fast-moving objects, lower sensitivity for static scenes.
- Enable Anti-IR Reflection (if available): This reduces overexposure caused by IR light reflecting off nearby surfaces (e.g., walls, glass). Enable this if you notice washed-out areas in your IR footage.
- Click Apply and test the live view. Move objects at different distances from the camera to confirm Smart Illumination adjusts intensity dynamically—close objects should not be overexposed, and distant objects should be clear.
Ideal Use Cases for IR Light & Smart Illumination
Tailor IR Light and Smart Illumination settings to your specific monitoring environment to achieve the best results. Below are common use cases and recommended configurations:
-
Indoor Low-Light Areas (e.g., hallways, basements, storage rooms):
IR Intensity: Level 2–4 (low to medium).
Smart Illumination Mode: Smart IR.
Day/Night Threshold: 5–10 Lux.
Note: Avoid placing the camera near reflective surfaces (e.g., metal shelves, glass doors) to prevent IR reflection. -
Outdoor Small Areas (e.g., yards, porches, small parking lots):
IR Intensity: Level 5–7 (medium).
Smart Illumination Mode: Smart IR.
IR Range: 20–50m.
Note: Ensure the camera is positioned to avoid direct streetlight interference. -
Outdoor Large Areas (e.g., large parking lots, open fields, industrial yards):
IR Intensity: Level 8–10 (high).
Smart Illumination Mode: Smart IR or Magnification Priority (for PTZ cameras).
IR Range: 50–100m (depending on camera model).
Note: Use stable PoE power to support high IR intensity. -
PTZ Camera Monitoring (e.g., large facilities, campuses):
IR Intensity: Level 6–9 (medium to high).
Smart Illumination Mode: Magnification Priority.
IR Sync: Enabled (to match zoom and IR intensity).
Common Issues & Troubleshooting Tips
Even with proper configuration, you may encounter issues with IR Light or Smart Illumination. Below are common problems and step-by-step solutions:
1. IR Light Not Activating at Night
Issue: The camera does not switch to night mode or activate IR Light when ambient light levels drop.
Solutions: Verify Day/Night Mode is set to “Auto” (not “Force Day”).Lower the Day/Night Threshold (e.g., from 20 Lux to 10 Lux) to trigger IR activation earlier.Check if the ICR Filter is enabled—disable “Force Day” mode if active.Update the camera’s firmware to fix potential software bugs affecting IR activation.Ensure the camera is receiving stable power (IR Light may fail to activate with unstable power).
2. IR Overexposure (Washed-Out Footage)
Issue: Close-range objects (e.g., walls, faces, doors) are overexposed and lack details in IR mode.
Solutions: Reduce IR Intensity (e.g., from Level 8 to Level 4–5).Enable Smart IR to dynamically adjust intensity based on object distance.Reposition the camera to avoid direct IR reflection from nearby surfaces (e.g., move it away from walls or glass).Enable Anti-IR Reflection (if available) in the IR Settings menu.
3. Noisy IR Footage (Grainy, Fuzzy Details)
Issue: Nighttime IR footage is grainy or fuzzy, with little detail.
Solutions: Reduce IR Intensity (higher intensity can amplify noise).Enable 2D/3D Noise Reduction (Setting → Camera → Image → Noise Reduction) to reduce graininess.Adjust the camera’s exposure (Setting → Camera → Image → Exposure) to a slower shutter speed (e.g., 1/30 seconds) to capture more light.Ensure the camera lens is clean (dust or smudges can cause fuzzy footage).
4. IR Flickering or Dimming
Issue: IR Light flickers on and off or dims unexpectedly during night mode.
Solutions: Check the camera’s power supply—ensure it’s stable (use a dedicated 12V DC adapter or PoE switch).Reduce IR Intensity (high intensity may strain the power supply).Update the camera’s firmware to fix software issues causing flickering.Check for loose power or network cables, which can cause intermittent IR failure.
5. Smart Illumination Not Working
Issue: Smart IR or Magnification Priority mode does not adjust intensity dynamically.
Solutions: Verify Smart Illumination is enabled in the IR Settings menu.Ensure the camera model supports Smart Illumination (check product specifications).Update the camera’s firmware to access the latest Smart Illumination features.Adjust Smart IR Sensitivity to “Medium” or “High” to ensure dynamic adjustments.
Best Practices for IR Light & Smart Illumination
- Test in Real-Time: Adjust IR and Smart Illumination settings during low-light conditions (dusk or night) to ensure accuracy. Preview the live view while making adjustments to find the optimal intensity and mode.
- Avoid Over-Adjusting IR Intensity: Higher intensity does not always mean better footage—excessive intensity causes overexposure and noise. Use the lowest intensity that provides clear coverage of your target area.
- Clean the Camera Lens Regularly: Dust, dirt, or smudges on the lens can block IR light and reduce image clarity. Clean the lens with a soft, lint-free cloth periodically.
- Save Presets: Once you find optimal settings for your environment, save them as presets (if available) to quickly restore settings after firmware updates or resets.
- Match IR Range to Monitoring Area: Set the IR range to cover only your target area to save power and avoid unnecessary overexposure.
- Update Firmware Regularly: Dahua firmware updates often include improvements to IR performance, Smart Illumination, and bug fixes for common issues.
Conclusion
Configuring Dahua IR Light and Smart Illumination is essential for achieving clear, detailed nighttime surveillance footage. By following the step-by-step instructions for the Web 5.0 interface, understanding each feature’s purpose, and applying the best practices outlined in this guide, you can optimize IR performance for your specific monitoring environment—whether it’s an indoor hallway, small yard, or large outdoor facility. Remember to test adjustments in real time, troubleshoot common issues promptly, and keep the camera’s firmware updated to maintain consistent performance. With proper configuration, IR Light and Smart Illumination will ensure reliable 24/7 surveillance, even in the darkest conditions.