
How to Set Up Dahua Face Recognition & Face Database Correctly
For offices, retail stores, factories, hotels, and residential buildings, Dahua AI face recognition has become one of the most reliable security tools. It allows you to identify staff, grant access to VIP visitors, detect unauthorized strangers, and trigger alarms automatically. However, many users struggle with poor accuracy, missed detections, or false recognitions because the system is not configured properly.
The truth is: Dahua face recognition works extremely well—when you set it up the right way.
In this complete guide, we will walk you through every official step to enable face recognition, create and manage a face database, add faces, run modeling, set up arming alarms, and optimize performance. All instructions are based on the Dahua Web 5.0 official operation manual and real-world installation experience. By following this guide, you will achieve stable, accurate face recognition within minutes.
What You Will Learn
- How to enable face recognition on Dahua IP cameras
- How to create and organize a face database
- How to add single or batch face images correctly
- How to run face modeling for best accuracy
- How to set arming, similarity, and alarm linkage
- Pro tips to eliminate false recognitions
- Recommended settings for daily & high‑security use
Prerequisites
Before you start:
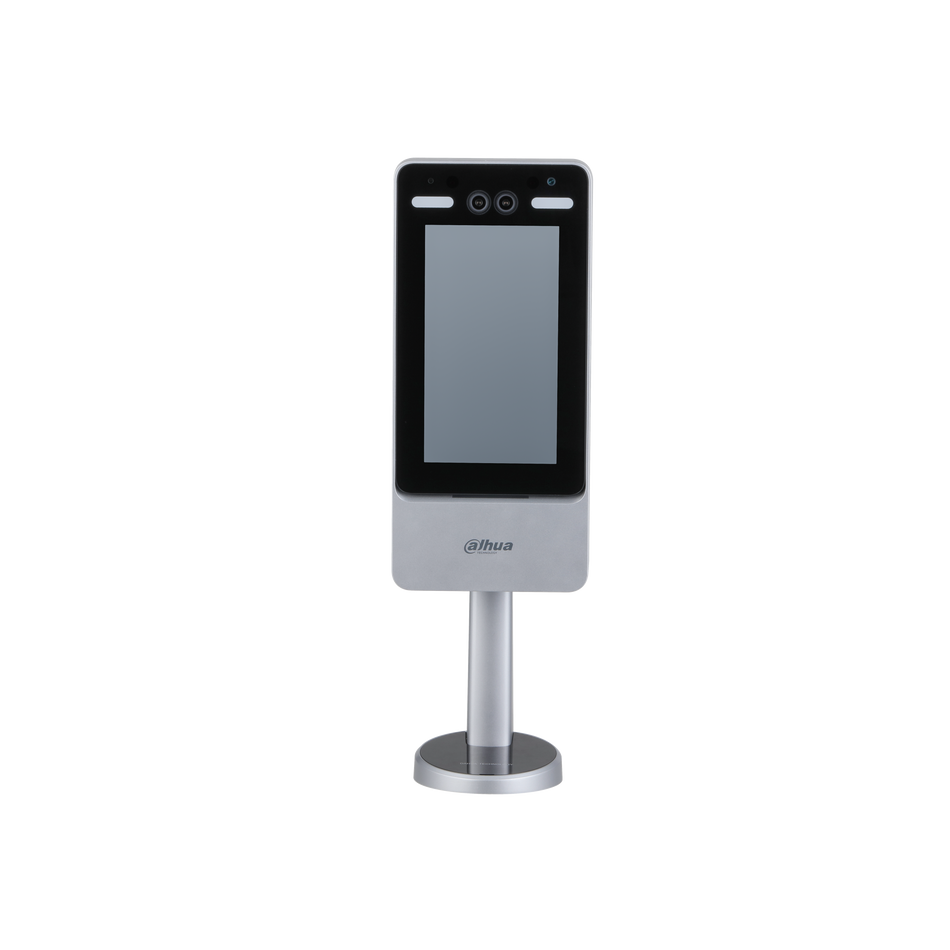
- Use a Dahua AI network camera that supports face recognition
- Log in via the Web 5.0 interface
- Use clear front‑facing face photos (no masks, glasses, or heavy backlight)
- Update your camera to the latest firmware
Step 1: Enable Face Recognition
First, you must activate the face recognition function in the camera’s AI module.

- Log in to your Dahua camera web UI.
- Go to AI → Smart Plan.
- Find Face Recognition and enable it.
- Click Next to enter the configuration page.
- Toggle Enable to activate face recognition.
Recommended Basic Settings
- Mode: General Mode (for recognition) or Counting Mode (for people counting)
- Non-living Filtering: Enable (blocks photos/masks)
- Target Box Overlay: Enable
- Remove Duplicate Faces: Set 5–10 seconds to avoid repeated alerts
- Face Cutout: One-inch Photo (best for recognition)
- Face Exposure: Enable (improves clarity in low light)
- Snapshot Mode: Optimized
Click Apply to save.
Step 2: Create a Face Database
The face database stores registered faces for comparison.

- On the Face Recognition page, click Face Database Config.
- Click Add.
- Name your database (e.g., Staff, VIP, Visitors, Blacklist).
- Click OK.
You can create up to 5 face databases for different groups.
Step 3: Add Face Images
You can add faces one by one or in batch.
Option A: Add Single Face
- Click the Manage icon next to your database.
- Click Register.
- Click Upload and select a face photo.
- Fill in name, ID, and other details.
- Click Add to task list.
- Click Operation to finish.
Option B: Batch Import Faces
For large teams or projects:
- Prepare photos named in this format:
- Name#SGender#BBirthday#TCredentialType#MIDNo.jpg
- Example: John#S1#B1990-01-01#T1#M0001.jpg
- Go to Batch Register.
- Select all photos and click Import.
Face Photo Requirements (Official Dahua Standard)
- Format: JPG
- Size: 50KB–150KB
- Face occupies 30–60% of the image
- Full front view, no hat, mask, or glasses
- No heavy backlight
- Clear facial features
Step 4: Run Face Modeling
Modeling extracts facial features for recognition. This step is REQUIRED.
- In the face database, click Modeling All.
- Wait 1–3 minutes.
- Check status:
- Valid: Success
- Invalid: Failed (replace photo)
Modeling must show Valid for recognition to work.
Step 5: Set Up Arm Alarm & Similarity
This step controls recognition sensitivity and alarms.
- In Face Database Config, click the Arm Alarm icon.
- Enable Arm.
- Set Similarity:
- Daily use: 70–85
- High security: 90+
- Set Time Plan (full time or custom schedule).
- Configure alarm mode:
- All: Alert on match and stranger
- General: Alert only on database match
- Stranger: Alert only on unknown faces
- Set alarm linkage:
- Alarm output
- Recording
- Snapshot
- Email alert
- Audio linkage
Click Apply.
Step 6: View Face Recognition Results
- Go to the Live page.
- In the top-right menu, change display mode to Face Mode.
You will see:
- Real-time face capture
- Matching database photo
- Similarity score
- Face attributes (gender, age, mask)
Pro Tips to Improve Recognition Accuracy
1. Use Good Lighting
Avoid backlight, strong glare, or extreme darkness.
2. Enable Face Exposure
This brightens faces automatically for clearer capture.
3. Set Proper Detection Area
Draw a zone only at entrances or walkways to reduce interference.
4. Update Firmware
Dahua regularly improves AI algorithms via updates.
5. Use Only Valid Face Photos
Blurry, side-faced, or blocked photos cause recognition failure.
Troubleshooting Common Issues
Face not detected?
- Enable face detection
- Lower sensitivity slightly
- Adjust lighting
Recognition fails often?
- Re-upload clearer photos
- Re-run modeling
- Lower similarity to 75–80
Too many false alerts?
- Enable Non-living Filtering
- Set detection area
- Use scheduled arming
Conclusion
Dahua face recognition is incredibly powerful when configured correctly. By enabling the function properly, creating a clean face database, uploading valid photos, running modeling, and setting appropriate similarity levels, you can build a highly reliable identification system for business or home security.
With this guide, you now have the complete official setup process used by professional installers. Your Dahua camera will deliver stable, accurate face recognition every day.