
How to Set Dahua ANPR License Plate Recognition
Complete Setup Guide
Overview
Dahua ANPR (Automatic Number Plate Recognition), also commonly referred to as LPR (License Plate Recognition), is an advanced AI-powered intelligent solution designed specifically for a wide range of scenarios, including commercial parking lots, highway toll stations, building entrances and exits, municipal highways, industrial parks, residential communities, and logistics and warehousing sites. This cutting-edge technology leverages deep learning algorithms to automatically capture, recognize, record, and trigger alarms for vehicle license plates in real time, eliminating the need for manual intervention in most vehicle management processes. Beyond basic plate recognition, Dahua ANPR supports a comprehensive suite of functions, such as automated entry and exit management (enabling hands-free vehicle access), blacklist and whitelist control (to restrict or authorize specific vehicles), accurate parking fee calculation (integrated with parking management systems), quick vehicle search (by plate number, time, or location), and seamless gate/barrier linkage (to automate opening and closing based on recognition results).
To achieve the industry-standard 98%+ recognition accuracy that Dahua ANPR is capable of, it is crucial to follow a systematic approach that includes correct device installation, precise image optimization, rational rule setup, careful parameter tuning, and proper alarm linkage configuration. Even minor deviations in any of these steps can significantly reduce recognition performance, leading to missed plates, incorrect, or delayed responses. This complete setup guide provides a detailed, step-by-step tutorial for correctly configuring Dahua ANPR, covering every critical aspect from camera mounting and web interface configuration to NVR setup, image parameter tuning, advanced accuracy optimization, and common troubleshooting solutions. Whether you are a security professional, a parking lot manager, or a technical installer, this guide will help you maximize the performance of your Dahua ANPR system.
1. Prerequisites for ANPR
1.1 Supported Devices
To ensure the smooth operation of Dahua ANPR, you must use compatible Dahua devices and accessories. Using non-compatible equipment may result in functional failures or reduced performance. The key supported devices include:
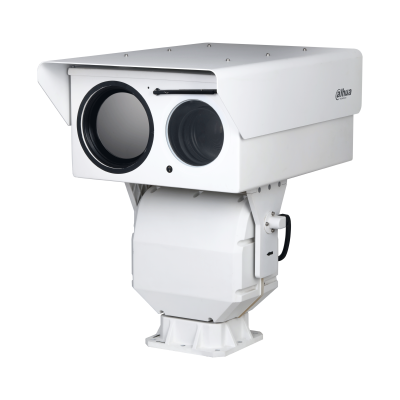
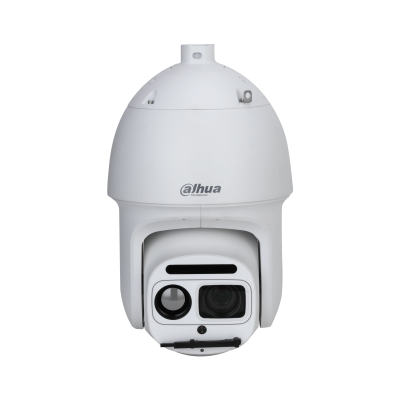
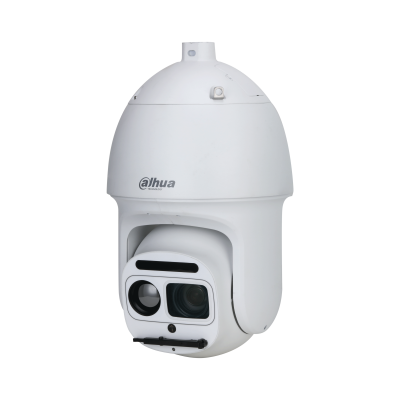
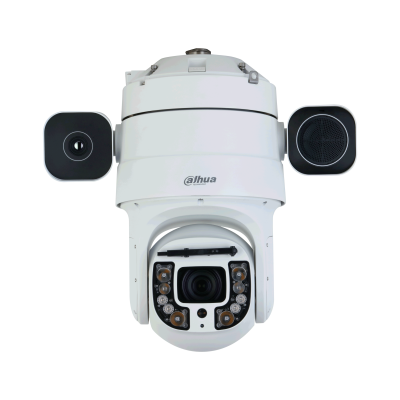
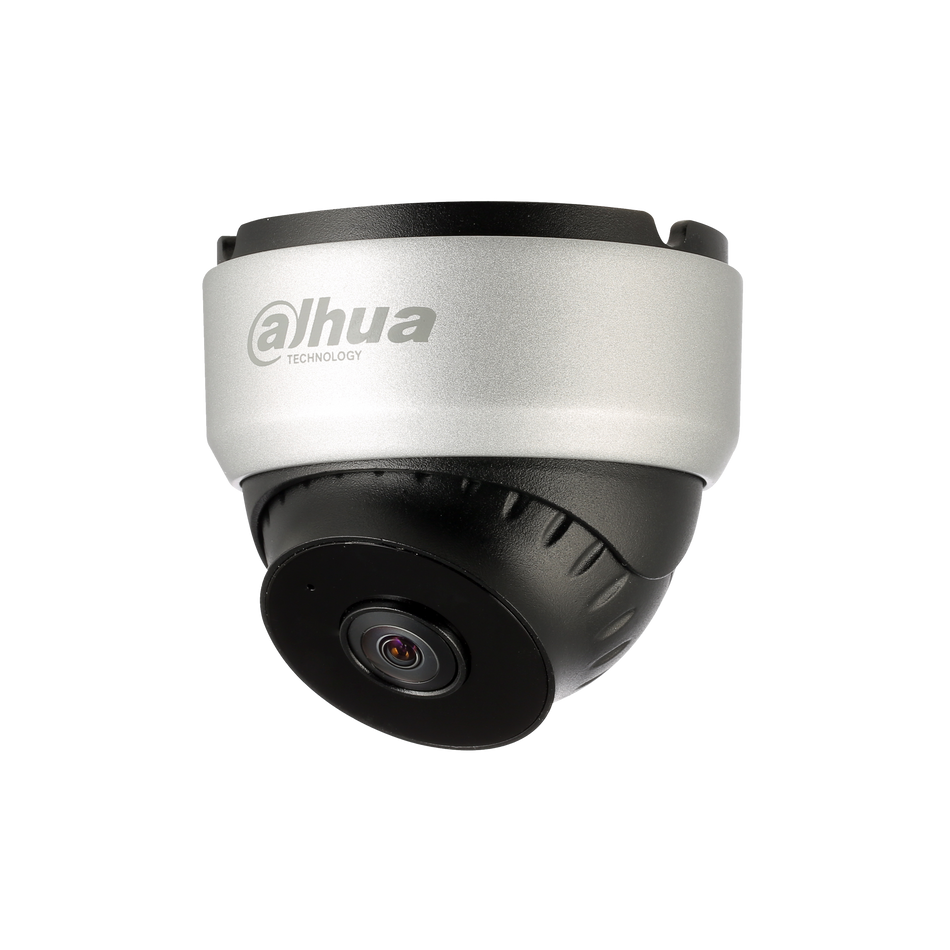
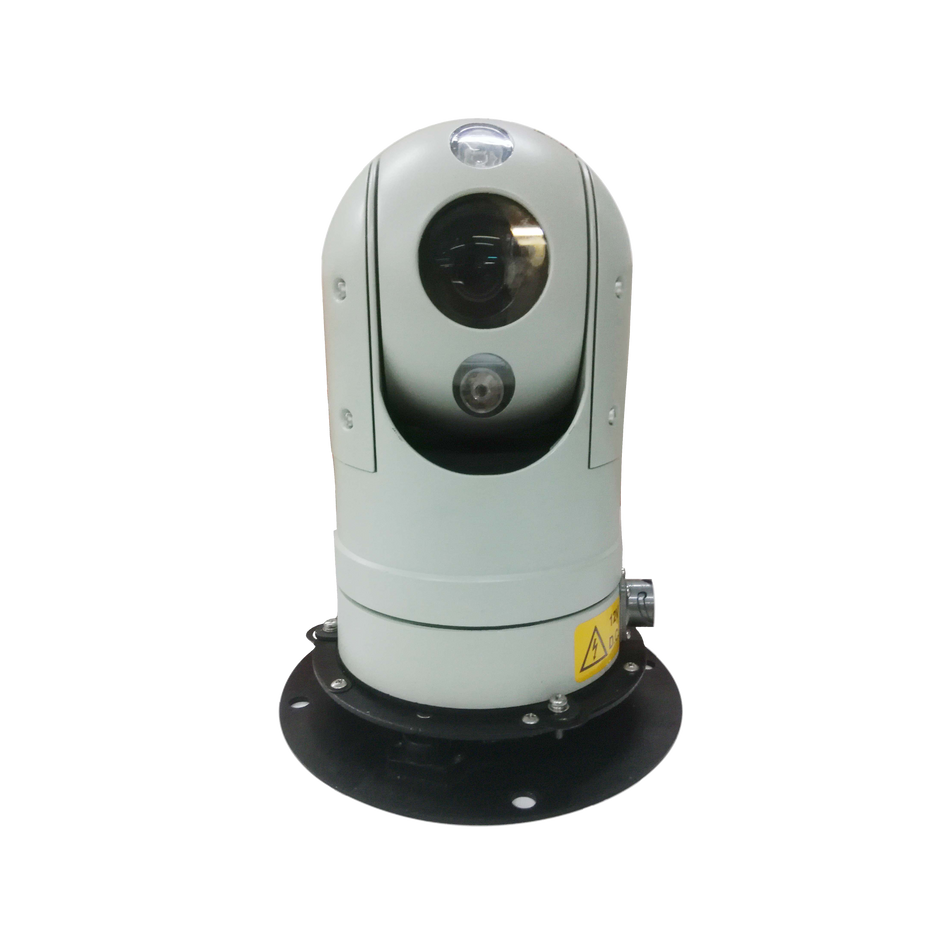
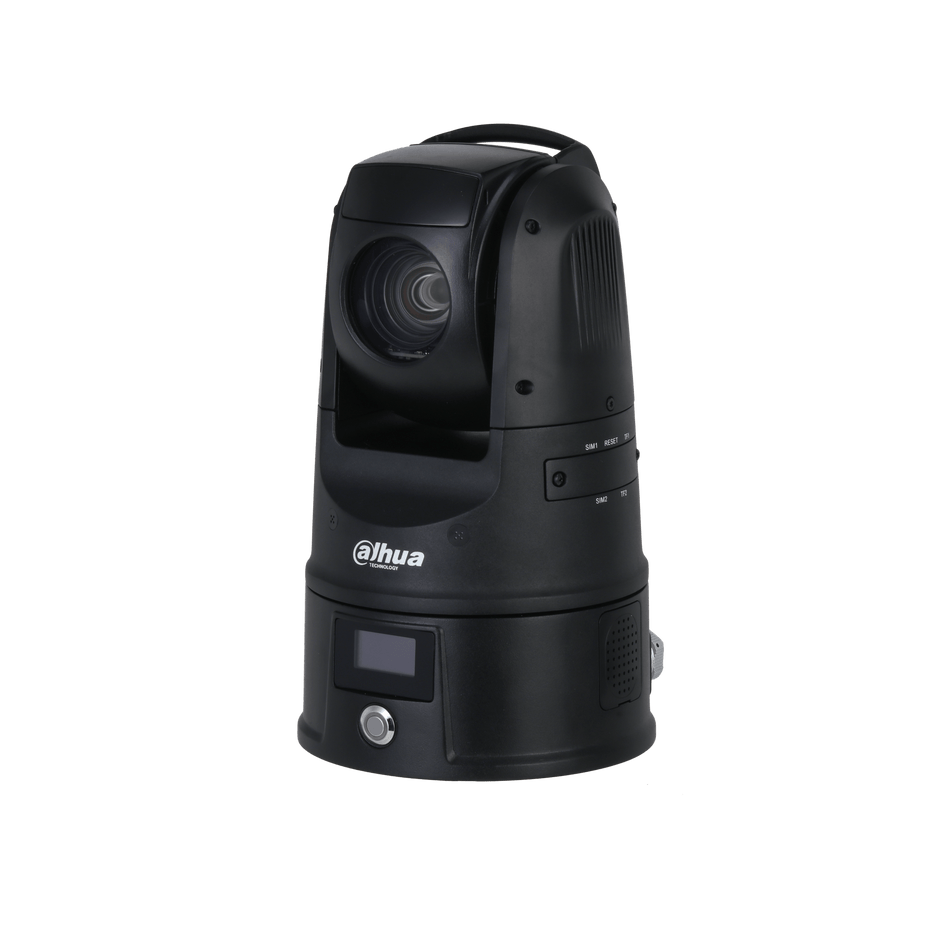
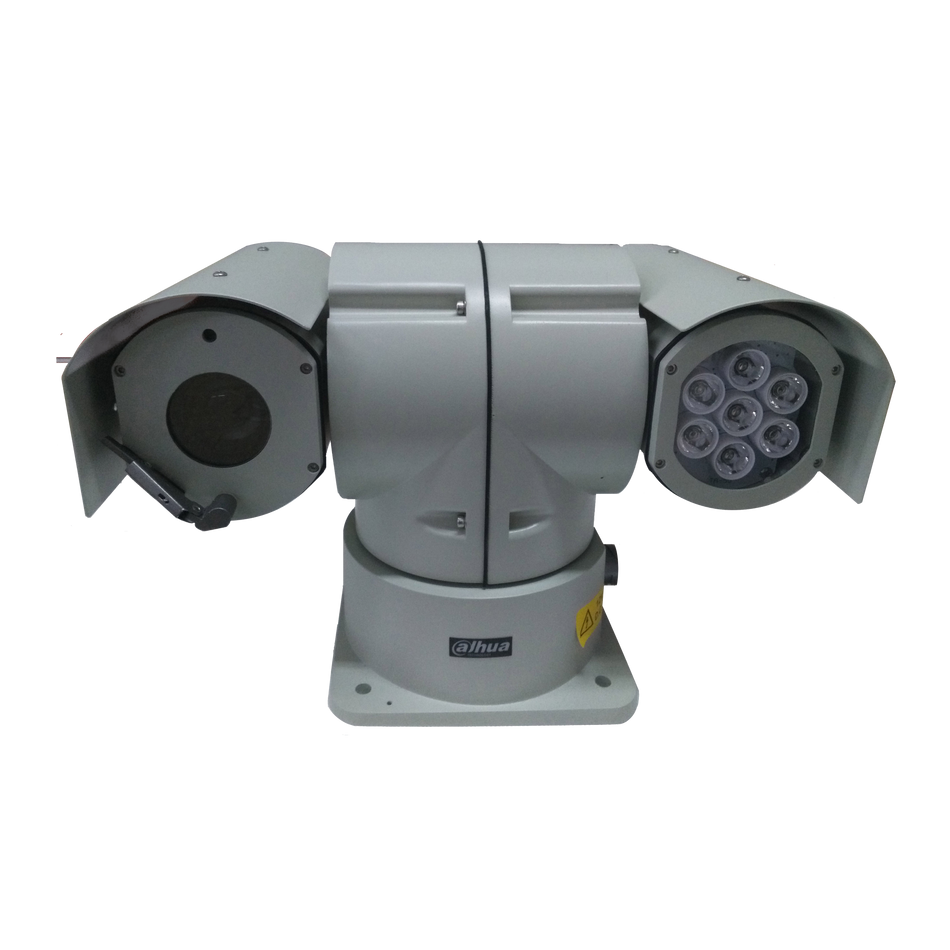
- Dahua ANPR/LPR AI Camera: Choose from fixed lens, vari-focal lens, or speed dome models based on your specific scenario. Fixed lens cameras are ideal for fixed lanes (e.g., parking lot entrances), vari-focal lens cameras allow you to adjust the focal length to cover different distances, and speed dome cameras are suitable for large areas (e.g., industrial parks) where pan, tilt, and zoom (PTZ) functions are needed to monitor multiple lanes.
- Dahua AI NVR with ANPR Function: Ensure that the NVR supports ANPR capabilities—some models may require additional license activation to unlock the ANPR feature. The NVR acts as the central hub for storing recognition data, managing device settings, and linking with other security systems.
- Latest Firmware: Always update both the camera and NVR to the latest firmware version. Dahua regularly releases firmware updates to fix bugs, improve recognition algorithms, and add new features (e.g., support for new license plate types). Outdated firmware is a common cause of recognition errors and system instability.
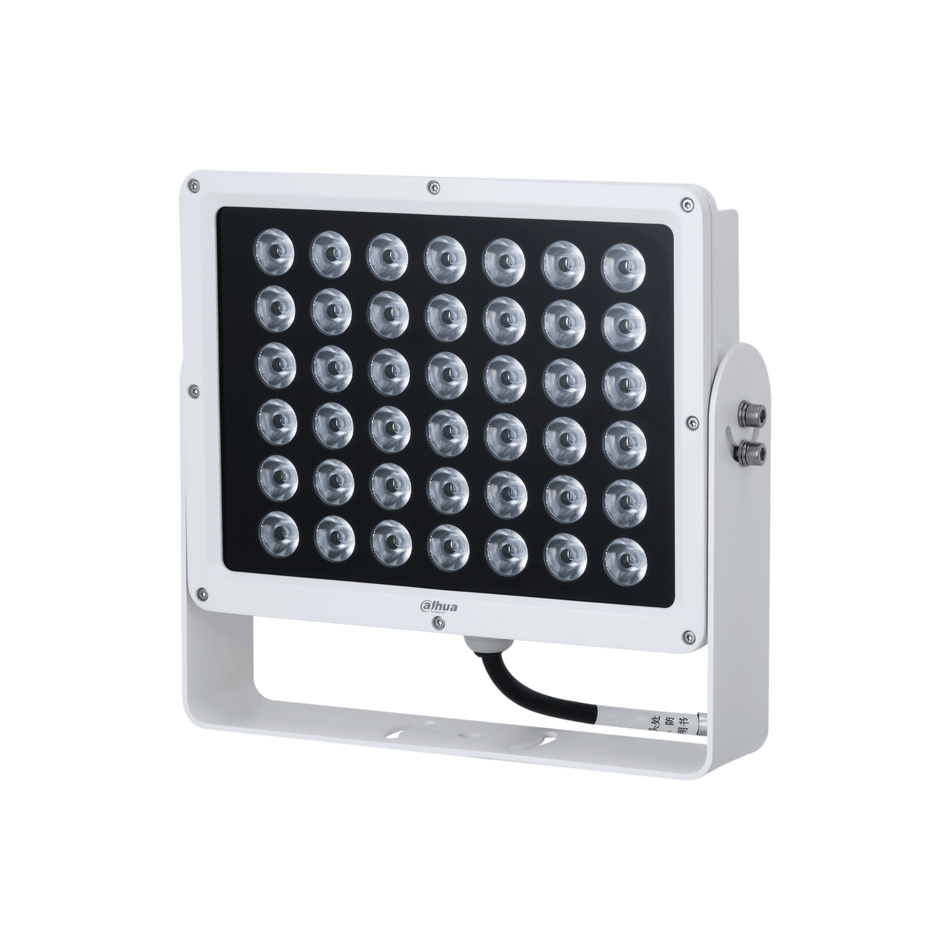
- Compatible Illuminator: For reliable night-time plate capture, use a Dahua-approved illuminator—either IR (Infrared) illuminators for low-light environments or white light strobe illuminators for areas where color recognition is required. Avoid using third-party illuminators, as they may cause overexposure, glare, or insufficient lighting.
1.2 Scene Requirements
The environment where the ANPR system is installed has a direct impact on recognition accuracy. To ensure optimal performance, the scene must meet the following requirements:
- Vehicle Speed: Vehicles should pass through the recognition area at a slow, steady speed. For parking lots and building entrances, the maximum speed should be ≤20km/h—this allows the camera to capture a clear, non-blurred image of the license plate. For road or highway scenarios, the maximum speed can be increased to ≤60km/h, but a higher shutter speed will be required to prevent motion blur.
- Lighting Conditions: Avoid strong backlight, glare, reflection, or overexposure in the recognition area. Backlight (e.g., direct sunlight facing the camera) can make the license plate appear dark and unreadable, while glare from headlights or streetlights can wash out the plate details. If backlight is unavoidable, enable the WDR (Wide Dynamic Range) function on the camera.
- Plate Visibility: License plates must appear horizontal, clear, and unobstructed in the camera’s field of view. Avoid scenarios where plates are tilted, covered by dirt, mud, snow, or stickers, or blocked by vehicle accessories (e.g., bike racks, front bumpers). Ensure that the plate is not obscured by pillars, walls, fences, or trees.
- Weather Conditions: While Dahua ANPR is designed to work in most weather conditions, heavy rain, snow, fog, or dust can significantly reduce visibility. In such cases, ensure that the camera lens is protected by a waterproof cover and that the illuminator is adjusted to compensate for reduced light transmission.
- Camera Stability: The camera must be mounted on a stable surface to avoid vibration. Vibration (e.g., from nearby traffic, wind, or unstable mounting brackets) can cause image blur, leading to recognition failures. Use a sturdy mounting bracket and ensure that it is securely fixed to a wall, pole, or ceiling.
- Day-Night Illumination: Ensure consistent illumination both during the day and night. During the day, natural light should be sufficient to keep the plate clear; at night, the illuminator should provide even lighting without overexposing the plate or causing glare.
1.3 Key Conditions for High Accuracy
To achieve 98%+ recognition accuracy, the following key conditions must be met. These are non-negotiable requirements that directly affect the performance of the ANPR system:
- License Plate Pixel Width: The width of the license plate in the camera’s image must be at least 140 pixels. If the plate is too small (less than 140px in width), the camera will not be able to capture enough detail to recognize the characters accurately. If the plate is too large (more than 800px in width), it may exceed the camera’s field of view or cause distortion.
- Shutter Speed: Set the camera’s shutter speed between 1/500s and 1/2000s. A faster shutter speed (e.g., 1/1000s or 1/2000s) helps prevent motion blur, which is a common cause of recognition errors—especially for moving vehicles. However, avoid setting the shutter speed too fast (e.g., faster than 1/2000s) as this may reduce the amount of light entering the camera, leading to underexposed images.
- Camera Height, Angle, and Distance: The camera must be mounted at the correct height, angle, and distance from the lane to ensure that the license plate is captured clearly. Incorrect positioning can cause plate distortion, missed captures, or reduced clarity.
- ROI (Region of Interest): The ROI should only cover the driving lane where vehicles will pass. By limiting the detection area to the lane, you reduce interference from non-vehicle objects (e.g., pedestrians, trees, signs), which can improve recognition speed and accuracy.
- No Obstructions: Ensure that there are no obstructions (e.g., pillars, walls, fences, trees, or other vehicles) between the camera and the license plate. Even small obstructions can block part of the plate, leading to incorrect or failed recognition.
2. Correct Camera Installation (Critical for ANPR Success)
Camera installation is the most critical step in setting up Dahua ANPR. Even the most advanced ANPR camera will fail to perform well if it is not installed correctly. Follow the guidelines below to ensure proper installation:
2.1 Mounting Height
The recommended mounting height for Dahua ANPR cameras is 3m – 6m. This height ensures that the camera can capture a clear, horizontal image of the license plate without distortion. Here’s why height matters:
- Too Low (Less Than 3m): If the camera is mounted too low, the license plate will appear too large in the image, which may cause the plate to be cut off (out of the camera’s field of view) or distorted. Additionally, a low-mounted camera is more prone to vandalism and may be blocked by vehicles or other objects.
- Too High (More Than 6m): If the camera is mounted too high, the license plate will appear too small in the image (less than 140px in width), reducing the camera’s ability to recognize the characters accurately. High-mounted cameras may also have difficulty capturing clear images of vehicles with low ground clearance.
For parking lots and residential entrances, a mounting height of 3m – 4m is ideal. For highways or large industrial parks, a height of 4m – 6m may be more appropriate, depending on the lane width and vehicle speed.
2.2 Horizontal Distance from Lane
The horizontal distance between the camera and the center of the lane should be 3m – 8m. This distance ensures that the license plate is within the camera’s optimal field of view and that the plate width meets the 140px minimum requirement.
- Too Far (More Than 8m): If the camera is too far from the lane, the license plate will be too small in the image, leading to low recognition accuracy. You may need to use a vari-focal lens camera with a longer focal length to compensate, but this can increase the cost and complexity of the system.
- Too Close (Less Than 3m): If the camera is too close to the lane, the license plate may be too large and exceed the camera’s field of view, resulting in missed captures or distorted images. Additionally, a close distance may make the camera vulnerable to glare from vehicle headlights.
2.3 Camera Angle
The camera’s angle is critical for capturing a clear, undistorted image of the license plate. Follow these guidelines for angle setup:
- Tilt Angle: The camera should be tilted downward at an angle of 15° – 30°. This angle ensures that the license plate is captured horizontally and that the camera can see the entire plate without obstruction. A tilt angle of less than 15° may result in the camera capturing the top of the vehicle rather than the plate, while an angle of more than 30° may cause plate distortion.
- Horizontal Angle to Lane: The horizontal angle between the camera and the lane should be ≤15°. This means that the camera should be positioned almost directly facing the lane, not at a sharp angle. A horizontal angle greater than 15° can cause the license plate to appear tilted or distorted, making it difficult for the ANPR algorithm to recognize the characters.
- Avoid Vertical Installation: Do NOT install the camera vertically downward (90° tilt angle). This will cause the license plate to appear highly distorted (perspective distortion), making recognition nearly impossible.
- Avoid Direct Sunlight: Do NOT face the camera directly into sunlight or other strong light sources. This will cause backlight, which can make the license plate appear dark and unreadable. If the camera must be installed in a location with direct sunlight, use a sunshade and enable the WDR function.
2.4 Capture Line Position
The capture line is a virtual line set in the camera’s web interface that triggers the camera to capture an image when a vehicle crosses it. Proper placement of the capture line is essential for reliable plate capture:
- Position: Set the capture line 3m – 5m in front of the camera. This distance gives the camera enough time to focus on the license plate and capture a clear image before the vehicle passes out of the field of view.
- Trigger Mechanism: The camera will only capture an image when a vehicle crosses the capture line. Ensure that the line is drawn across the entire width of the lane to avoid missing vehicles.
- Single Lane per Camera: Each camera should be assigned to only one lane. Using a single camera to monitor multiple lanes can reduce recognition accuracy, as the camera may not be able to capture clear images of plates in all lanes simultaneously. For multiple lanes, use multiple cameras or a speed dome camera with PTZ capabilities.
2.5 Illumination
Proper illumination is essential for night-time plate recognition and can also improve performance during the day in low-light conditions. Follow these guidelines for illumination setup:
- Use Dahua-Approved Illuminators: Always use Dahua strobe lights or IR illuminators, as they are specifically designed to work with Dahua ANPR cameras. Third-party illuminators may not be compatible and can cause overexposure, glare, or insufficient lighting.
- Night Illumination: At night, adjust the illuminator intensity to avoid overexposing the license plate. Overexposure can wash out the plate characters, making them unreadable. For IR illuminators, use a narrow beam angle to focus the light on the license plate area, rather than wasting light on surrounding areas.
- Daytime Illumination: During the day, natural light is usually sufficient, but if the area is shaded or has poor lighting, you may need to use a white light illuminator to brighten the license plate. Avoid using illuminators during the day if they cause glare.
- Illuminator Placement: Mount the illuminator near the camera, at the same height and angle, to ensure that the light is directed at the license plate area. Avoid placing the illuminator too far from the camera, as this can cause uneven lighting.
3. Step-by-Step ANPR Setup via Dahua Camera Web Interface
Once the camera is installed correctly, you can configure the ANPR function via the camera’s web interface. This is the most common method for setting up ANPR on a single camera or small-scale system. Follow these steps in order:
Step 1: Upgrade Firmware
Before configuring ANPR, it is essential to upgrade the camera’s firmware to the latest version. This ensures that you have access to the latest recognition algorithms and bug fixes. Here’s how to upgrade the firmware:
- Log into the camera’s web UI: Connect your computer to the same network as the camera. Open a web browser and enter the camera’s IP address (e.g., 192.168.1.108). Enter the username and password (default username: admin, default password: admin—be sure to change this after first login for security).
- Navigate to the firmware upgrade page: Go to Setup > System > Upgrade. This page will display the current firmware version of the camera.
- Download the latest firmware: Visit the Dahua official website (www.dahuasecurity.com) and search for your camera model. Download the latest firmware file (usually a .bin file) to your computer.
- Upload and install the firmware: Click theBrowse button on the upgrade page, select the downloaded firmware file, and click Upgrade. Do NOT power off the camera during the upgrade process—this can brick the device. The upgrade will take 2–5 minutes, and the camera will reboot automatically once it is complete.
Step 2: Enable ANPR Function
After upgrading the firmware, you need to enable the ANPR function in the camera’s smart plan. This tells the camera to use its AI capabilities for license plate recognition. Here’s how:
- Go to Setup > Event > Smart Plan. The Smart Plan page allows you to enable different AI functions (e.g., ANPR, people counting, intrusion detection).
- Select ANPR / License Plate Recognition from the list of available smart functions. Ensure that no other conflicting smart functions are enabled (e.g., intrusion detection) unless they are required for your scenario.
- Click Enable and then Apply to save the settings. The camera will now activate the ANPR algorithm and begin processing license plate images.
Step 3: Enter ANPR Configuration
Once the ANPR function is enabled, you need to access the ANPR configuration page to set up recognition parameters. Here’s how:
- Go to Setup > Event > ANPR / Plate Recognition. This page contains all the settings related to license plate recognition.
- Check the Enable box at the top of the page to activate the ANPR configuration. If this box is not checked, the ANPR function will not work even if it is enabled in the Smart Plan.

Step 4: Set Recognition Region & Plate Type
Configure the recognition region and plate type to ensure that the camera recognizes the correct license plates for your location. Here’s how:
- Select the Country/Region from the dropdown menu. This tells the camera which license plate format to recognize (e.g., USA, UK, China, EU). Selecting the correct country/region is critical, as different regions have different plate sizes, character formats, and colors.
- Choose the Plate Type based on the vehicles in your scenario. The available options include:
- Standard: Regular passenger car plates.
- New energy: Plates for electric vehicles (EVs) or hybrid vehicles (specific to some regions, e.g., China).
- Motorcycle: Plates for motorcycles and scooters.
- Truck: Plates for trucks, buses, and other large vehicles.
- Enable Multiple Plates if your scenario involves vehicles with multiple plates (e.g., trailers with front and rear plates). This allows the camera to recognize and record all plates on a single vehicle.
- Click Apply to save the settings.
Step 5: Draw Capture Line & ROI

The capture line and ROI (Region of Interest) are critical for reducing interference and improving recognition accuracy. Here’s how to set them up:
- Click Draw Capture Line on the ANPR configuration page. A live preview of the camera’s image will appear.
- Draw a line across the entire width of the lane in the live preview. This line should be positioned 3m – 5m in front of the camera (as discussed in Section 2.4). Click Confirm to save the capture line.
- Draw the ROI (Region of Interest) by clicking and dragging to select the area of the image where license plates will appear. The ROI should only cover the driving lane—avoid including areas with non-vehicle objects (e.g., pedestrians, trees, signs). This reduces the amount of data the camera needs to process, improving recognition speed and accuracy.
- Add a Shield Area to block distractions. Click Draw Shield Area and select areas of the image that may cause interference (e.g., trees, walls, streetlights, or other vehicles). The camera will ignore any objects in the shield area, preventing false recognition.
- Click Apply to save the capture line, ROI, and shield area settings.
Step 6: Image Optimization (Most Important)

Image optimization is the most important step in ensuring high ANPR accuracy. Even if the camera is installed correctly, poor image quality will lead to recognition failures. Follow these steps to optimize the image:
- Go to Setup > Image > Conditions. This page contains all the image parameters that affect plate clarity.
- Set the Shutter Speed to 1/500s – 1/2000s. For parking lots (vehicles ≤20km/h), 1/500s – 1/1000s is sufficient. For roads (vehicles ≤60km/h), use 1/1000s – 1/2000s to prevent motion blur.
- Set the Gain to ≤20dB. Gain increases the image brightness, but setting it too high (above 20dB) will introduce noise, making the plate unreadable. Only increase the gain if the image is underexposed (e.g., in low-light conditions).
- Adjust Brightness to 50–60. This ensures that the license plate is bright enough to be readable without being overexposed.
- Adjust Contrast to 40–50. Contrast enhances the difference between the plate characters and the background, making the characters more distinct.
- Enable WDR (Wide Dynamic Range) if there is strong backlight in the scene. WDR balances the brightness of the bright and dark areas of the image, preventing the plate from appearing dark (due to backlight) or overexposed.
- Disable excessive Noise Reduction. While noise reduction can reduce image noise, excessive noise reduction will blur the plate characters. Use the minimum noise reduction setting needed to keep the image clear.
- Preview the image in real time to ensure that the plate is clear, sharp, and not blurry or overexposed. Make adjustments as needed.
- Click Apply to save the image settings.
Step 7: Set Recognition Parameters


Configure the recognition parameters to optimize the speed and accuracy of plate recognition. Here’s how:
- On the ANPR configuration page, find the Recognition Parameters section.
- Set Min/Max Plate Width to 140–800px. This ensures that the camera only recognizes plates that are within the optimal pixel width range.
- Set Recognition Speed to Medium or Fast. For most scenarios, Medium is sufficient—it balances speed and accuracy. Fast is suitable for high-traffic areas where quick recognition is needed, but it may slightly reduce accuracy.
- Set Sensitivity to Medium. Sensitivity controls how easily the camera triggers a recognition event. A high sensitivity may lead to false recognitions (e.g., recognizing non-plate objects), while a low sensitivity may lead to missed captures.
- Set Capture Delay to 0.5–1s. This is the delay between when the vehicle crosses the capture line and when the camera captures the image. A delay of 0.5–1s ensures that the plate is fully in the ROI when the image is captured.
- Set Repeat Interval to 5–10s. This is the minimum time between consecutive captures of the same vehicle. This prevents the camera from capturing multiple images of the same vehicle, which can clutter the database.
- Click Apply to save the recognition parameters.
Step 8: Whitelist & Blacklist
The whitelist and blacklist functions allow you to manage vehicle access. The whitelist contains plates of authorized vehicles (e.g., staff vehicles, residents), while the blacklist contains plates of unauthorized vehicles (e.g., banned vehicles, stolen vehicles). Here’s how to set them up:
- Go to the Whitelist tab on the ANPR configuration page.
- Click Add to enter the license plate number of an authorized vehicle. You can also add a description (e.g., "Staff Vehicle – John Doe") to identify the vehicle.
- Repeat step 2 to add all authorized vehicles to the whitelist. You can also import a list of whitelist plates from a CSV file for bulk addition.
- Go to the Blacklist tab and repeat steps 2–3 to add unauthorized vehicles. For blacklist vehicles, you can set an alarm to trigger when the vehicle is detected (e.g., audio warning, push notification).
- Click Apply to save the whitelist and blacklist settings.
Step 9: Alarm Linkage
Alarm linkage allows the camera to trigger specific actions when a recognition event occurs (e.g., blacklist vehicle detected, whitelist vehicle detected). Here’s how to set it up:
- On the ANPR configuration page, find the Alarm Linkage section.
- Enable the desired alarm actions:
- Snapshot: Capture a still image of the vehicle and plate when a recognition event occurs. This image is stored in the camera’s memory or NVR.
- Record: Start recording video when a recognition event occurs. This is useful for reviewing the vehicle’s movement before and after the recognition.
- Audio Warning: Play a pre-recorded audio message (e.g., "Unauthorized vehicle detected") when a blacklist vehicle is detected. You can upload a custom audio file to the camera.
- Push Notification: Send a push notification to the Dahua mobile app (e.g., Dahua Smart PSS) when a recognition event occurs. This allows you to monitor the system remotely.
- Alarm Output: Trigger an external alarm device (e.g., siren, light) or control a gate/barrier. This is useful for automating access control (e.g., opening the gate for whitelist vehicles).
- OSD Overlay: Display the license plate number, recognition time, and other information on the camera’s live video feed. This makes it easy to monitor recognition results in real time.
- Configure the alarm duration and trigger conditions (e.g., only trigger for blacklist vehicles).
- ClickApply to save the alarm linkage settings.
Step 10: Save & Test
After completing all the configuration steps, save the settings and test the ANPR system to ensure it is working correctly:
- Click Apply and then Save on the ANPR configuration page to save all settings. This ensures that the settings are retained even if the camera is rebooted.
- Test with real vehicles: Drive a vehicle through the recognition area (crossing the capture line) and check the recognition results. You can view the recognition results in the camera’s web UI (Go to Event > ANPR > Recognition Log).
- Verify that the plate is recognized correctly, and that the alarm linkage actions (e.g., snapshot, record, gate opening) are triggered as expected.
- Test both during the day and night to ensure that the system performs well in all lighting conditions. Make adjustments to the image settings or illuminator if needed.
4. How to Set ANPR via Dahua NVR
If you are using a Dahua AI NVR to manage multiple ANPR cameras, you can configure the ANPR function directly via the NVR’s interface. This is ideal for large-scale systems (e.g., shopping malls, industrial parks) with multiple lanes and cameras. Follow these steps:
Step 1: Activate ANPR License (If Required)
Some Dahua AI NVRs require an additional license to unlock the ANPR function. If your NVR requires a license, follow these steps to activate it:
- Go to Main Menu > Management > License on the NVR’s interface (you can access the NVR interface via a monitor connected to the NVR or via the web UI).
- If you have a license file, click Import to upload the license file to the NVR. If you need to activate the license online, click Activate and follow the on-screen instructions to enter the license key and activate the ANPR function.
- Verify that the ANPR license is activated successfully (the license status should show "Valid").
Step 2: Enable ANPR on Channel
Each camera connected to the NVR is assigned a channel. You need to enable the ANPR function on the channels that are connected to ANPR cameras:
- Go to Main Menu > AI > Parameters.
- Select the channel (camera) from the dropdown menu. Ensure that the channel is connected to a Dahua ANPR camera.
- Check the Enable ANPR / Plate Recognition box.
- Click Apply to save the settings. Repeat this process for all channels with ANPR cameras.
Step 3: ANPR Rule Settings
Configure the ANPR rules for each channel, including region, plate type, capture line, ROI, and image parameters. This is similar to the camera web interface setup:
- Go to Main Menu > AI > ANPR.
- Select the channel you want to configure from the dropdown menu.
- Set the Country/Region and Plate Type (same as Step 4 in Section 3).
- Draw the Capture Line and ROI using the NVR’s live preview. You can use a mouse connected to the NVR to draw these areas.
- Adjust the Image Parameters (shutter speed, gain, brightness, contrast, WDR) to optimize image quality (same as Step 6 in Section 3).
- Click Apply to save the ANPR rule settings for the channel. Repeat for all ANPR channels.
Step 4: Whitelist / Blacklist
Manage the whitelist and blacklist for all ANPR cameras via the NVR. This allows you to centralize vehicle access management:
- Go to Main Menu > AI > ANPR > Whitelist/Blacklist.
- Add license plate numbers to the whitelist or blacklist, along with descriptions (same as Step 8 in Section 3). You can import bulk lists via CSV files.
- Set alarm actions for blacklist vehicles (e.g., audio warning, push notification) (same as Step 9 in Section 3).
- Click Apply to save the whitelist and blacklist settings. These settings will apply to all ANPR channels.
Step 5: Linkage & Record
Configure the alarm linkage and recording settings for ANPR events via the NVR:
- Go to Main Menu > AI > ANPR > Linkage.
- Enable the desired linkage actions:
- Recording: Set the NVR to record video when an ANPR event occurs. You can choose to record only the channel where the event occurred or all channels.
- Snapshot: Capture a still image of the vehicle and plate and store it in the NVR’s hard drive.
- Alarm Output: Trigger external alarm devices (e.g., siren, light) or control gates/barriers.
- Push Notification: Send notifications to the Dahua mobile app.
- Configure the recording duration and alarm duration.
- Click Apply to save the linkage and recording settings.
5. Advanced Tuning for 98%+ Accuracy
To achieve the maximum recognition accuracy (98%+), you need to perform advanced tuning of the ANPR system. This involves fine-tuning the image parameters, camera settings, and recognition rules based on your specific scenario. Follow these guidelines:
5.1 Shutter Speed Tuning
The shutter speed is the most critical parameter for preventing motion blur. Fine-tune it based on the vehicle speed in your scenario:
- Parking Lots & Residential Entrances (Vehicles ≤20km/h): Set the shutter speed to 1/500s – 1/1000s. This is sufficient to capture a clear image of slow-moving vehicles without motion blur.
- Roads & Highways (Vehicles ≤60km/h): Set the shutter speed to 1/1000s – 1/2000s. Faster shutter speeds are needed to freeze the motion of faster-moving vehicles.
- Adjust Based on Lighting: In low-light conditions, you may need to lower the shutter speed slightly (e.g., 1/500s) to allow more light into the camera. However, if this causes motion blur, increase the illuminator intensity instead.
5.2 Plate Pixel Size Tuning
Ensure that the license plate width in the camera’s image is at least 140px. If the plate is too small or too large, adjust the camera’s zoom or mounting position:
- If the plate is too small (less than 140px in width): Increase the camera’s zoom (if using a vari-focal lens) or move the camera closer to the lane. If the camera is already at the minimum distance, consider using a camera with a longer focal length.
- If the plate is too large (more than 800px in width): Decrease the camera’s zoom or move the camera further from the lane. If the camera is already at the maximum distance, use a camera with a shorter focal length.
- Use the Camera’s Zoom Guide: Many Dahua ANPR cameras have a built-in zoom guide that helps you adjust the zoom to achieve the optimal plate pixel size. Refer to the camera’s user manual for details.
5.3 Exposure Tuning
Proper exposure ensures that the license plate is neither overexposed nor underexposed. Fine-tune the exposure based on the lighting conditions:
- Night Overexposure: If the license plate is overexposed at night (characters are washed out), lower the illuminator intensity or decrease the exposure time. You can also adjust the camera’s iris to reduce the amount of light entering the lens.
- Underexposure: If the plate is underexposed (too dark), increase the gain (up to 20dB) or increase the illuminator intensity. Avoid increasing the gain too much, as this will introduce noise.
- Use Auto Exposure: For scenarios with variable lighting (e.g., dawn, dusk), enable the camera’s auto exposure function. This allows the camera to automatically adjust the exposure based on the current light conditions.
5.4 WDR & Backlight Tuning
If your scene has strong backlight (e.g., direct sunlight, bright streetlights), use WDR and backlight compensation to improve plate visibility:
- Enable WDR: WDR balances the brightness of the bright and dark areas of the image. Set WDR to "High" or "Medium" for scenes with strong backlight. Avoid setting WDR to "Low" if backlight is present.
- Backlight Compensation: Some Dahua cameras have a backlight compensation function that focuses on the dark areas of the image (e.g., the license plate) to make them brighter. Enable this function if WDR alone is not sufficient.
- Adjust Camera Angle: If backlight is persistent, adjust the camera’s angle to avoid facing directly into the light source. Use a sunshade to reduce glare.
5.5 ROI & Shielding Tuning
Fine-tune the ROI and shield area to reduce interference and improve recognition accuracy:
- Narrow the ROI: Ensure that the ROI only covers the area where license plates appear. If the ROI is too large, it may include non-vehicle objects (e.g., pedestrians, signs) that can cause false recognition.
- Expand the Shield Area: Add shield areas to block any objects that may cause interference (e.g., trees, walls, streetlights, or other vehicles). Pay special attention to areas where the camera may capture reflections or glare.
- Test Different ROI Sizes: Experiment with different ROI sizes to find the optimal balance between coverage and accuracy. A smaller ROI may improve recognition speed, while a larger ROI may cover more vehicles.
6. Best Practices for ANPR
- Install the camera at a height of 3–6m: This ensures optimal plate visibility and reduces distortion.
- Use a Dahua strobe light for night capture: Strobe lights provide consistent, non-glare lighting that is ideal for ANPR. Avoid using IR illuminators in areas where color recognition is required.
- Set the shutter speed to ≥1/500s: This prevents motion blur and ensures clear plate images.
- Keep the plate pixel width ≥140px: This is the minimum requirement for high recognition accuracy.
- Draw the ROI to reduce interference: Limit the ROI to the driving lane to avoid false recognition.
- Update firmware regularly: Dahua releases firmware updates to improve recognition algorithms and fix bugs. Check for updates every 3–6 months.
- Test the system day and night: Regular testing ensures that the system performs well in all lighting conditions. Make adjustments as needed.
- Use the whitelist for free-pass vehicles: Add staff, resident, or VIP vehicles to the whitelist to enable automatic access.
- Use the blacklist for unauthorized vehicles: Add banned or stolen vehicles to the blacklist to trigger alarms and restrict access.
- Clean the camera lens regularly: Dust, dirt, or water droplets on the lens can reduce image quality. Clean the lens with a soft, dry cloth every month.
- Check the illuminator regularly: Ensure that the illuminator is working properly and that the light intensity is adjusted correctly. Replace the illuminator if it is damaged or not working.
- Backup configuration settings: Save the camera and NVR configuration settings to a file. This allows you to restore the settings quickly if the device is reset or fails.
7. Common Issues & Fixes
Even with proper setup, you may encounter issues with the ANPR system. Below are the most common issues and their solutions:
Issue 1: Cannot Recognize Plates
If the camera is not recognizing any license plates, try the following fixes:
- Enable ANPR in Smart Plan: Ensure that the ANPR function is enabled in Setup > Event > Smart Plan (camera web interface) or Main Menu > AI > Parameters (NVR interface).
- Update firmware: Outdated firmware is a common cause of recognition failures. Upgrade the camera and NVR to the latest firmware version.
- Check the capture line: Ensure that the capture line is drawn correctly (3m – 5m in front of the camera) and that vehicles are crossing the line. Redraw the capture line if needed.
- Adjust the zoom: Ensure that the license plate width is ≥140px. Increase the zoom if the plate is too small, or decrease it if the plate is too large.
- Check image quality: Ensure that the plate is clear, sharp, and not blurry or overexposed. Adjust the shutter speed, gain, brightness, and contrast if needed.
- Check the recognition region: Ensure that the correct country/region and plate type are selected. Selecting the wrong region can cause the camera to fail to recognize plates.
Issue 2: Blurry Plates, Motion Blur
If the license plate images are blurry (especially motion blur), try the following fixes:
- Increase the shutter speed: Set the shutter speed to 1/500s – 1/2000s to freeze the motion of the vehicle.
- Fix camera vibration: Ensure that the camera is mounted on a stable surface. Use a sturdy mounting bracket and tighten all screws. If vibration is caused by nearby traffic, use a vibration-damping bracket.
- Adjust focus: Ensure that the camera is focused on the license plate area. Use the camera’s manual focus function to adjust the focus until the plate is sharp.
- Reduce vehicle speed: If possible, reduce the speed of vehicles in the recognition area (≤20km/h for parking lots, ≤60km/h for roads).
Issue 3: Night Overexposure
If the license plate is overexposed at night (characters are washed out), try the following fixes:
- Lower IR/light intensity: Reduce the intensity of the IR illuminator or strobe light. This will prevent overexposure while still providing enough light to capture the plate.
- Adjust exposure: Decrease the exposure time or reduce the gain. This will reduce the amount of light entering the camera.
- Adjust the illuminator angle: Ensure that the illuminator is directed at the license plate area, not at the camera lens. This will reduce glare and overexposure.
- Use a narrow beam illuminator: A narrow beam illuminator focuses the light on the plate area, reducing overexposure of surrounding areas.
Issue 4: Low Accuracy
If the recognition accuracy is below 98%, try the following fixes:
- Adjust the ROI: Narrow the ROI to only cover the driving lane. This reduces interference from non-vehicle objects.
- Shield distractions: Add shield areas to block trees, walls, streetlights, or other objects that may cause false recognition.
- Improve lighting: Ensure that the plate is well-lit both during the day and night. Adjust the illuminator intensity or use a better illuminator if needed.
- Update the plate library: Some Dahua cameras allow you to update the plate character library to support new plate formats or