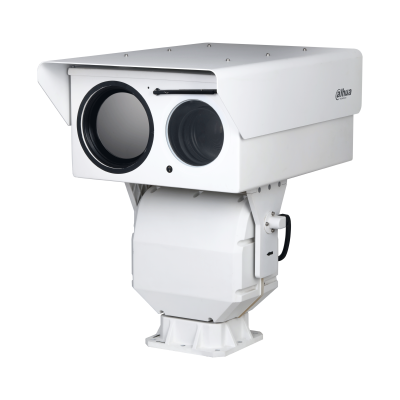
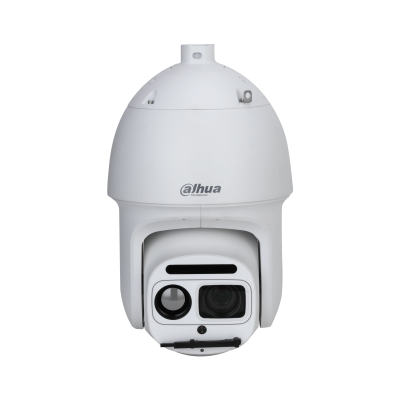
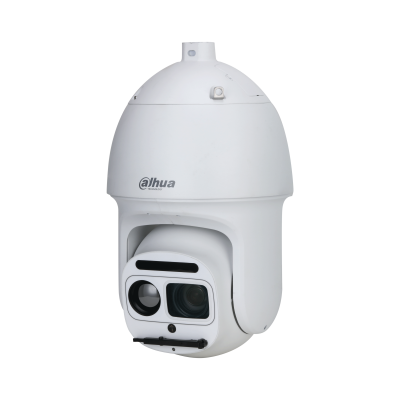
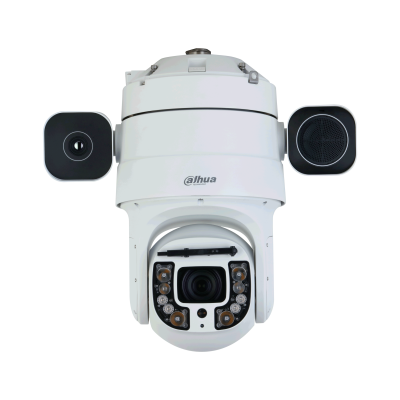
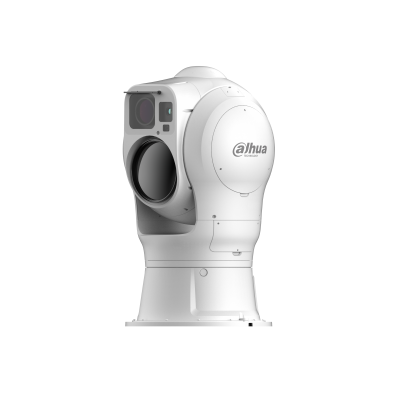
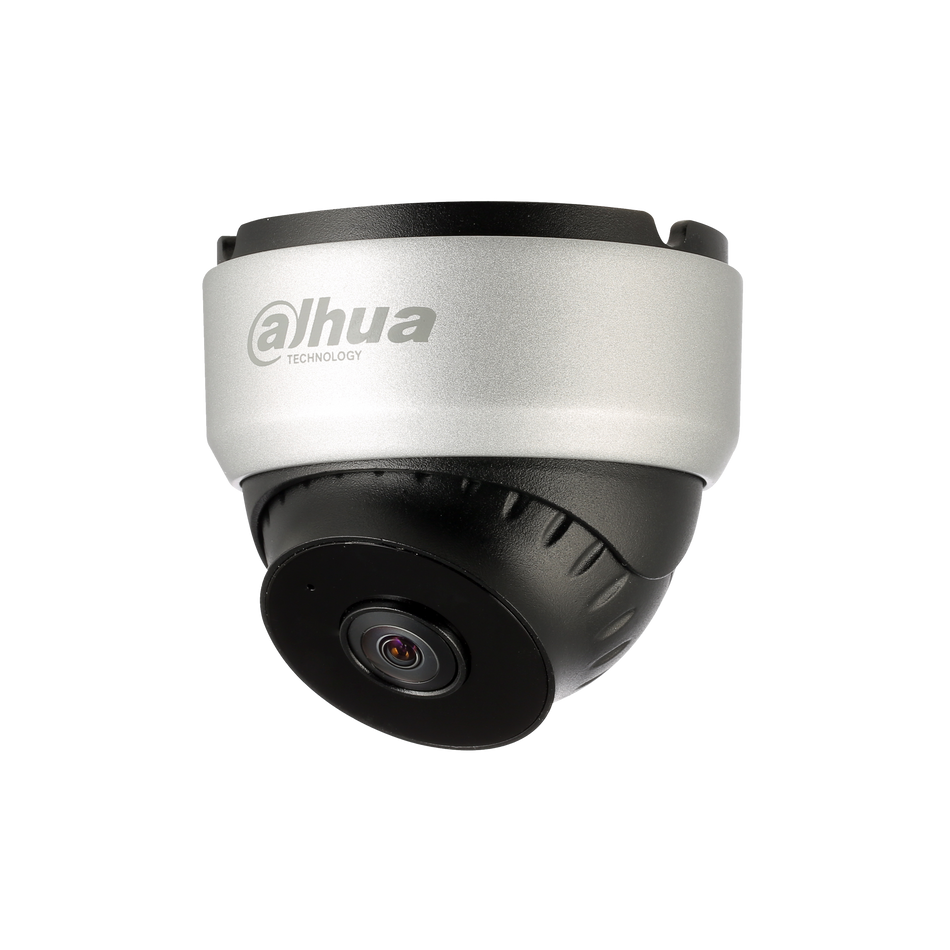
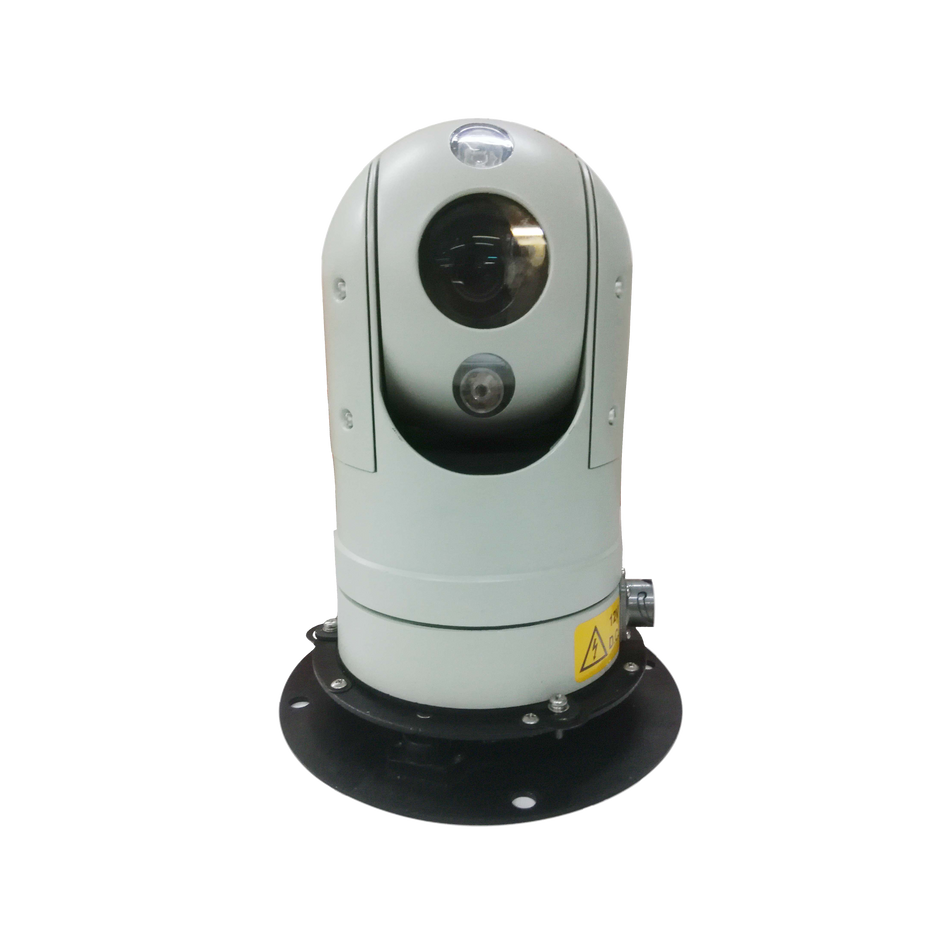
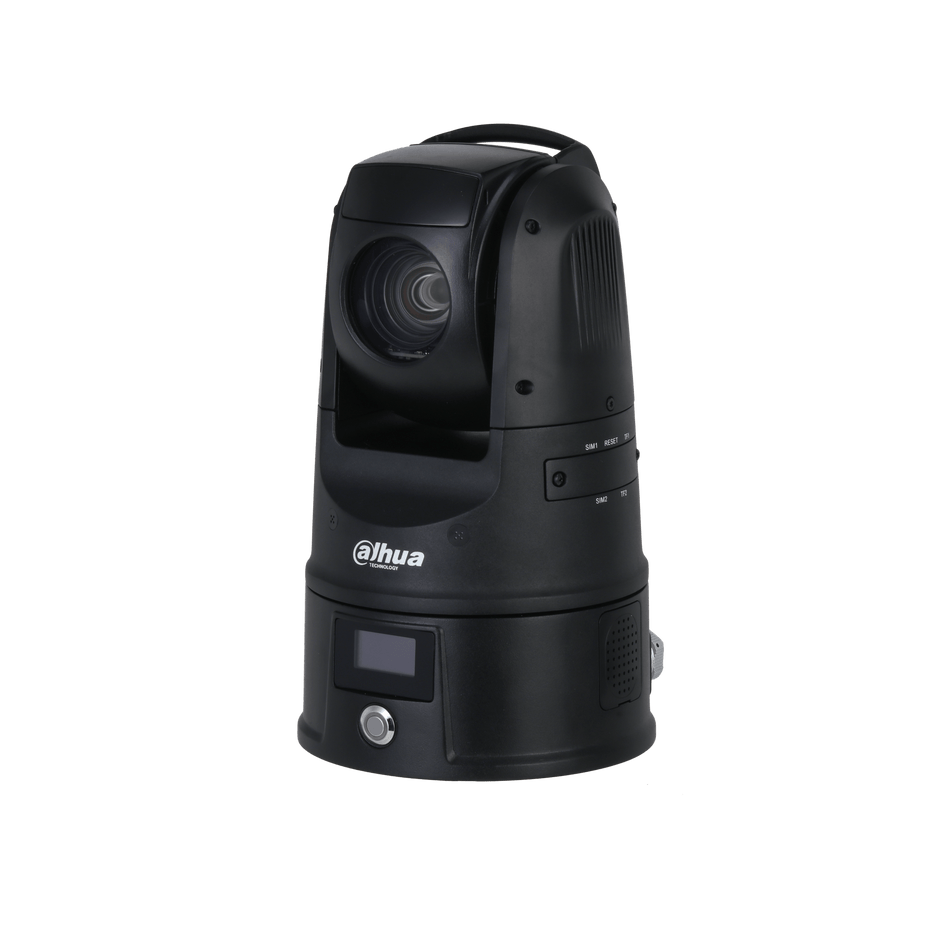
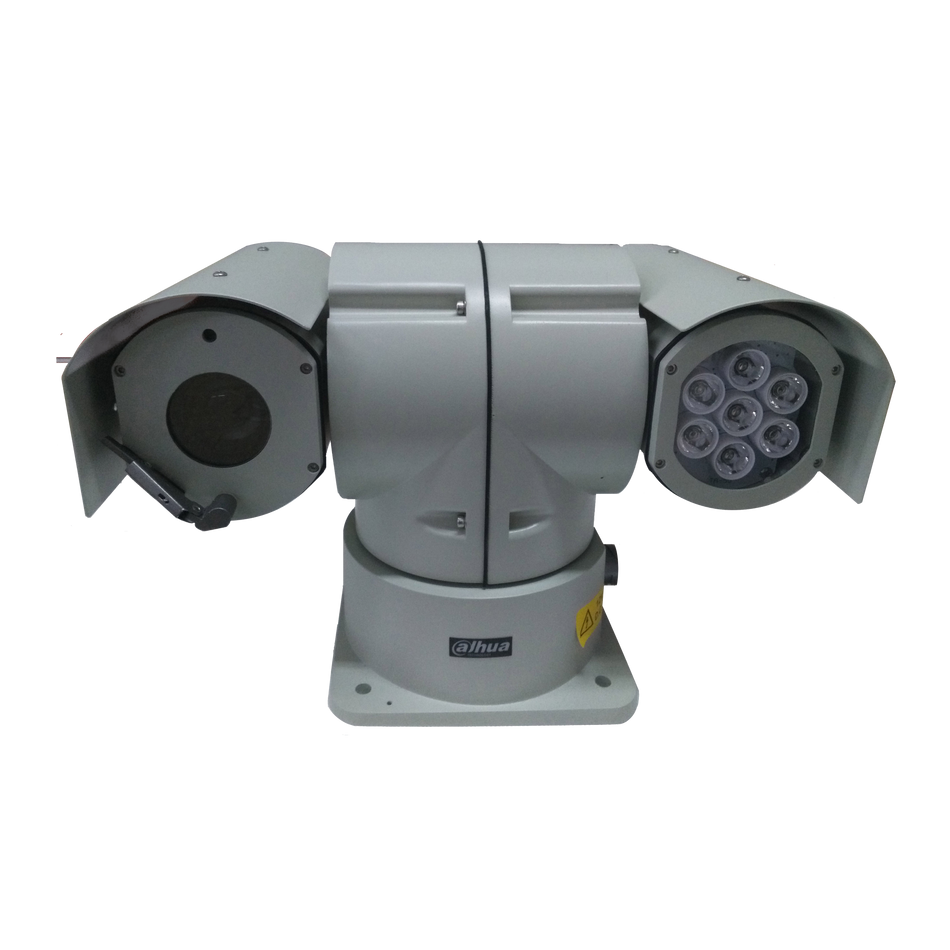
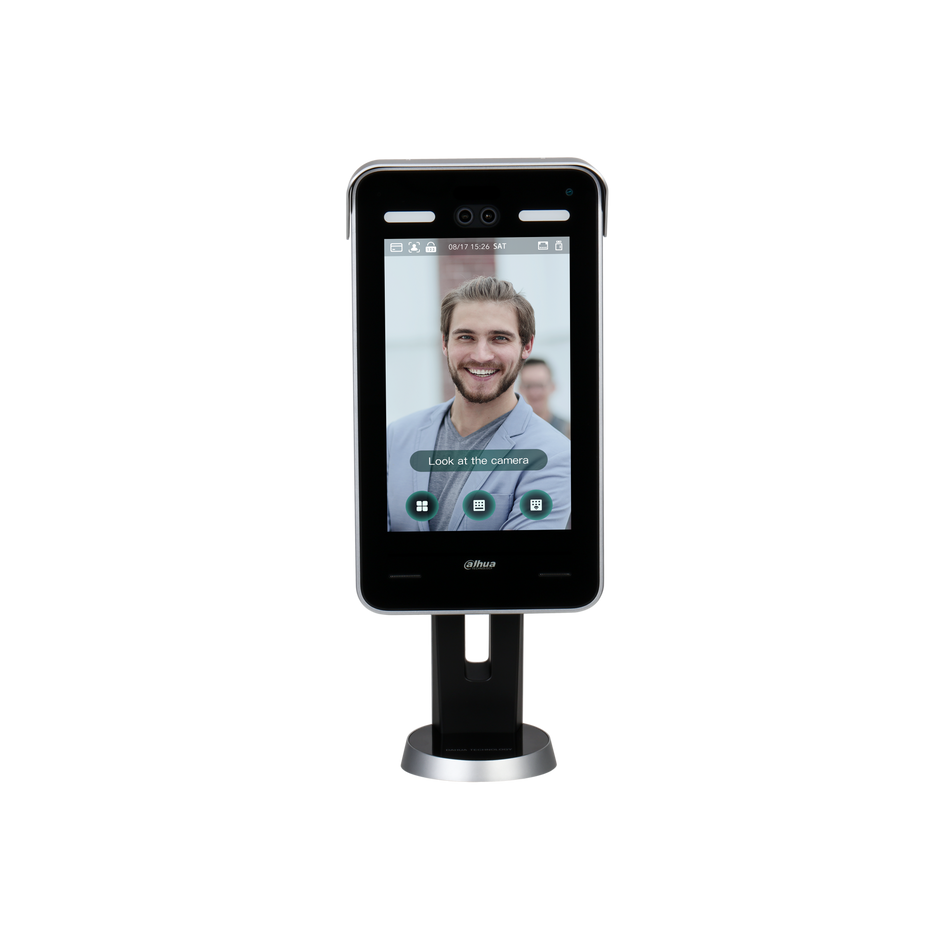
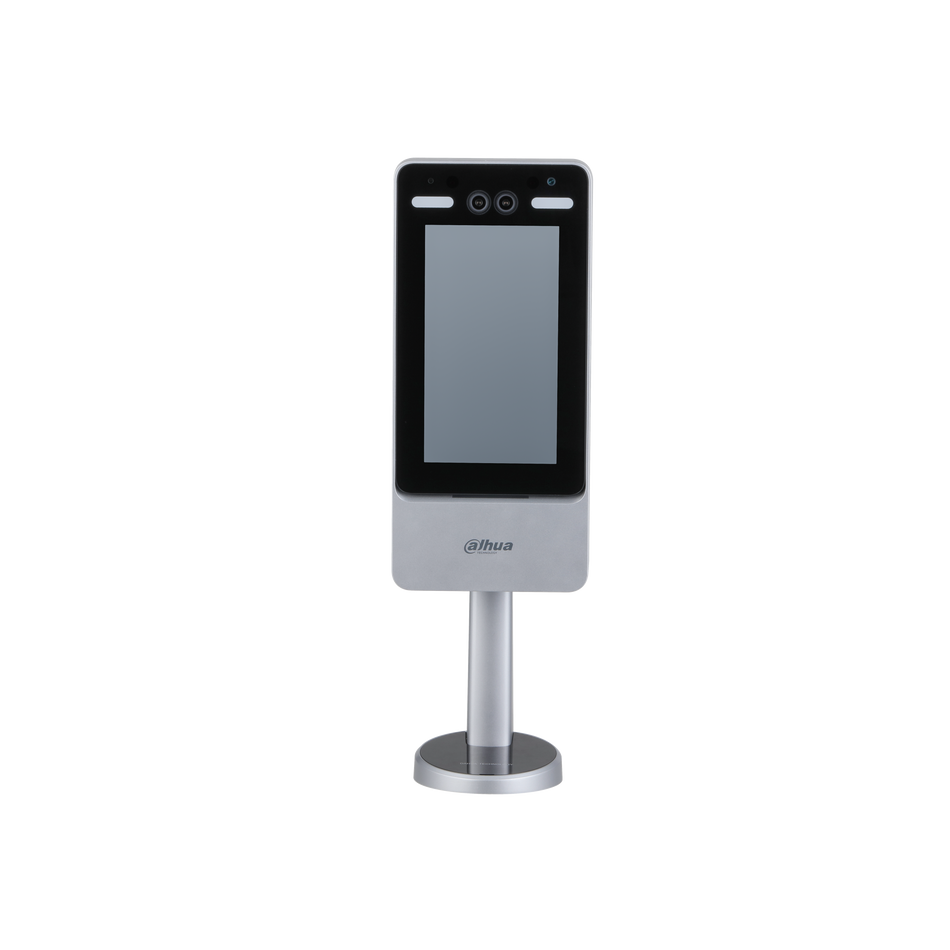
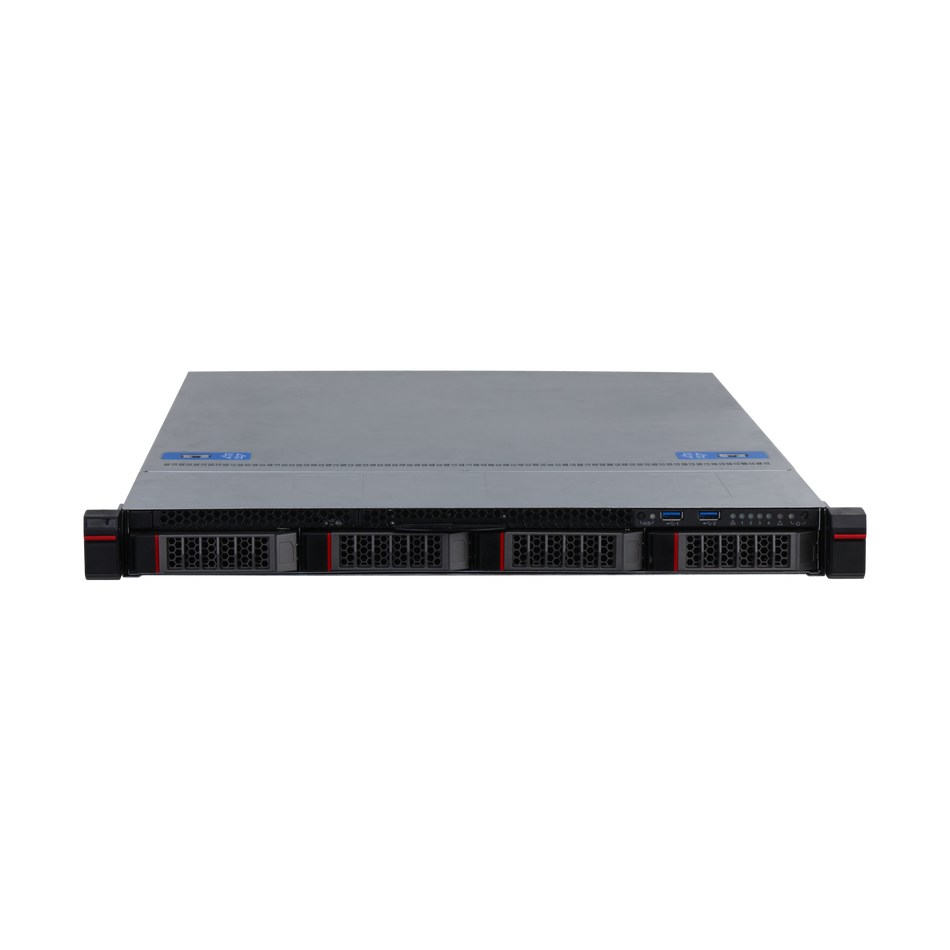
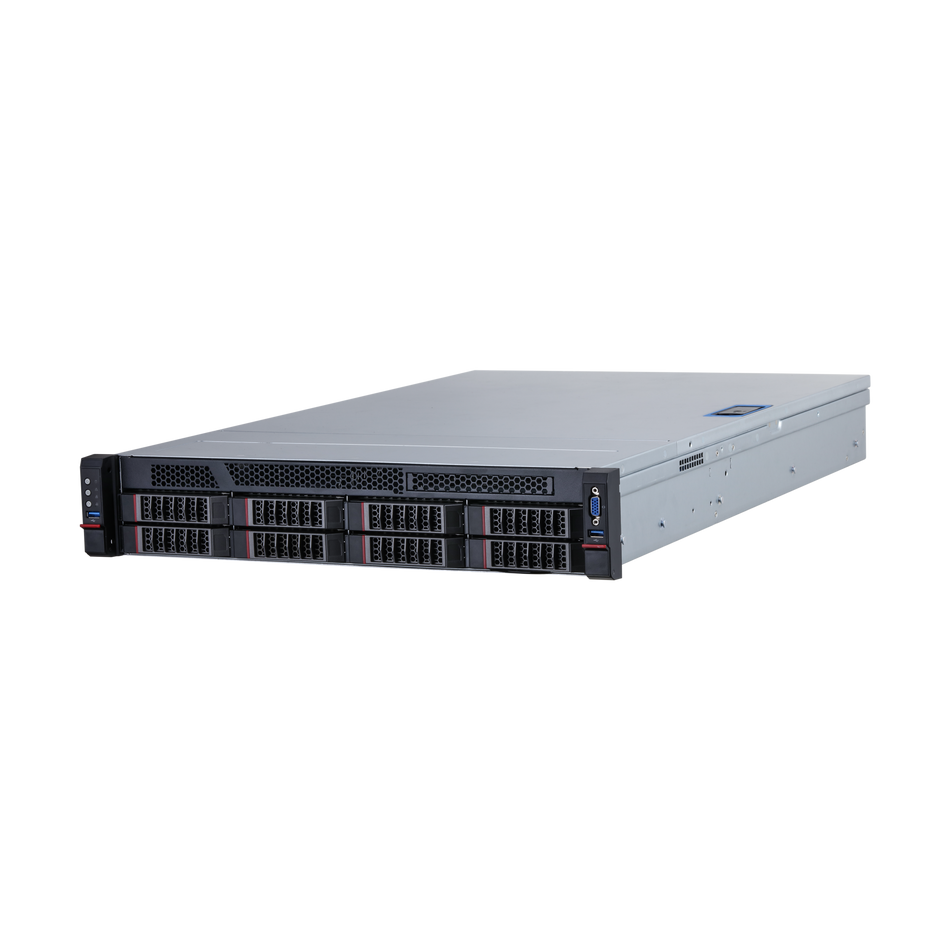
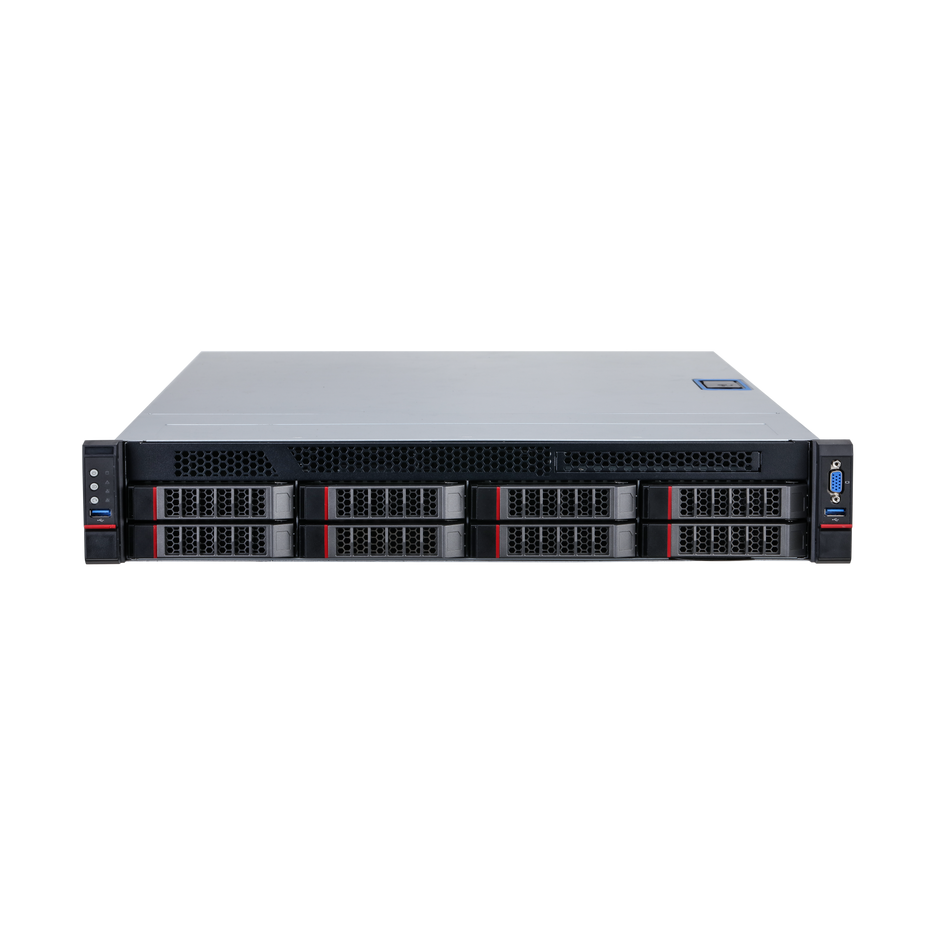
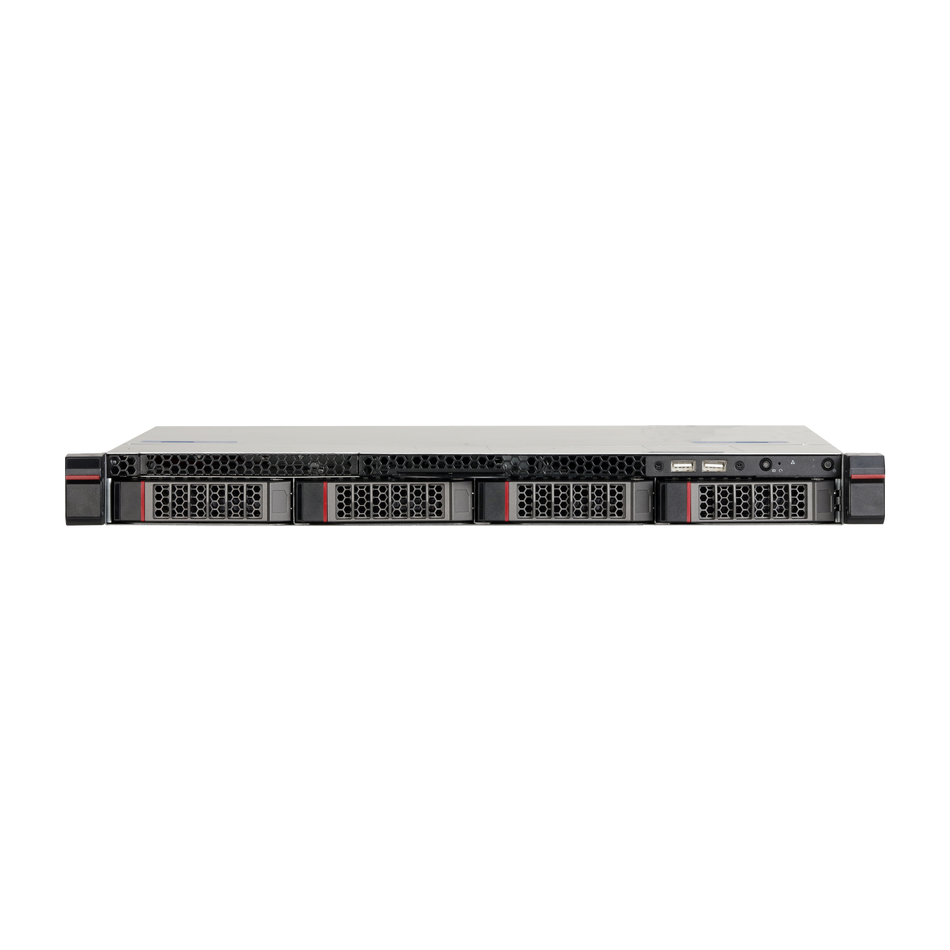
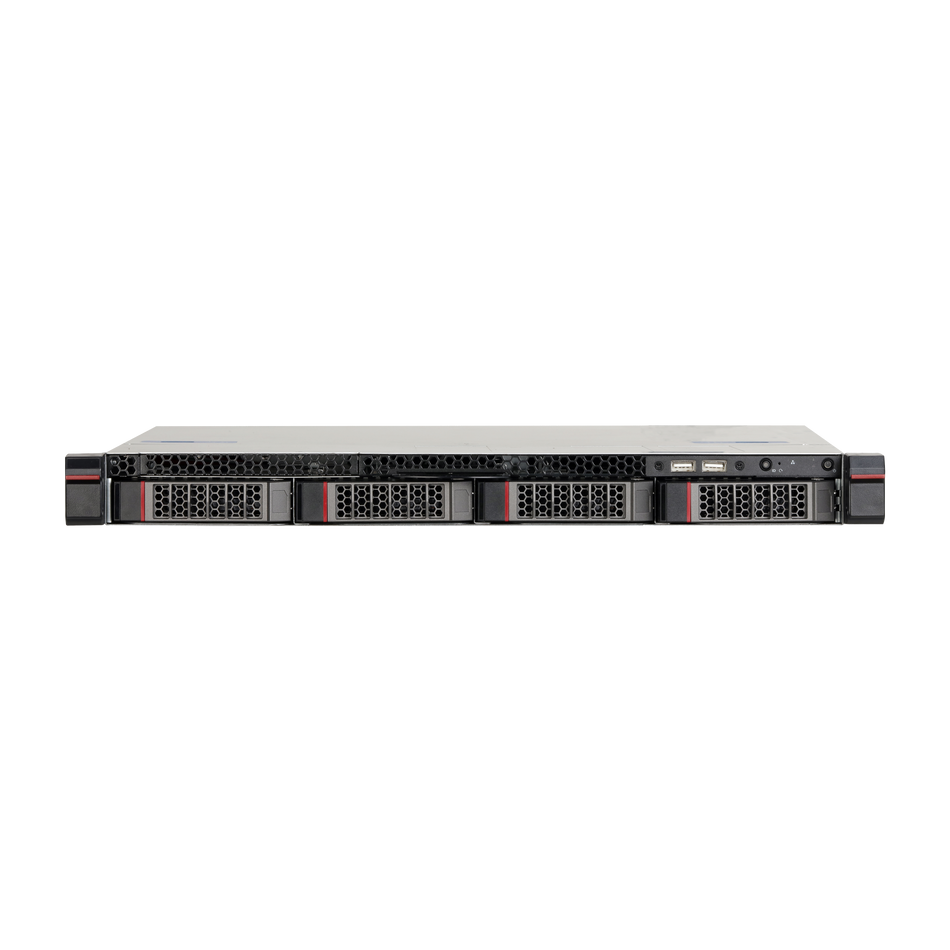
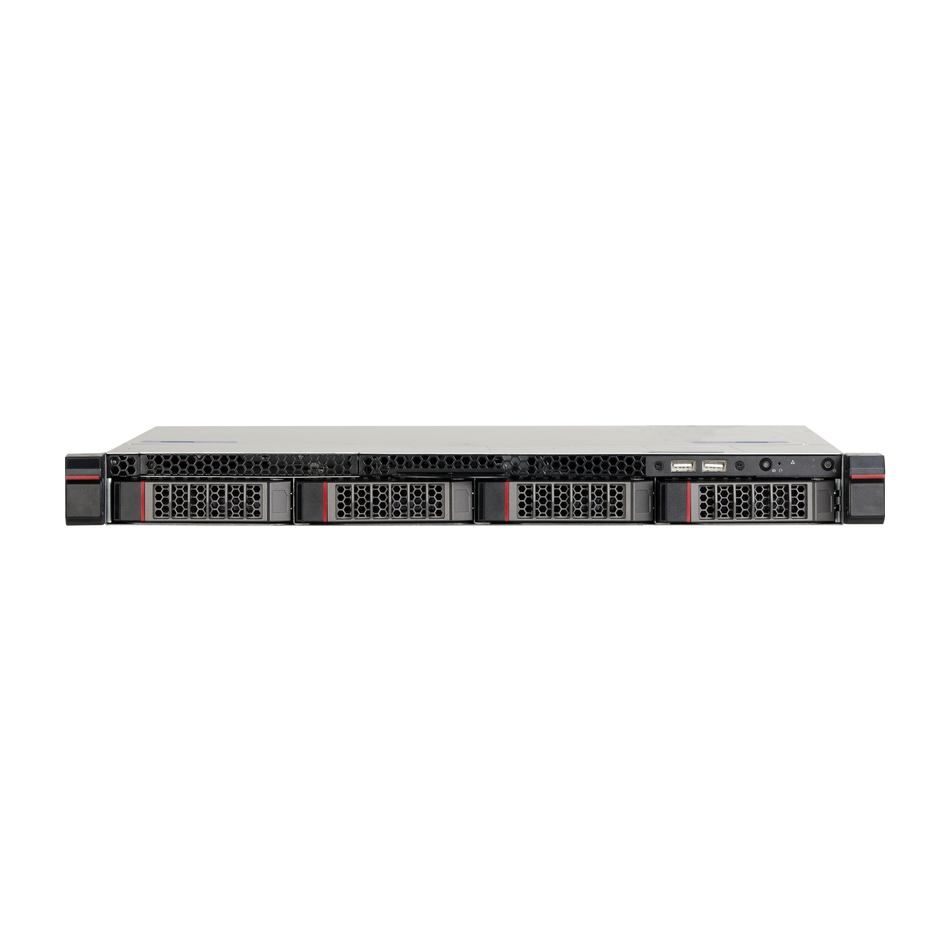
Securing your property with a surveillance system is made easy with DAHUA network cameras and DAHUA NVRs. These devices offer a robust solution for monitoring your space. This article will guide you through the process of linking your DAHUA network cameras to a DAHUA NVR, ensuring a seamless and secure connection.

Preparing for Connection
Before you begin, ensure you have the following:
- One or more DAHUA IP cameras.
- A DAHUA NVR (Network Video Recorder).
- CAT5e or CAT6 network cables for connecting the devices.
Step-by-Step Connection Process
Step 1: Prepare Your Network Infrastructure
Start by planning where you will place your cameras and NVR. Consider the field of view and the distance from the network switch or router.
Step 2: Connect the Camera to Power
Ensure your DAHUA IP camera is securely connected to a power source. Wait for the camera to boot up and initialize.
Step 3: Use a CAT5 Network Cable
Take a CAT5 network cable and connect one end to the Ethernet port on your DAHUA IP camera. This cable will facilitate a wired connection between the camera and the NVR.

Step 4: Connect to the NVR
On the back of your DAHUA NVR, locate the channel ports. These ports are typically numbered and may have icons indicating their purpose. Connect the other end of the CAT5 cable to an available channel port on the NVR.

Step 5: Verify Connection
Once connected, the NVR should automatically detect the camera. You may see a prompt or an icon indicating the connection status. If not, refer to your NVR’s manual for troubleshooting steps.
Step 6: Configure the Camera on the NVR
Access the NVR’s user interface, which can typically be done through a web browser or the client software. Add the camera to the NVR by following these steps:
- Navigate to the 'Configuration' or 'Camera Management' section.
- Click 'Add Camera' or a similar option.
- The NVR should list detected cameras. Select your DAHUA camera from the list and confirm the addition.
Step 7: Adjust Camera Settings (Optional)
After adding the camera, you may want to adjust its settings, such as resolution, frame rate, or image properties. This can also be done through the NVR's interface.
Step 8: Repeat for Additional Cameras
If you have more cameras to connect, repeat steps 3 to 7 for each one.
Step 9: Secure and Manage Your Surveillance System
With all cameras connected and configured, you can now monitor your property through the NVR. Ensure all cables are neatly secured and that the system is powered on.
Connecting DAHUA network cameras to a DAHUA NVR is a straightforward process that enhances the security of your property. With a wired connection, you benefit from stable and high-quality video transmission. Always follow the manufacturer's guidelines for optimal performance and to ensure the warranty remains valid. By taking the time to set up your surveillance system correctly, you invest in the safety and peace of mind that comes with it.


