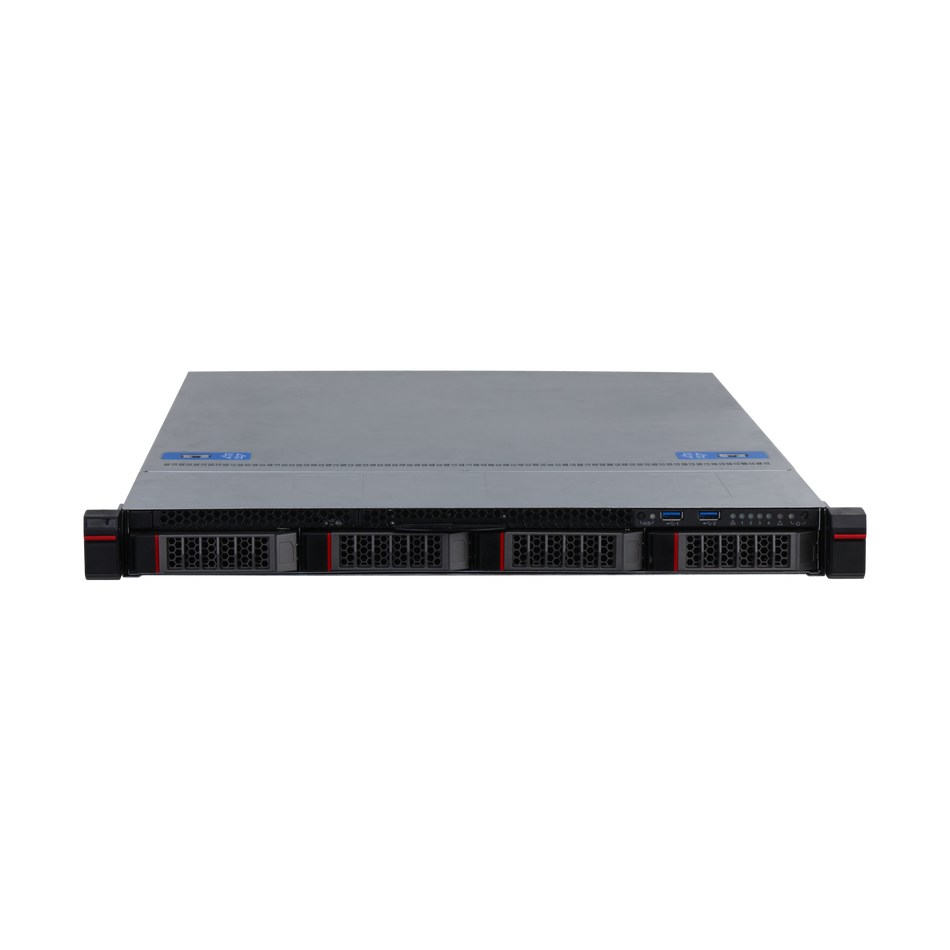
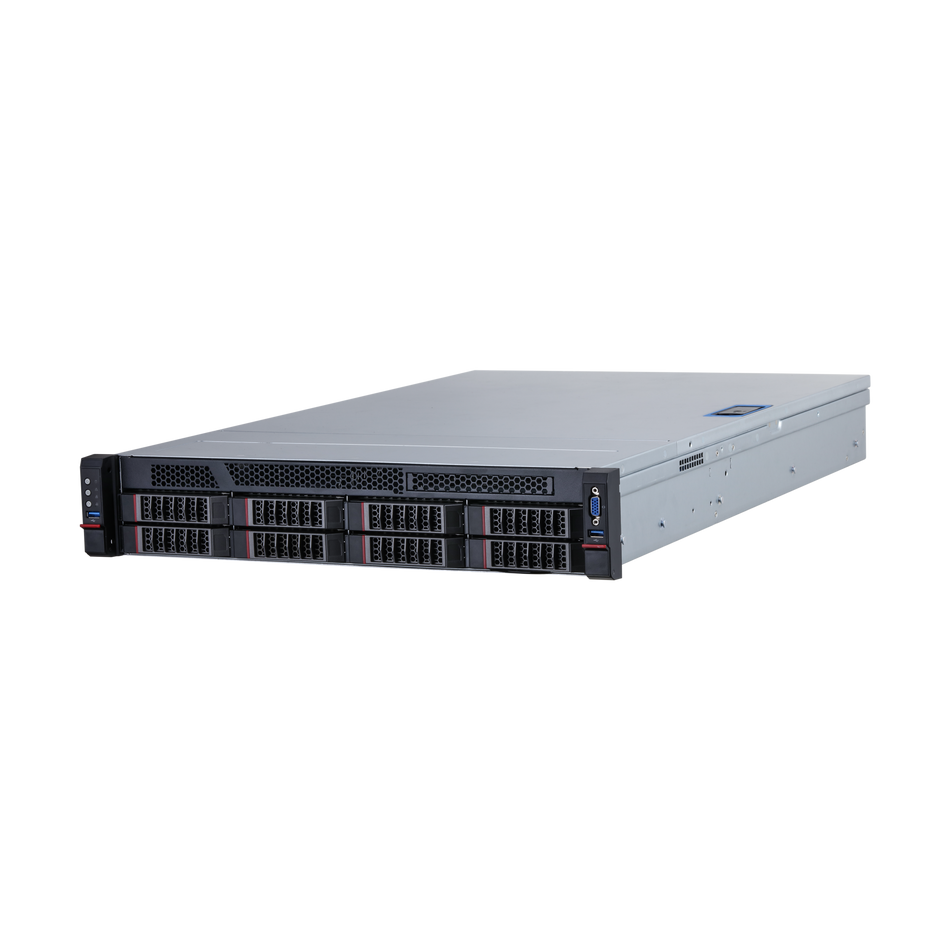
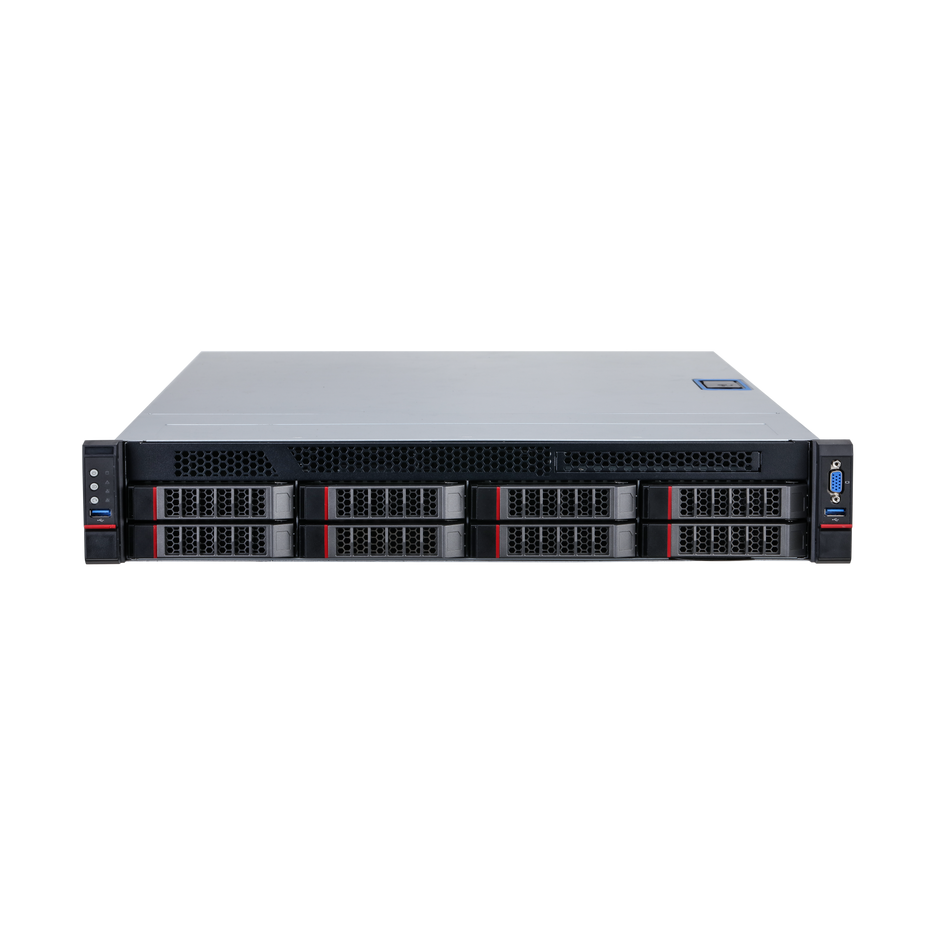
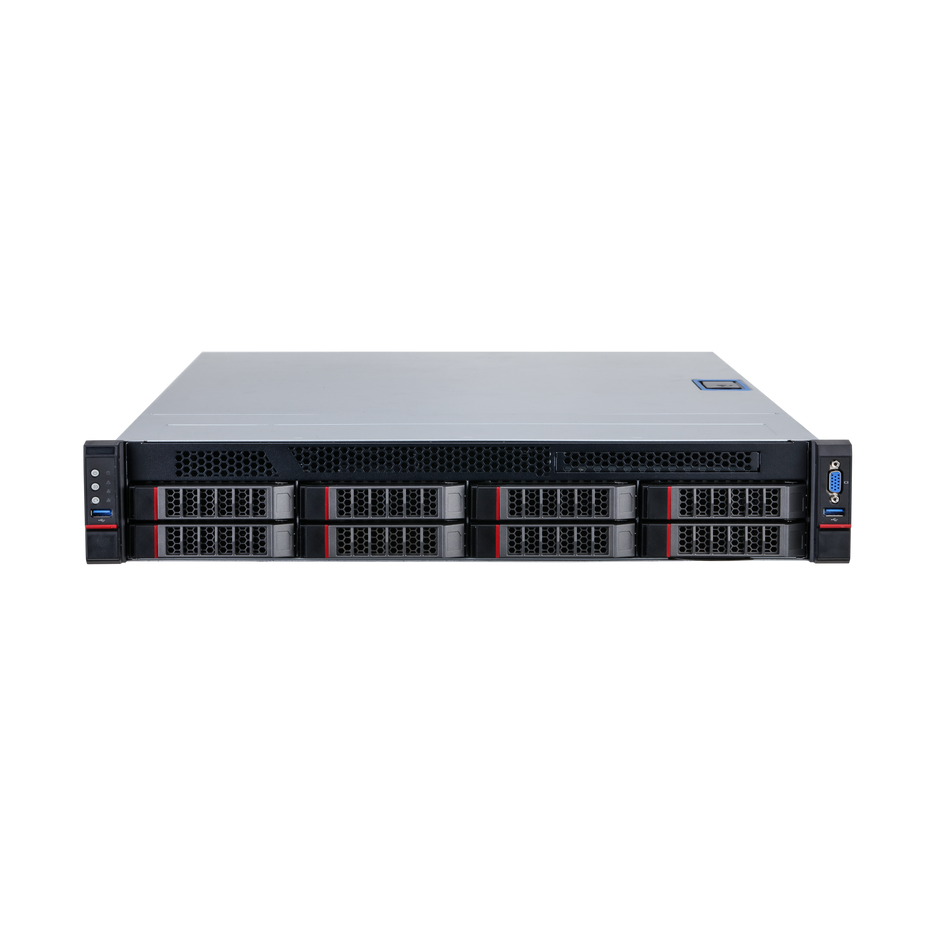
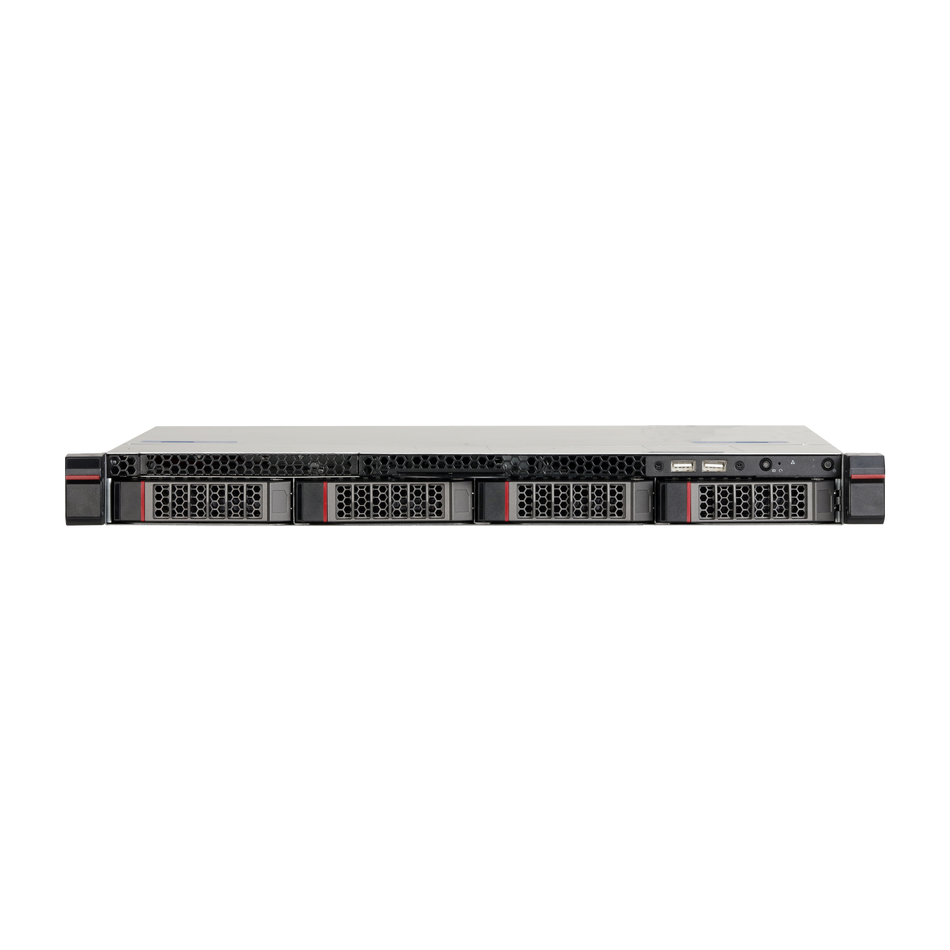
The DAHUA XVR (XVR7816S-4K-I3) is a state-of-the-art video recording solution that offers a plethora of features designed to enhance security monitoring. Whether you're a small business owner or managing a large security system, initializing your new DAHUA XVR with the 4.0 GUI is the first step to leveraging its powerful capabilities. This guide will take you through the process step by step, ensuring a smooth start to your surveillance system setup
.
Prerequisites: Before initializing your DAHUA XVR, ensure you have:
- A DAHUA XVR with 4.0 GUI.
- A mouse for navigation.
- A monitor to display the XVR interface.
Step by Step Initialization:
Step 1: Region and Language Settings
- Power on your XVR and select the "United States" or"your country" from the dropdown menu to set your region. Click "Next" to proceed.

Step 2: Time Zone Configuration
- Choose the appropriate time zone setting for your geographical location.

Step 3: Admin Password Setup
- Create a password for the admin account. For easier login, you can also set a pattern that you will need to enter twice for confirmation.

Step 4: Email for Password Recovery
- Enter an email address to facilitate password reset in case the password is forgotten. This is a critical step as it's the only method to reset the password for XVRs and NVRs. If you skip this and forget your password, the unit may need replacement.

Step 5: Firmware Auto-Check
- Although the auto-check for firmware is not yet implemented in the U.S., you will be prompted to the next step.

Step 6: Video Standard Format
- Ensure the video standard format is set to NTSC.If you are in Europe, Asia, select PAL format.

Step 7: Time Settings
- Configure detailed time settings, including Daylight Savings Time (DST) if necessary.

Step 8: IP Address Configuration
- Assign a static IP address or use DHCP to automatically receive an IP address from your router.

Step 9: P2P Status Check
- Verify the P2P status to ensure remote access capability. "Online" status indicates a successful connection to the router.

Step 10: Encode Settings
- Select the encode settings for each camera from the dropdown menu on "Channel."

Step 11: Snapshot Resolution and Quality
- Choose the resolution and image quality for snapshots.

Step 12: Hard Drive Full Action
- Decide what action to take when the hard drive fills up.

Step 13: Recording Schedule
- Set up your recording schedule, with green indicating 24/7 recording and yellow indicating motion-triggered recording.

Step 14: Snapshot Schedule
- Set the snapshot schedule using the same color legend as for recording.

Step 15: Final Prompt
- Once all settings are configured, you will receive a final prompt indicating the completion of the initialization process.

Initializing your DAHUA XVR is a straightforward process that lays the foundation for a robust surveillance system. By carefully following these steps, you can ensure that your XVR is ready to provide high-quality, reliable monitoring. Remember to periodically check and update your system settings to adapt to any changes in your surveillance needs


